Setting up an Application Load Balancer with AWS EC2
Day 41 of 90daysofdevops

I have been working as a Performance Engineer as well as Dynatrace Developer in TCS for 1 Year. I had interest in APM Tools, LoadRunner, AWS, Docker, Java, Python.
What is Load Balancing?
Load balancing is the process of distributing incoming network traffic across multiple servers, instances, or resources to optimize performance, prevent overload, and ensure the high availability of applications.
It is an essential aspect of any large-scale and scalable computing system, as it helps evenly distribute the workload, prevent bottlenecks, and handle traffic spikes, ensuring efficient resource utilization and a smooth user experience.
Elastic Load Balancing:
Elastic Load Balancing (ELB) is an AWS service that automatically distributes incoming network traffic across multiple resources, such as EC2 instances or containers, to ensure high availability and scalability.
ELB provides three types of load balancers:
Application Load Balancer (ALB)
ALB operates at the application layer (Layer 7) of the OSI model and is designed to load balance HTTP and HTTPS traffic.
It supports advanced routing and content-based routing, allowing for more granular control over traffic distribution.
ALB also supports features like path-based routing, host-based routing, and integration with other AWS services.
Network Load Balancer (NLB)
NLB operates at the transport layer (Layer 4) and is designed to handle TCP, UDP, and TLS traffic.
It provides ultra-low latency and high-throughput load balancing, making it suitable for applications that require high performance and scalability.
NLB supports static IP addresses and can handle millions of requests per second.
Classic Load Balancer (CLB)
CLB is the original load balancer offered by AWS and supports both Layer 4 and Layer 7 load balancing.
It is compatible with applications running on the EC2-Classic network. While ALB and NLB provide more advanced features and better scalability.
CLB can still be used for certain legacy applications that require EC2-Classic support.
Deploying a PHP website using ALB
Task 1:
Launch 2 EC2 instances with an Ubuntu AMI and use User Data to install the Apache Web Server.
Modify the index.html file to include your name so that when your Apache server is hosted, it will display your name also do it for 2nd instance which includes " TrainWithShubham Community is Super Awesome :) ".
Copy the public IP address of your EC2 instances.
Open a web browser and paste the public IP address into the address bar.
You should see a webpage displaying information about your PHP installation.
Lunch 2 EC2 instances with an Ubuntu AMI and use User Data to install the Apache Web Server.
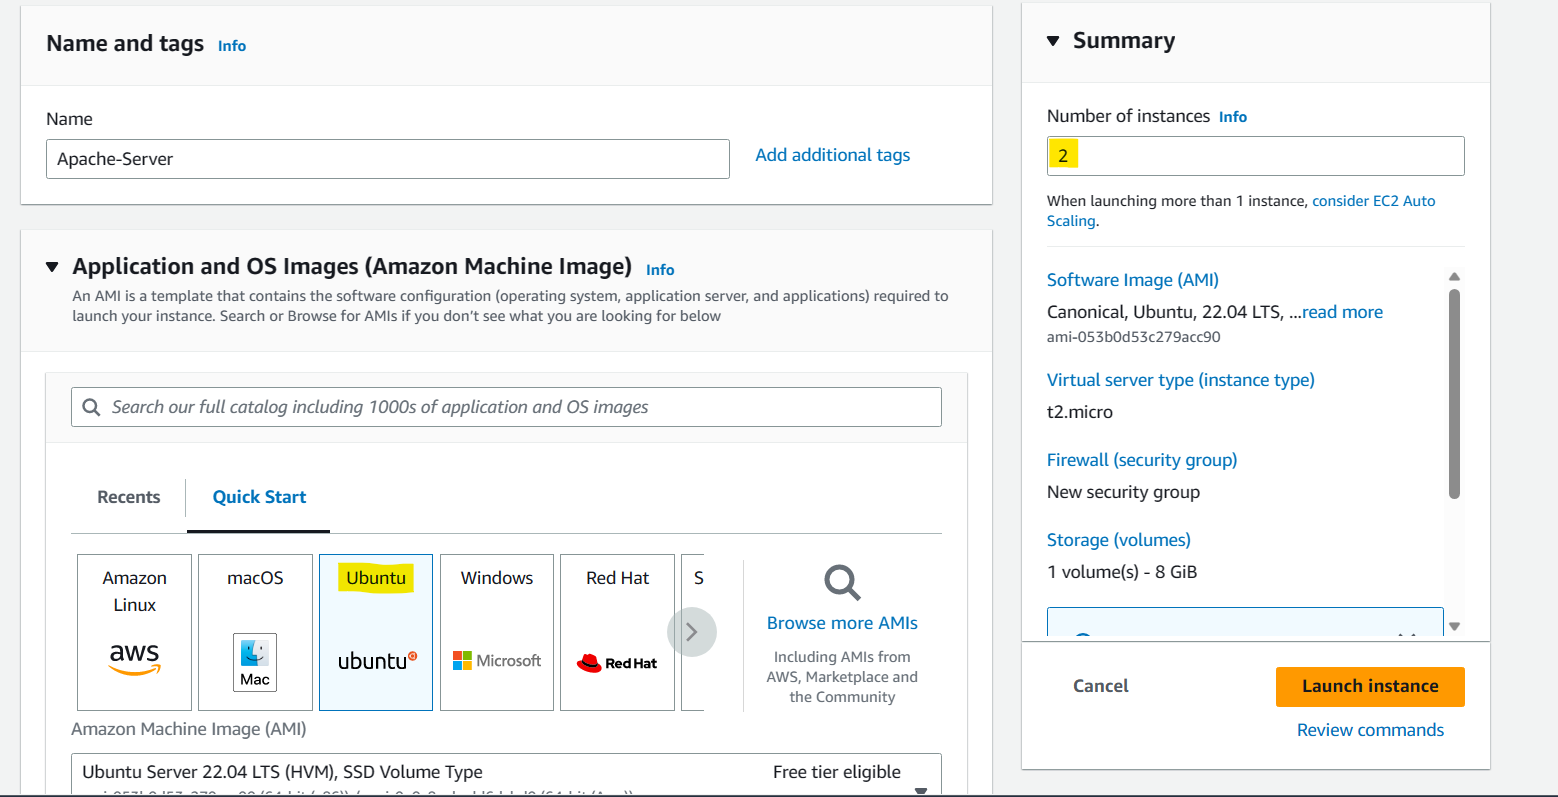
In the "Configure Instance Details" page, scroll down to the "Advanced Details" section and expand the "User data" field.
In the "User data" field, enter the following commands to install and start the Apache web server:
#!/bin/bash
sudo apt-get update
sudo apt-get install apache2 -y
sudo systemctl start apache2
sudo systemctl enable apache2

- We can verify Apache server is up & running,

We can verify the apache2 server is up and running by the below command in the Linux server.
sudo systemctl status apache2


As we can see both the server apache2 server is running.
Modify the index.html file to include the page you want to showcase as frontend.
Go inside "/var/www/html" path and edit index.html to create a template.
- NOTE: To edit the HTML file, make sure you are root privileges.
    cd /var/www/html
    ls
    vi index.html

Copy the public IP address of your EC2 instances.
Open a web browser and paste the public IP address into the address bar.
You should see a webpage displaying information that is written in your index.html file.

Repeat Steps 3 & 4 in the next EC2 Server 2 instance.


Task 2:
Create an Application Load Balancer (ALB) in EC2 using the AWS Management Console.
Add EC2 instances that you launch in task-1 to the ALB as target groups.
Verify that the ALB is working properly by checking the health status of the target instances and testing the load-balancing capabilities.
Log in to the AWS Management Console and go to the EC2 dashboard.
Click on "Load Balancers" in the left-hand navigation menu and then click the "Create Load Balancer" button.

Select "Application Load Balancer" as the load balancer type and click "Create".


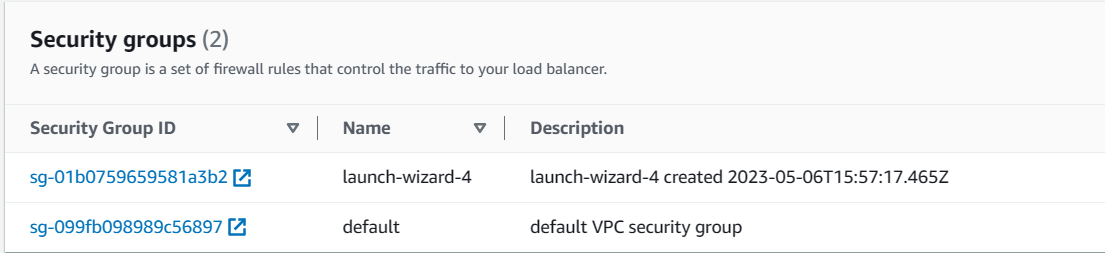
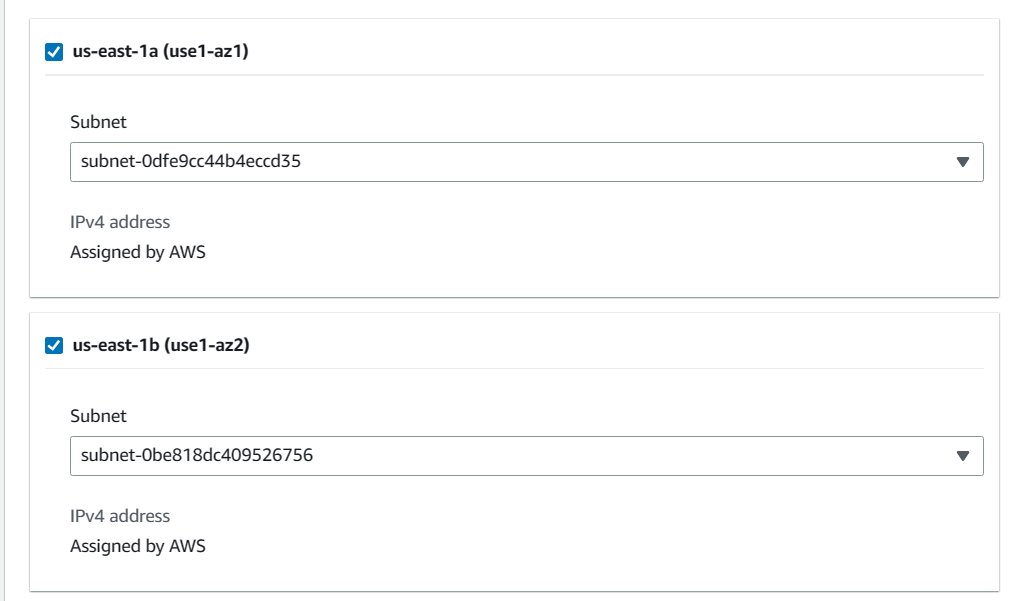
In the Basic Configuration, we have to provide the Load Balancer name, Scheme should be Internet Facing which means it will be public. And in the Network Mapping choose at least 2 subnets, provide the VPC and subnet.


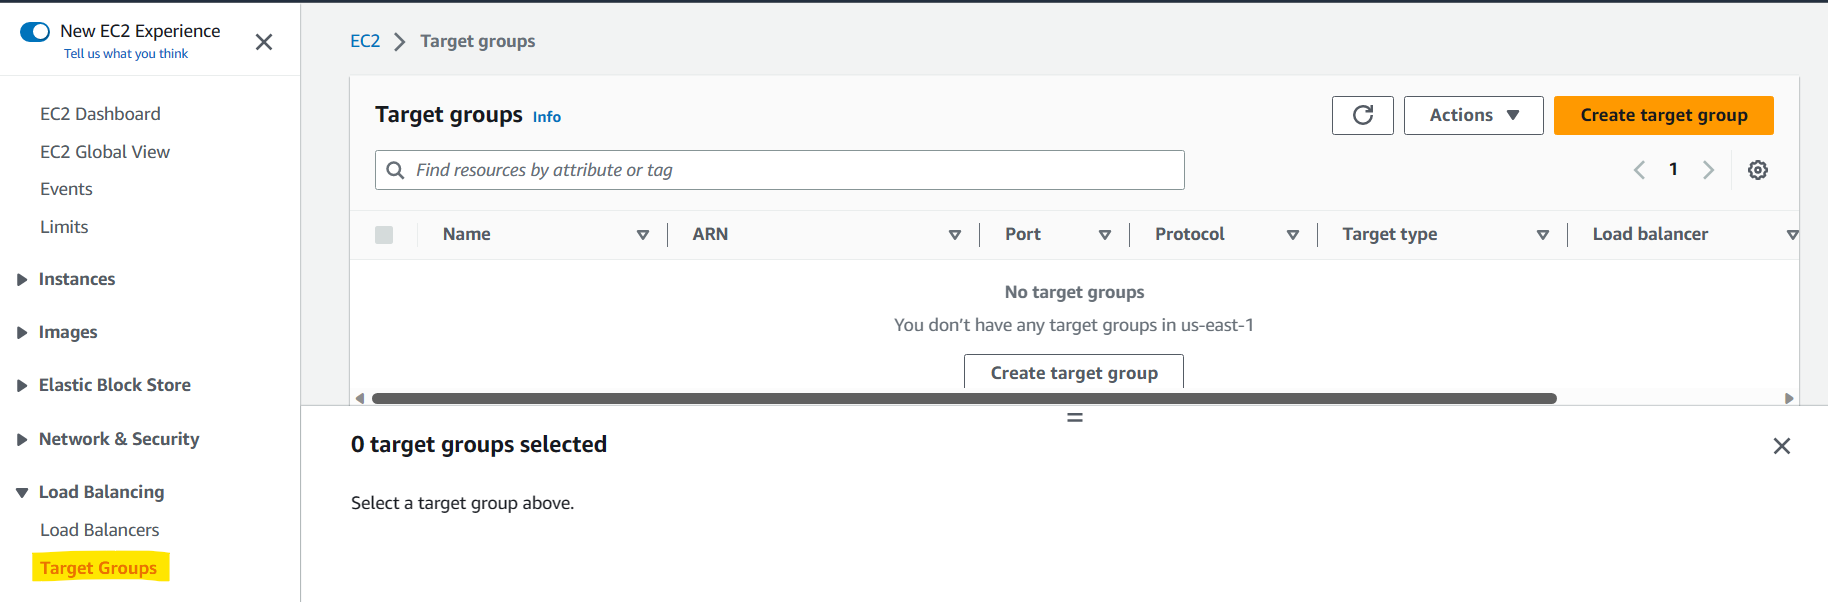
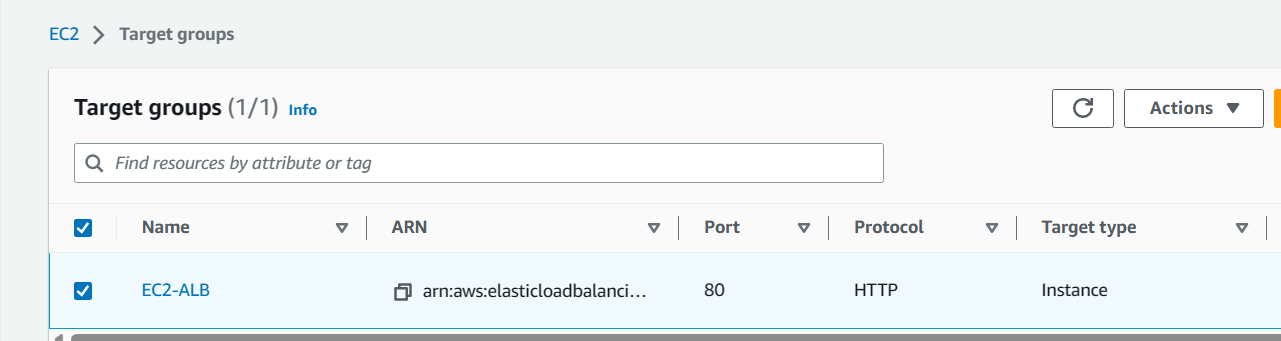
Before proceeding into Listeners and Routing in the Load Balancer, we have to create a new Target group from the left-hand navigation menu.
Choose the Target Type as "Instance".
Provide a target group name & port to expose HTTP
✅ Select the 2 Apache-Servers instances
Once done configuration, click on Create Target Group


- Once the Target Group is set for two Servers, we have to configure the Listeners and Port in the Load Balancer, where we have to pass the Target Group which is create in the previous step.


- Once all the setup is done, copy the DNS name of your Load Balancer and try to access it through the browser. We can see as per load the 2 servers are handling nicely.


Thank You,
I want to express my deepest gratitude to each and every one of you who has taken the time to read, engage, and support my journey.
Feel free to reach out to me if any corrections or add-ons are required on blogs. Your feedback is always welcome & appreciated.
~ Abhisek Moharana 🙂


