

Understanding Scaling
Scaling is the process of adding or removing resources to match the changing demands of your application. As your application grows, you will need to add more resources to handle the increased load. And as the load decreases, you can remove the extra resources to save costs.
Terraform makes it easy to scale your infrastructure by providing a declarative way to define your resources. You can define the number of resources you need and Terraform will automatically create or destroy the resources as needed.
Prerequisites
Before proceeding, we have to set up AWS Provider, Region, VPC, InternetGateway, Security Group, and RouteTable.
📁 terraform/terraform-aws
    --📄 terraform.tf
    --📄 provider.tf
    --📄 vpc.tf
    --📄 subnet.tf
    --📄 internetgateway.tf
    --📄 routetable.tf
    --📄 securitygroup.tf
Create a
terraform.tffile to declare AWS providers required for the system.terraform { required_providers { aws = { source = "hashicorp/aws" version = "~> 4.0" } } }Create a
provider.tffile to specify the AWS region required for instance.provider "aws" { region = "us-east-1" }Create a
vpc.tffile to set up VPC for the ec2 instance.resource "aws_vpc" "main" { cidr_block = "10.0.0.0/16" tags = { Name = "main" } }Inside
subnet.tffile create 2 public subnets for auto-scaling group.resource "aws_subnet" "public_subnet_1a" { vpc_id = aws_vpc.main.id cidr_block = "10.0.16.0/20" availability_zone = "us-east-1a" tags = { Name = "public-subnet-1" } } resource "aws_subnet" "public_subnet_1b" { vpc_id = aws_vpc.main.id cidr_block = "10.0.32.0/20" availability_zone = "us-east-1b" tags = { Name = "public-subnet-2" } }Create an
internetgateway.tffile to configure the internet gateway.resource "aws_internet_gateway" "gw" { vpc_id = aws_vpc.main.id tags = { Name = "internet-getway" } }Create a
routetable.tffile for routing public subnet to VPC.resource "aws_route_table" "route_table" { vpc_id = aws_vpc.main.id route { cidr_block = "0.0.0.0/0" gateway_id = aws_internet_gateway.gw.id } tags = { Name = "route_table" } } resource "aws_route_table_association" "public_subnet_association_1a" { subnet_id = aws_subnet.public_subnet_1a.id route_table_id = aws_route_table.route_table.id } resource "aws_route_table_association" "public_subnet_association_1b" { subnet_id = aws_subnet.public_subnet_1b.id route_table_id = aws_route_table.route_table.id }Create a
securitygroup.tffile which will create a security group that allows SSH, HTTP, HTTPS, and egress traffic to the instances.
resource "aws_security_group" "web_server" {
  name_prefix = "web-server-sg"
  vpc_id      =  aws_vpc.main.id


  ingress {
    from_port   = 22
    to_port     = 22
    protocol    = "tcp"
    cidr_blocks = ["0.0.0.0/0"]
  }
  ingress {
    from_port   = 80
    to_port     = 80
    protocol    = "tcp"
    cidr_blocks = ["0.0.0.0/0"]
  }
   ingress {
     from_port   = 443
     to_port     = 443
     protocol    = "tcp"
     cidr_blocks = ["0.0.0.0/0"]
   }

  egress {
     from_port   = 0
     to_port     = 0
     protocol    = "-1"
     cidr_blocks = ["0.0.0.0/0"]
   }
}
Task 1: Create an Auto Scaling Group
Auto Scaling Groups are used to automatically add or remove EC2 instances based on the current demand. Follow these steps to create an Auto Scaling Group:
Now create a
main.tffile. In yourmain.tffile, add the following code to create an Auto Scaling Group:resource "aws_launch_configuration" "web_server_as" { image_id = "ami-053b0d53c279acc90" instance_type = "t2.micro" security_groups = [aws_security_group.web_server.id] user_data = <<-EOF #!/bin/bash sudo apt-get update -y sudo apt-get install apache2 -y sudo systemctl start apache2 sudo systemctl enable apache2 sudo systemctl restart apache2 sudo chmod 766 /var/www/html/index.html sudo echo "<html><body><h1>Welcome to Terraform Scaling.</h1></body></html>" >/var/www/html/index.html EOF } resource "aws_elb" "web_server_lb"{ name = "web-server-lb" security_groups = [aws_security_group.web_server.id] subnets = [aws_subnet.public_subnet_1a.id,aws_subnet.public_subnet_1b.id] listener { instance_port = 8000 instance_protocol = "http" lb_port = 80 lb_protocol = "http" } tags = { Name = "terraform-elb" } } resource "aws_autoscaling_group" "web_server_asg" { name = "web-server-asg" launch_configuration = aws_launch_configuration.web_server_as.name min_size = 1 max_size = 3 desired_capacity = 2 health_check_type = "EC2" load_balancers = [aws_elb.web_server_lb.name] vpc_zone_identifier = [aws_subnet.public_subnet_1a.id, aws_subnet.public_subnet_1b.id] }Run
terraform initcommand which will initialize and provide all prerequisite plugins.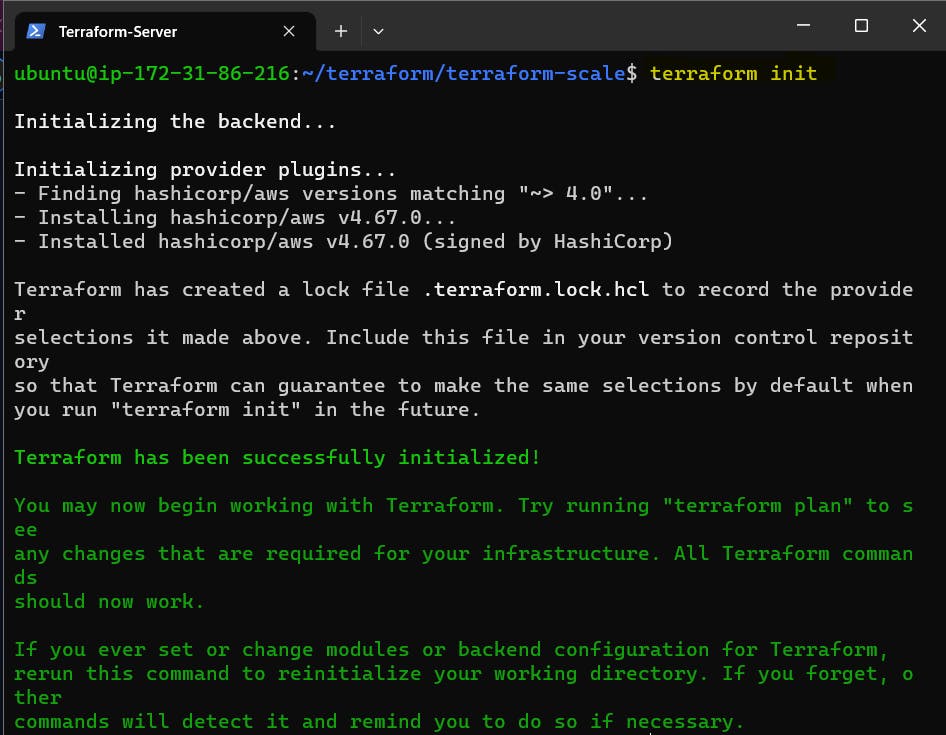
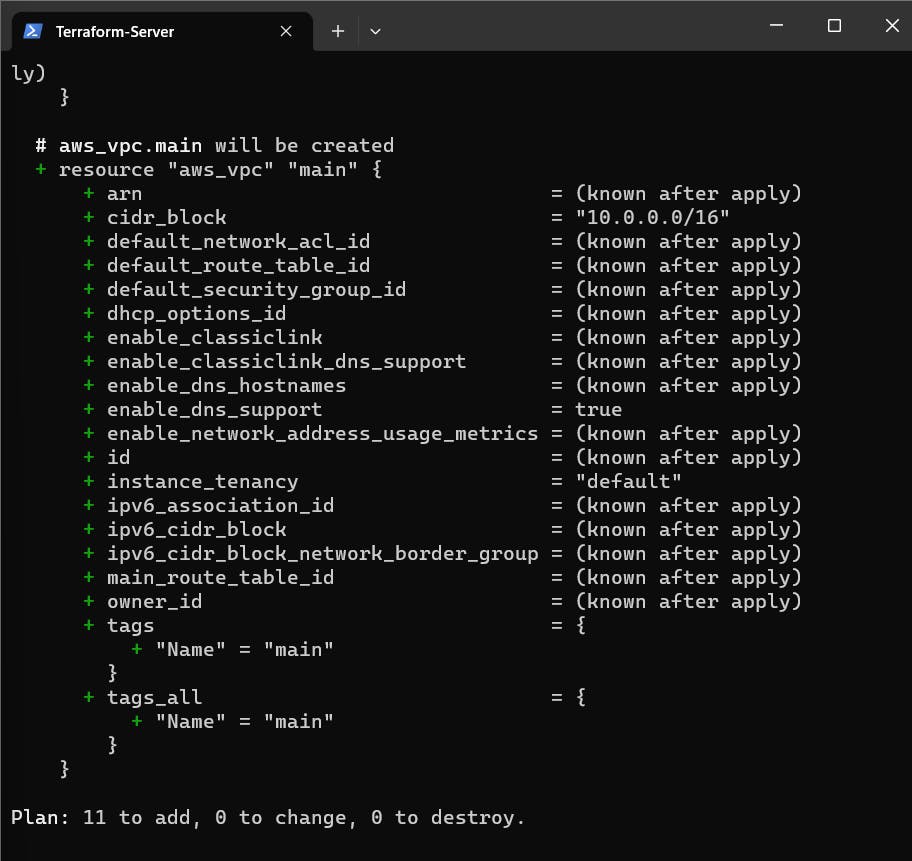
Now execute
terraform plancommand.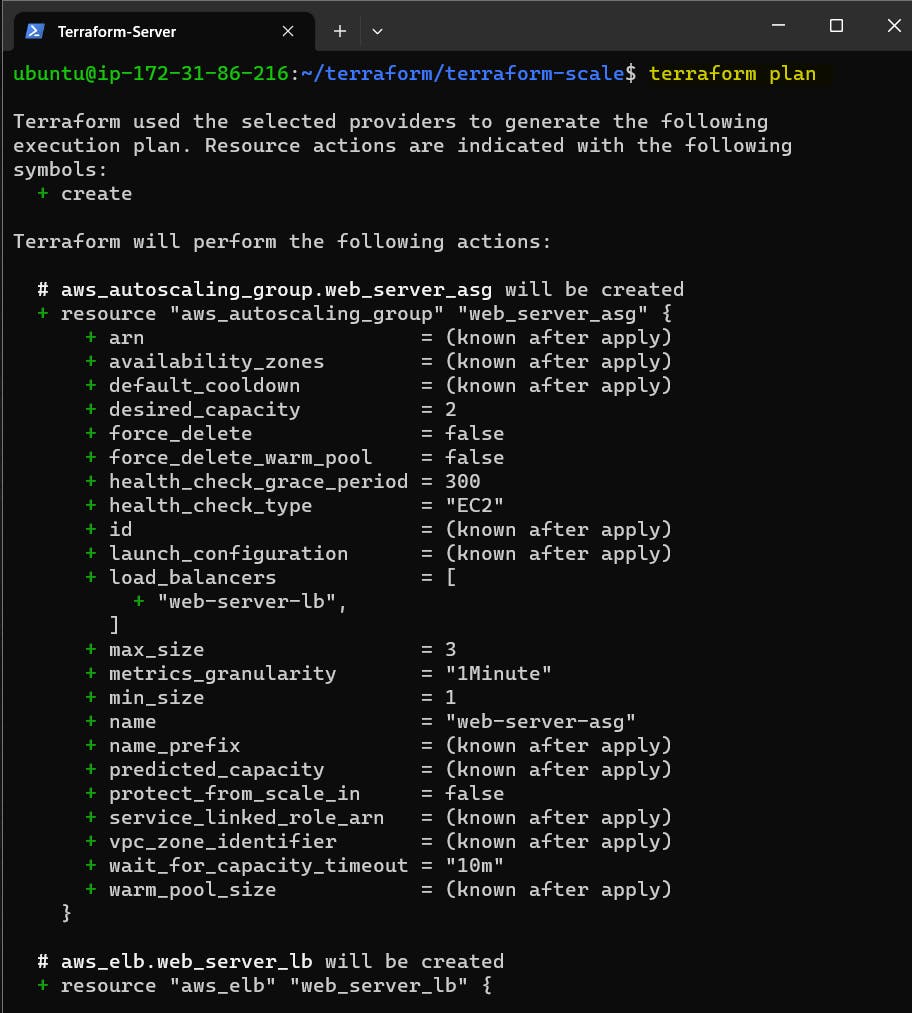
Run
terraform applyto create the Auto Scaling Group.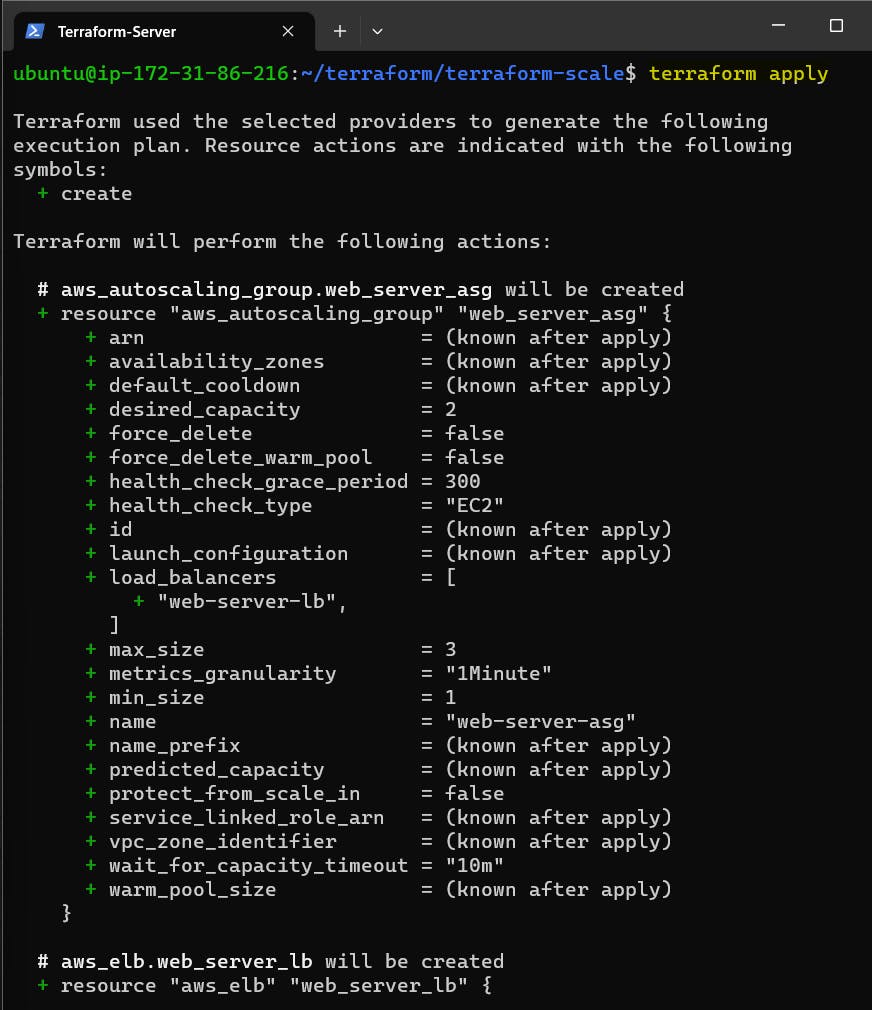
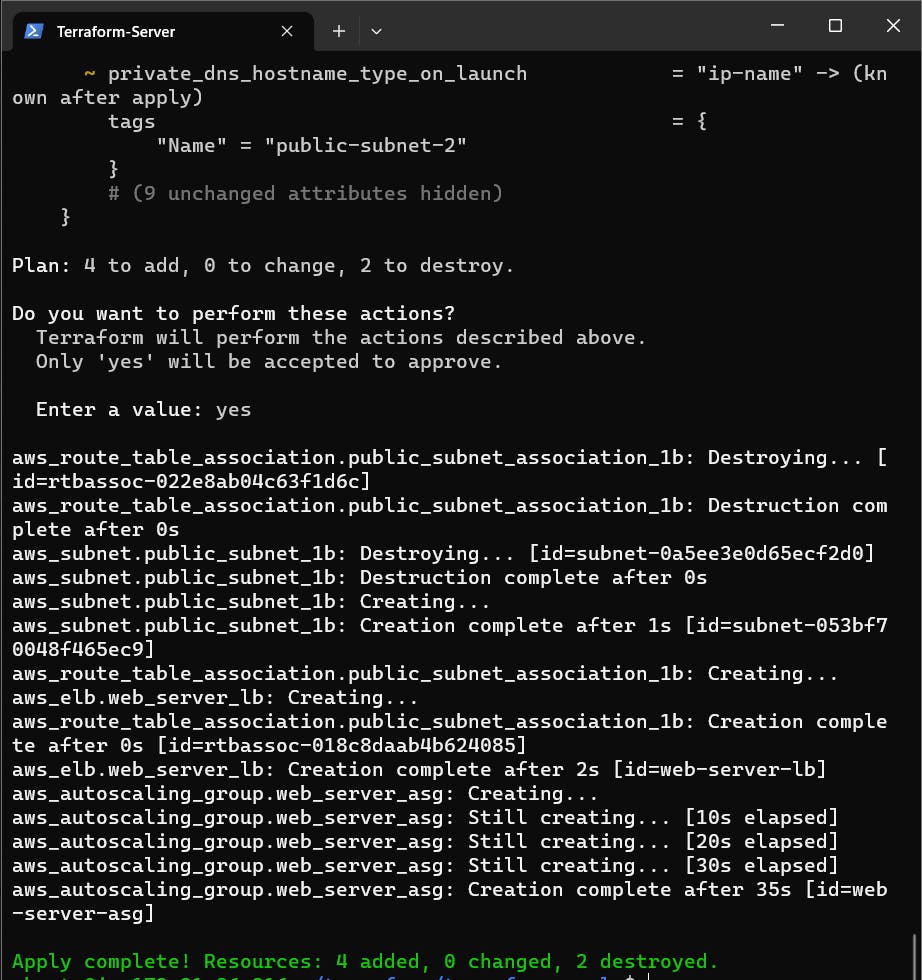
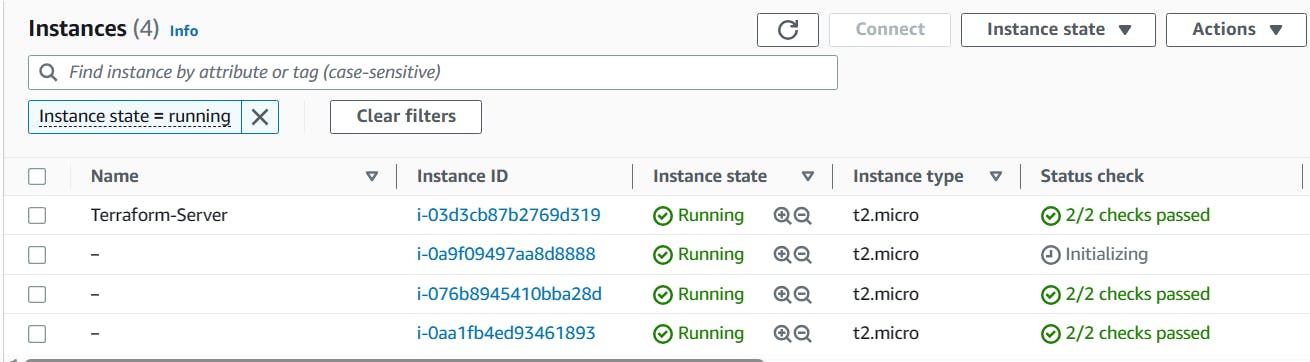
Once Terraform is done with execution two new EC2 instances are created as desired capacity is set to 2.

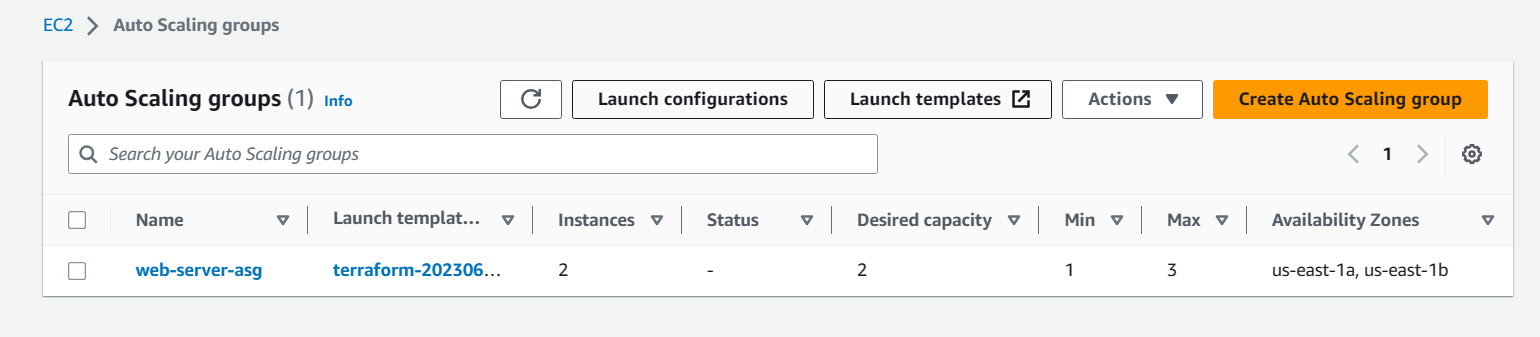
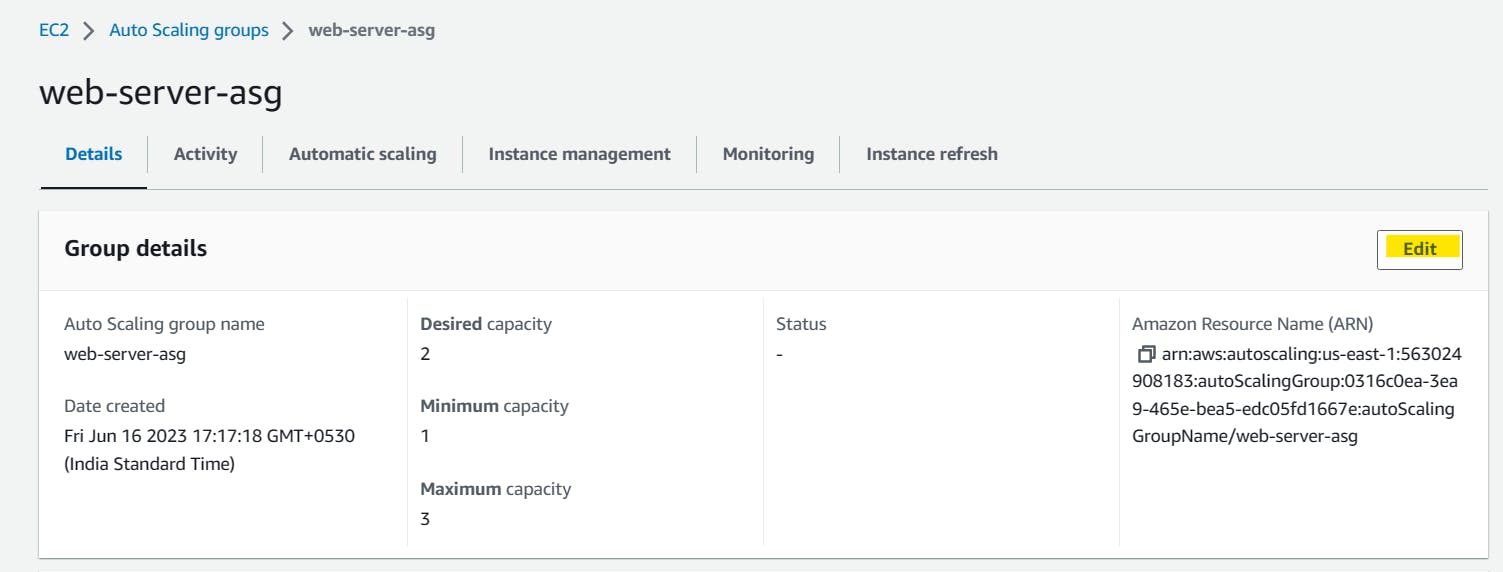
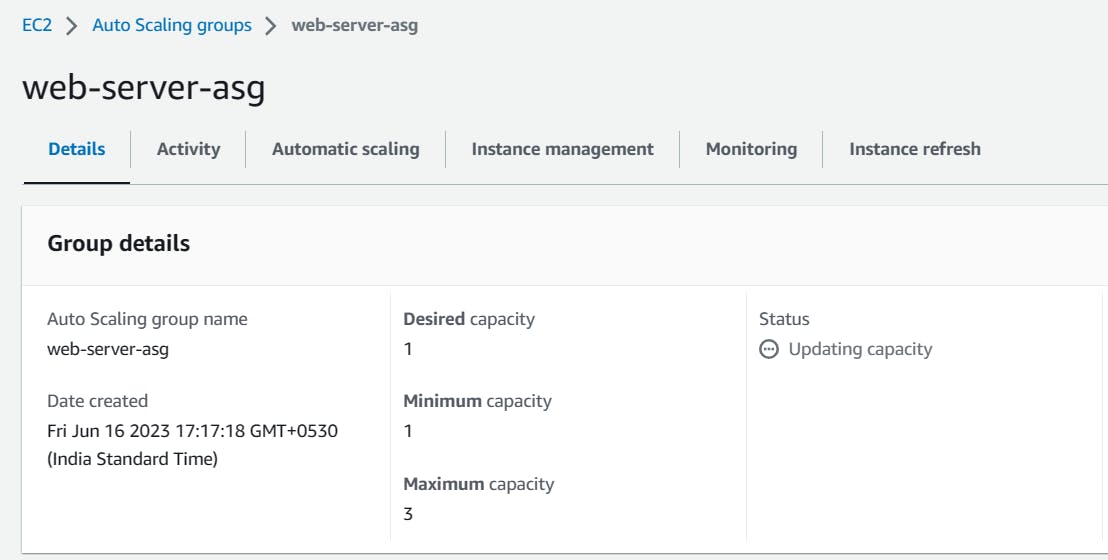
You can verify Auto scaling group is created named as "web-server-asg" in the Auto Scaling Group dashboard.
"web-server-asg" auto-scaling group details.

Task 2: Test Scaling
Go to the AWS Management Console and select the Auto Scaling Groups service.
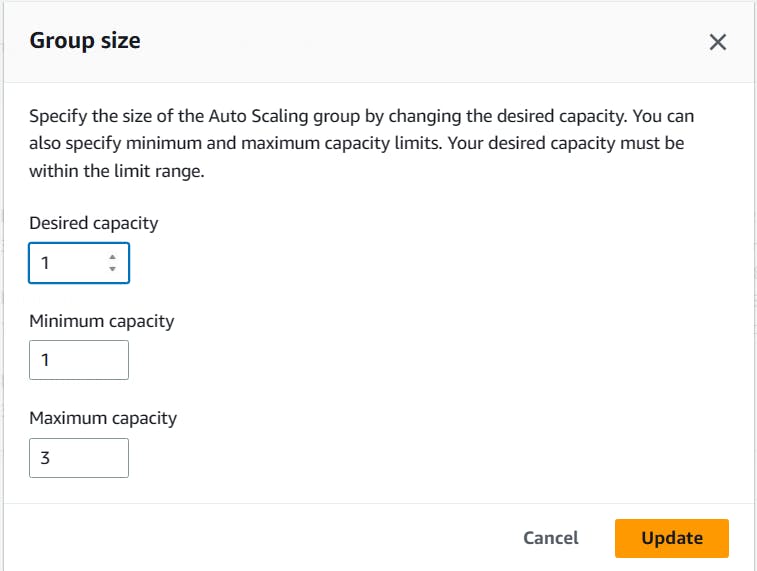
Select the Auto Scaling Group you just created and click on the "Edit" button.
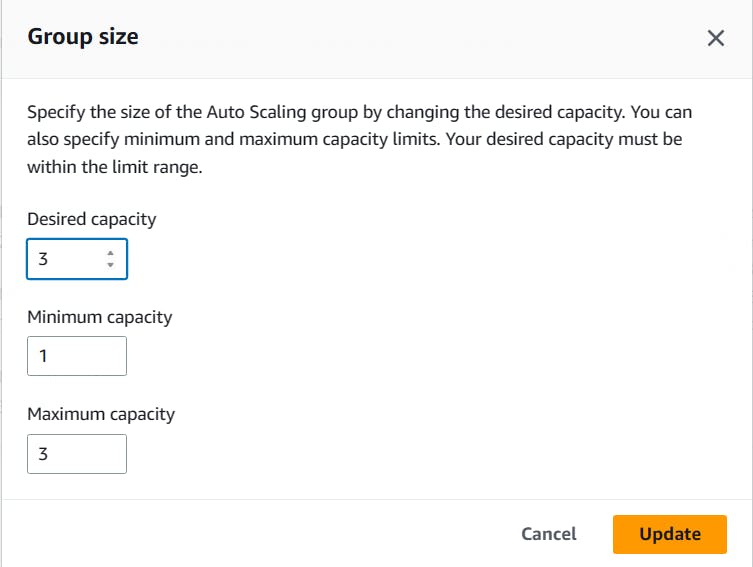
Increase the "Desired Capacity" to 3 and click on the "Save" button.
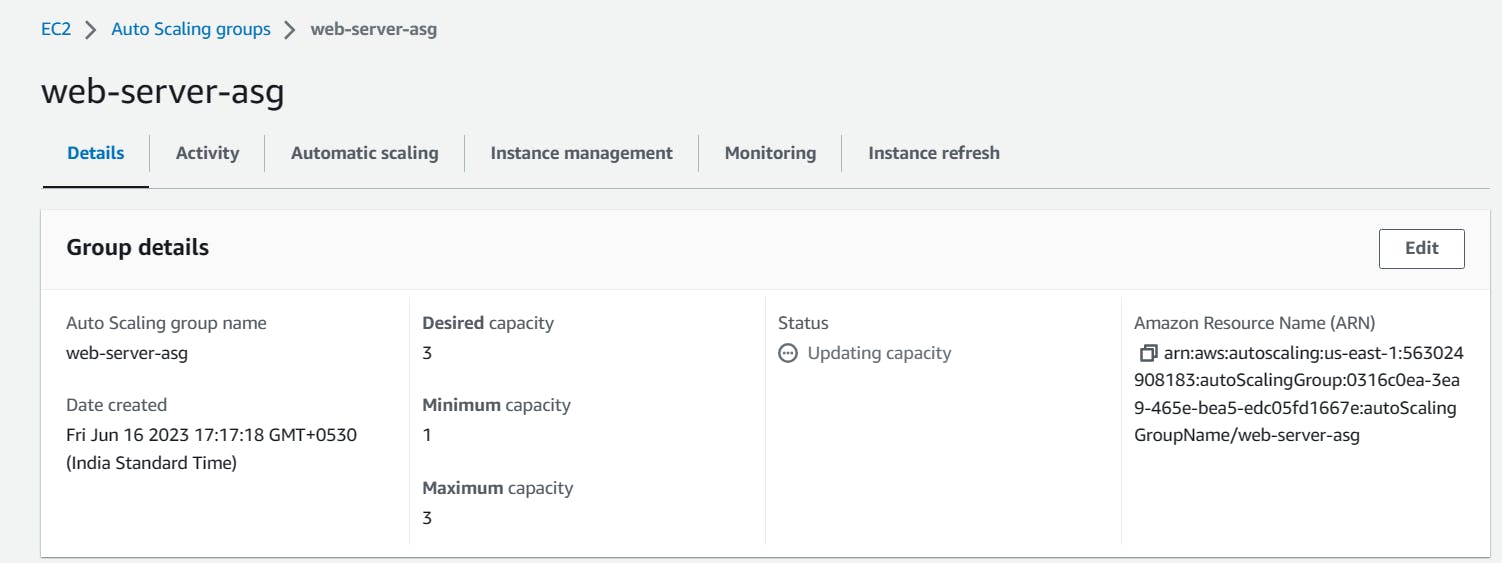
Wait a few minutes for the new instances to be launched.
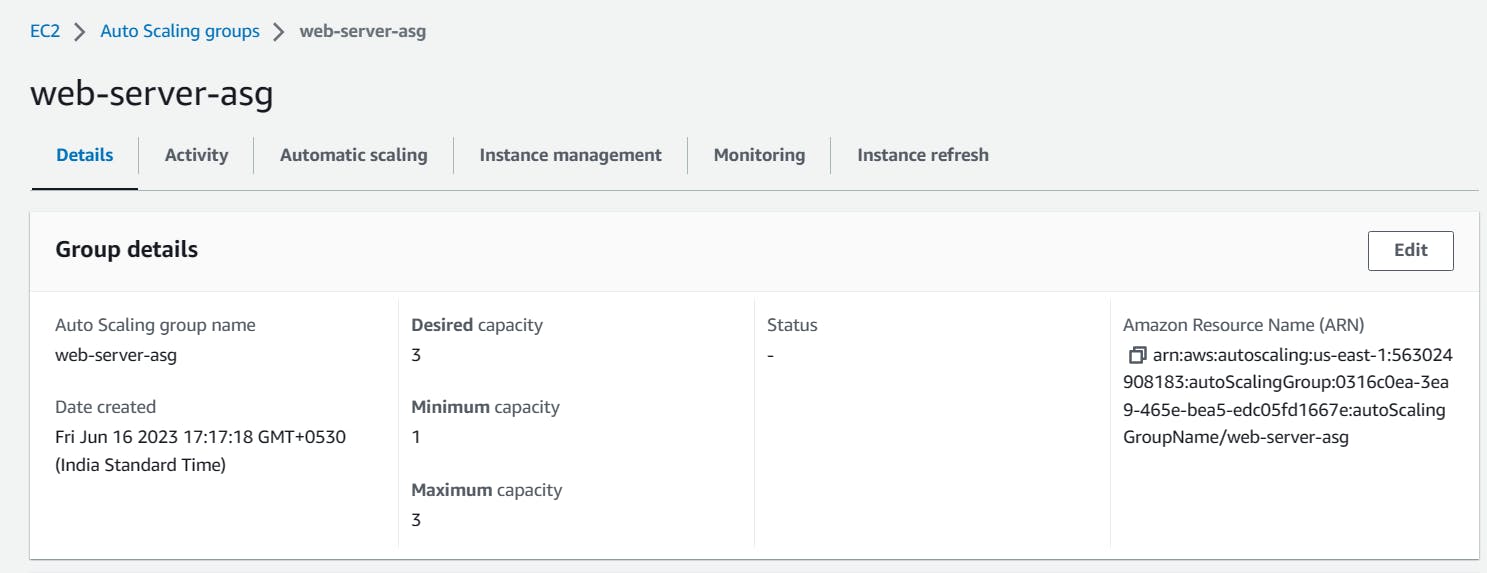
Go to the EC2 Instances service and verify that the new instances have been launched.
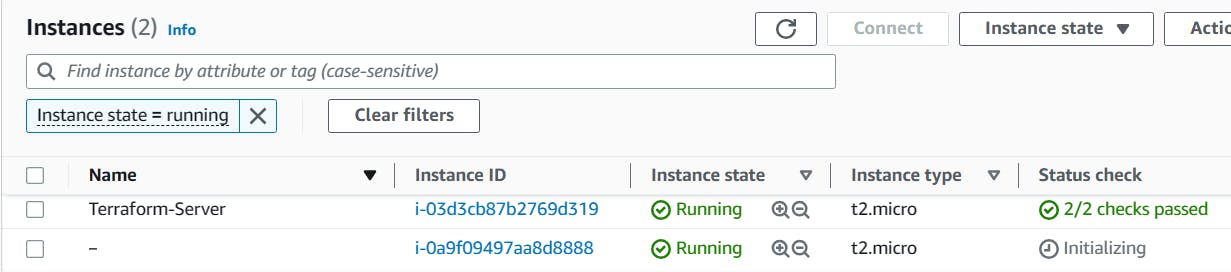
Decrease the "Desired Capacity" to 1 and wait a few minutes for the extra instances to be terminated.
Go to the EC2 Instances service and verify that the extra instances have been terminated.

Thank You,
I want to express my deepest gratitude to each and every one of you who has taken the time to read, engage, and support my journey.
Feel free to reach out to me if any corrections or add-ons are required on blogs. Your feedback is always welcome & appreciated.
~ Abhisek Moharana 🙂