S3 Programmatic Access With AWS-CLI
Day 43 of 90daysofdevops

I have been working as a Performance Engineer as well as Dynatrace Developer in TCS for 1 Year. I had interest in APM Tools, LoadRunner, AWS, Docker, Java, Python.
Define S3
Amazon S3 (Simple Storage Service) is a scalable object storage service provided by AWS (Amazon Web Services) which is a secure and scalable way to store and access data on the cloud. It is designed to store and retrieve any amount of data from anywhere on the web.
S3 offers a simple and durable storage infrastructure, allowing organizations to store and protect their data at a low cost while ensuring high availability and durability.
It is designed for storing any kind of data, such as text files, images, videos, backups, and more
Key features of Amazon S3
Scalability: S3 can scale to accommodate virtually unlimited amounts of data, enabling businesses to store and retrieve large volumes of data as needed.
Durability and Availability: S3 is designed to provide 99.99% durability and 99.99% availability for objects stored within it. It achieves this by automatically replicating data across multiple geographically distributed data centers.
Security: S3 supports various security features, including server-side encryption, access control policies, bucket policies, and integration with AWS Identity and Access Management (IAM) for fine-grained access control.
Lifecycle Management: S3 offers lifecycle policies to automate the transition of objects between different storage classes based on defined rules, helping to optimize costs.
Versioning: S3 provides versioning functionality, allowing users to preserve, retrieve, and restore previous versions of objects stored in S3.
Data Transfer: S3 supports high-speed data transfer options, such as AWS Direct Connect and AWS Snowball, to facilitate efficient data migration to and from S3.
Integration: S3 integrates seamlessly with other AWS services, such as AWS Lambda, Amazon Athena, Amazon Glacier, and Amazon CloudFront, enabling a wide range of use cases and workflows.
Commonly used AWS CLI commands for Amazon S3
Lists all of the S3 buckets in your AWS account
aws s3 lsCreates a new S3 bucket with the specified name.
aws s3 mb s3://bucket-nameDeletes the specified S3 bucket.
aws s3 rb s3://bucket-nameUploads a file to an S3 bucket.
aws s3 cp file.txt s3://bucket-nameDownloads a file from an S3 bucket to your local file system.
aws s3 cp s3://bucket-name/file.txt .Syncs the contents of a local folder with an S3 bucket.
aws s3 sync local-folder s3://bucket-nameLists the objects in an S3 bucket.
aws s3 ls s3://bucket-nameDeletes an object from an S3 bucket.
aws s3 rm s3://bucket-name/file.txtGenerates a pre-signed URL for an S3 object, which can be used to grant temporary access to the object.
aws s3 presign s3://bucket-name/file.txtRetrieves a list of all S3 buckets in your AWS account, using the S3 API.
aws s3api list-buckets
Task-01
Launch an EC2 instance using the AWS Management Console and connect to it using Secure Shell (SSH).
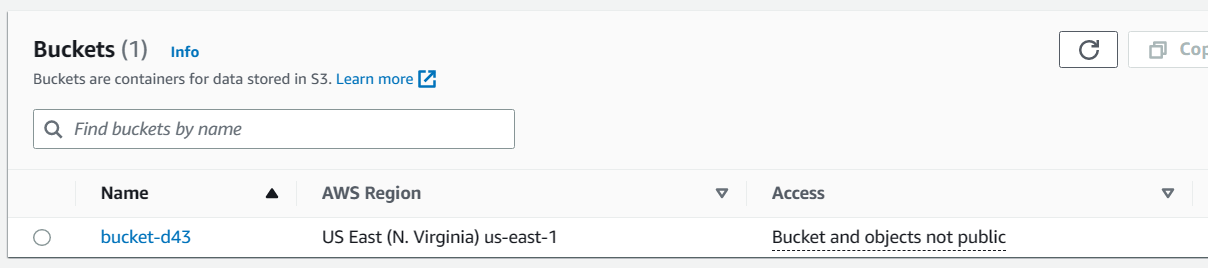
Create an S3 bucket and upload a file to it using the AWS Management Console.
Click on the "Create bucket" button.

Enter a name for your bucket, select the AWS region in which you want to create it and then click "Create"
Note:- AWS S3 bucket creates in a Global Specific.


- Once your bucket is created, click on its name to open it.
Click on the "upload" button to upload a file.
In the "upload" window, click on the "Add files" button to select the file you want to upload.

Once you have selected your file, click "next".
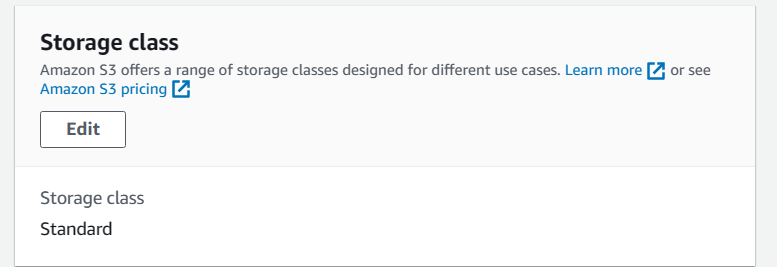
Next, you can set permission for your file, configure the storage class and set metadata.
Review the following details before clicking on the "upload button your file"
Once your upload is complete, you can see the file in your s3 bucket.

Access the file from the EC2 instance using the AWS Command Line Interface (AWS CLI).
- Install the AWS CLI.
sudo apt-get update -y
sudo apt-get install awscli
- check whether the AWS CLI is installed or not using checking aws version
aws --version

- Once you have installed the AWS CLI, open a terminal and run the command aws configure to configure your AWS account credentials details.
aws configure

- List out the S3 buckets using the below command:
aws s3 ls

- you can use the aws s2 cp command to copy files from your S3 bucket to view your EC2 instance and view the content using the cat commands.
aws s3 cp <file-name> s3://<bucket-name>


- To sync with local with Remote
aws s3 sync s3://<bucket-name> .

Task-02
Create a snapshot of the EC2 instance and use it to launch a new EC2 instance.
Download a file from the S3 bucket using the AWS CLI.
Verify that the contents of the file are the same on both EC2 instances.
Create a Snapshot of the EC2 instance and use it to launch a new EC2 instance.
Select the EC2 instance that you want to create a snapshot of.
Select the Instance ID as Apache-Server.


- Snapshot is Created

Use Snapshot to launch a new EC2 instance.
On the right side, click Actions & select "Create image from Snapshot"
In the "Create image snapshot" windows enter a name and description for the image.


- Click on "Create image"

Once the image is created, go to the AMI's section in the EC2 Dashboard.
- Check image is created.

- Select the newly created AMI, right-click on it, and select "Launch instance"

- In the "Launch Instance" window, choose the configuration options for the new instance".


Choose the VPC and subnet you want to launch the new instance in.
In the "Add storage" section, you can choose to modify the storage volumes as per your requirements.
Review the instance details and click "Launch Instance" to launch the new instance.

Connect to the new instance using SSH:
aws s3 cp command to get the file from your existing S3 bucket to your EC2 instance.

Verify that the contents of the file are the same on both EC2 instances.
- From New S3 Server

- From Old Server-1

Thank You,
I want to express my deepest gratitude to each and every one of you who has taken the time to read, engage, and support my journey.
Feel free to reach out to me if any corrections or add-ons are required on blogs. Your feedback is always welcome & appreciated.
~ Abhisek Moharana 🙂


