Docker Volume & Docker Network for DevOps Engineers
Day 19 of 90daysofdevops


Docker Volume
A Docker volume is a way to store and share data between containers or between a container and the host machine. It's like a folder that exists outside of the container and allows you to keep data even when containers are stopped, removed or decouple the storage.
Docker volumes are created using the "docker volume create" command or automatically when a container references a volume that does not exist. Volumes are typically created in a specific location on the host machine's filesystem and mounted into containers as directories.
Volumes make it easy to save and access important information, and they can be shared among multiple containers, making it simple for them to work together and exchange data.

To know more about Docker Volume, I'm attaching a blog post from spacelift community. Feel free to refer to this blog to know more about Docker Volume.
Types of Docker Volume
Host volumes: These are directories or files on the Docker host's filesystem that are mounted into the container. Host volumes provide a way for the container to access data on the host machine, and vice versa. The data is stored outside of the container, so it persists even if the container is deleted.
Let's say you have a directory on your Docker host machine at /path/to/data. You can mount this directory as a host volume into your container using the -v flag
docker run -v /path/to/data:/app/data myimage
Named volumes: These are volumes that are managed by Docker and can be shared between containers. Named volumes are created and managed by Docker, and their data is stored in a Docker-managed location on the host machine. Named volumes are often used for data that needs to persist across container restarts or updates.
You can create the named volume using the docker volume create command
docker volume create mydataOnce the named volume is created, you can mount it into a container using the --mount flag
docker run --mount source=mydata,target=/app/data myimage
Anonymous volumes: These are temporary volumes that are created and managed by Docker, and are only used for a single container. Anonymous volumes are created when a container is started and deleted when the container is stopped. They are useful for storing temporary data, such as log files, that doesn't need to persist after the container is stopped.
Let's say you have a Dockerfile that defines a container that writes log files to the /app/logs directory. You can create an anonymous volume for this directory using the -v flag
docker run -v /app/logs myimage
Here are some commonly used Docker volume commands:
| Description | Commands |
| Creates a new Docker volume | docker volume create <volume_name> |
| Lists all the Docker volumes on your system | docker volume ls |
| Displays detailed information about a specific Docker volume | docker volume inspect <volume_name> |
| Removes one or more Docker volumes | docker volume rm <volume_name> |
| Removes all unused Docker volumes | docker volume prune |
| Mounts a Docker volume into a container | docker run -v <volume_name>:<container_mount_path> <image_name> |
| Creates an anonymous volume that is managed by Docker and automatically deleted when the associated container is removed | docker run -v <container_mount_path> <image_name> |
| Mounts a directory from the host machine into a container | docker run -v <host_path>:<container_mount_path> <image_name> |
Docker Volume HandsOn
Creating a docker volume
 docker volume create myvol

 docker volume ls
Inspecting the docker volume
docker volume inspect myvol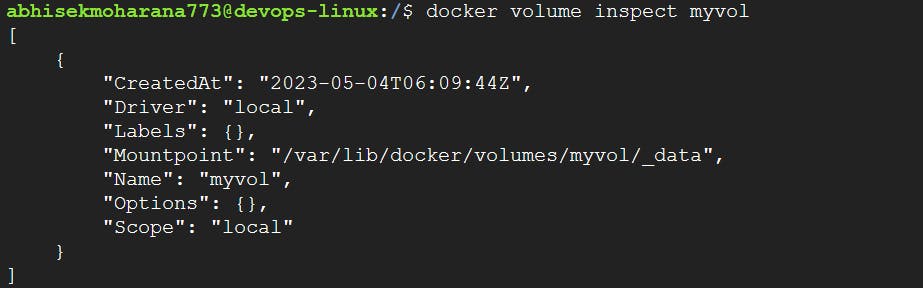
To remove a docker volume
docker volume rm <volume_name>Mounting the image to a docker volume
 docker run -itd --name voltest --mount source=myvol,target=/vol alpine

 docker ps -a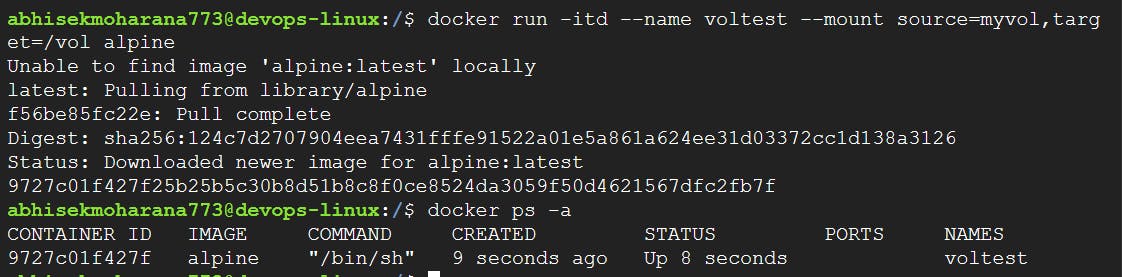
Now execute the container and make some code change
 docker exec -it voltest sh
 # ls
 cd /vol
 vi hello.log
 "Hello from the inside the container volume mount point"

 exit
Now inspect the volume
 docker volume inspect myvol

 ##take the mountpoint address

 sudo cat /var/lib/docker/volumes/myvol/_data/hello.log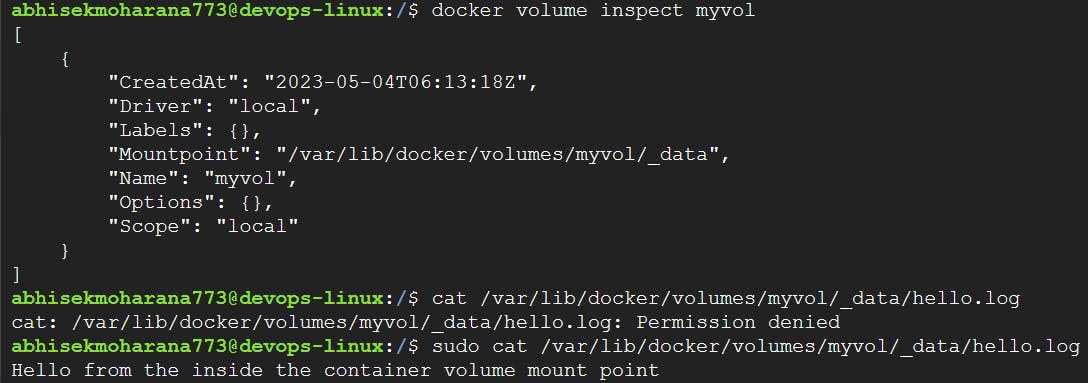
Now stop the container and prune
 docker ps
 docker stop voltest

 docker system prune
 docker ps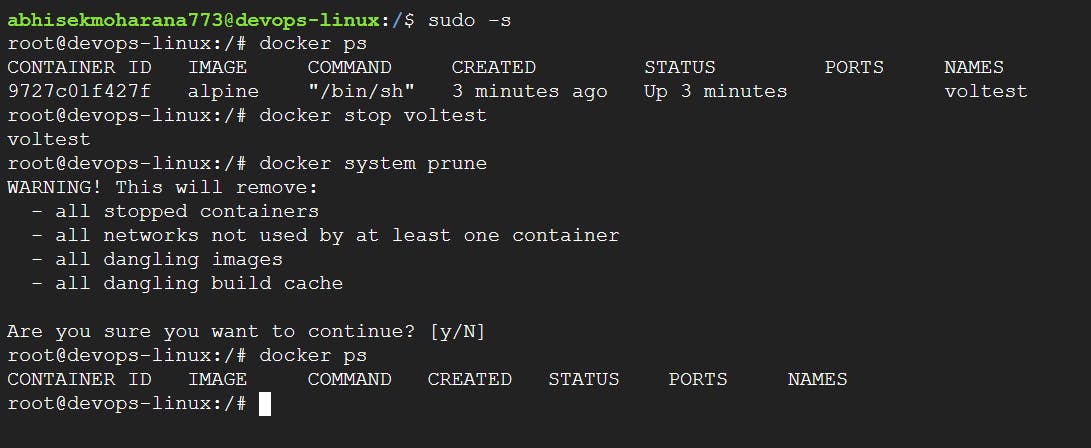
Now create another container and add it to the existing volume
 docker run -itd --name vol2test -v myvol:/vol alpine

 docker ps
Now execute the container
 docker exec -it vol2test sh
 cd /vol/

 ls
 cat hello.log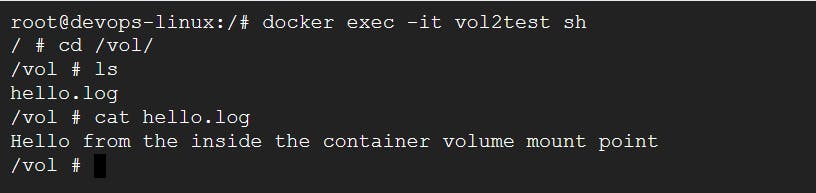
Now we have successfully completed docker volume, creating content from one container and reading the content using a second container using volume.
Docker Network
- In Docker, a network is a virtual network infrastructure that allows containers to communicate with each other and with other networks or services. Docker networking enables containers to connect, isolate, and exchange data securely.
Docker provides different types of networks to suit different networking scenarios:
Bridge network: The default network created by Docker is the bridge network. Containers attached to the same bridge network can communicate with each other directly using IP addresses.
Host network: When a container is connected to the host network, it shares the network namespace with the host machine. This means that the container uses the host's network stack and doesn't have its own network namespace.
Overlay network: Overlay networks are used for communication between containers running on different Docker hosts (machines) within a Docker swarm. This network type provides a distributed network across multiple hosts, enabling seamless communication between containers regardless of their physical location.
Macvlan network: A Macvlan network allows containers to have their own MAC addresses, appearing as separate physical devices on the network.
None network: Containers connected to the "none" network have no networking capabilities. They are isolated from other networks and cannot communicate with other containers or external systems.
Docker Network HandsOn
Create a container name "login" using NGINX
 docker run -d --name login nginx:latest
 docker ps
Login to the container
 docker exec -it login /bin/bash

 apt update
 apt-get install iputils-ping -y
 ping -V
Create a container name "logout" using NGINX
 docker run -d --name logout nginx:latest
 docker ps
Check the IP address of "login" container
docker inspect login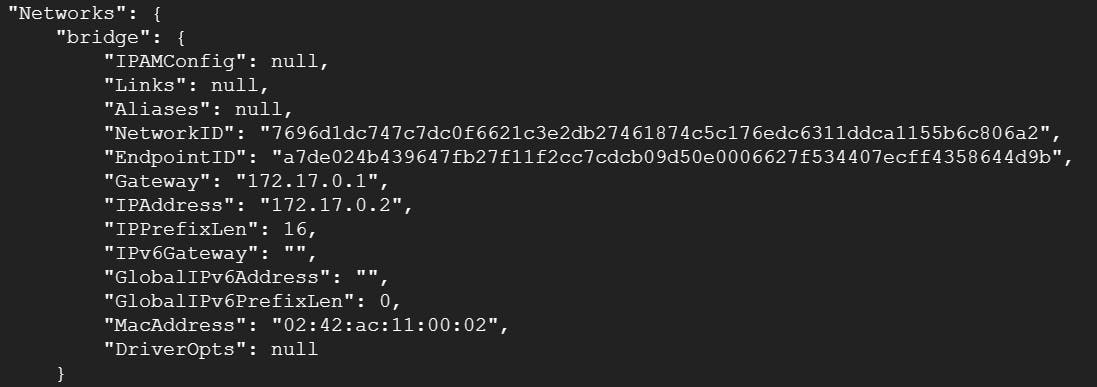
Check the IP address of "logout" container
docker inspect logout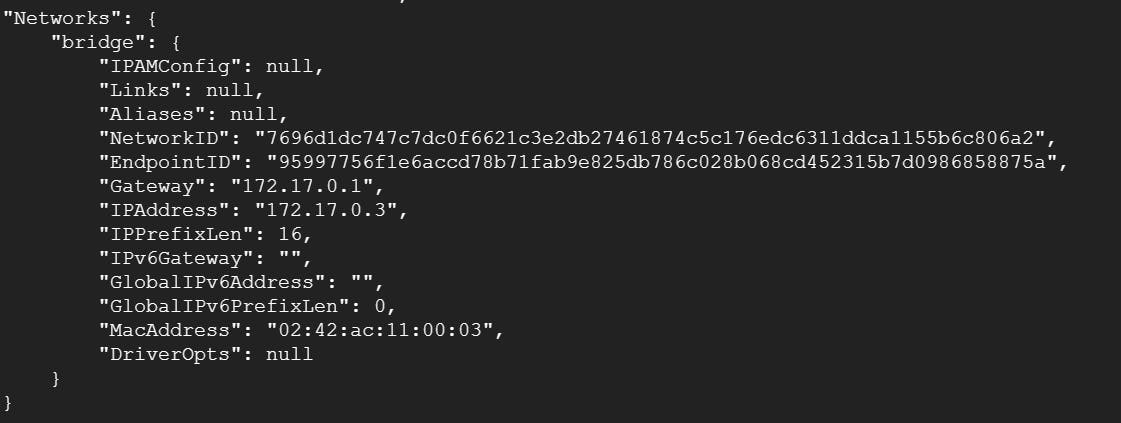
Logged in to the "login" container and ping IP of logout container
 docker exec -it login /bin/bash
 ping 172.17.0.3

 # As we are using default bridge network both of the cont can have same sub net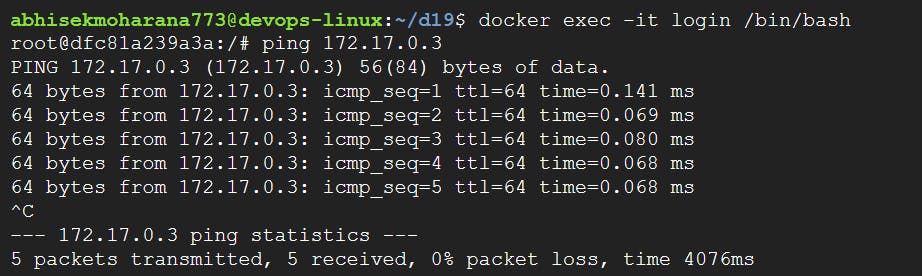
Listing all network
docker network ls
To remove network
docker network rm <name>Creating a custom bridge network
 docker network create secure-network
 docker network ls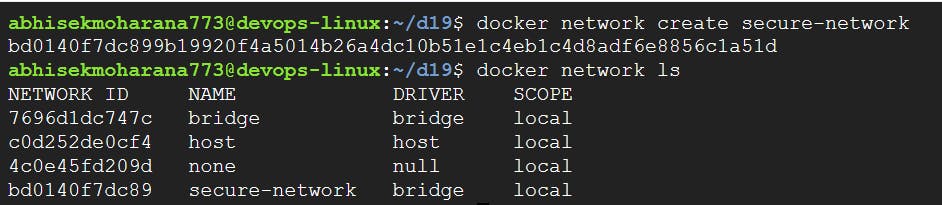
Create a "finance" container
docker run -d --name finance --network=secure-network nginx:latest
docker ps
Inspect the IP address of the "finance" container
docker inspect finance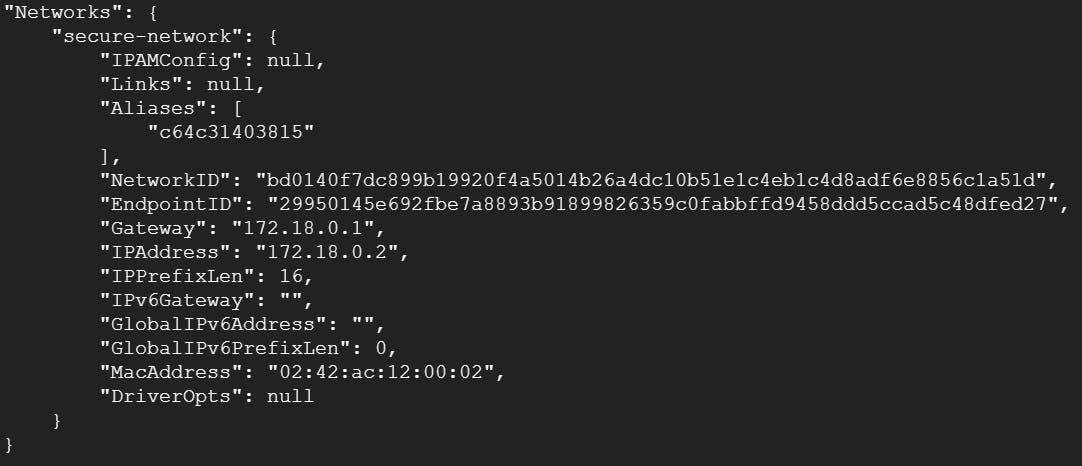
Copy the IP of "finance" and ping it from "login" container
docker exec -it login /bin/bash
ping 172.18.0.2 <ip_finanace>

# As login and finance container are in different network so from one container we can't connect with the second container which makes the container secure
Creating a container "host-demo" using host network
docker run -d --name host-demo --network=host nginx:latest

docker ps
docker network ls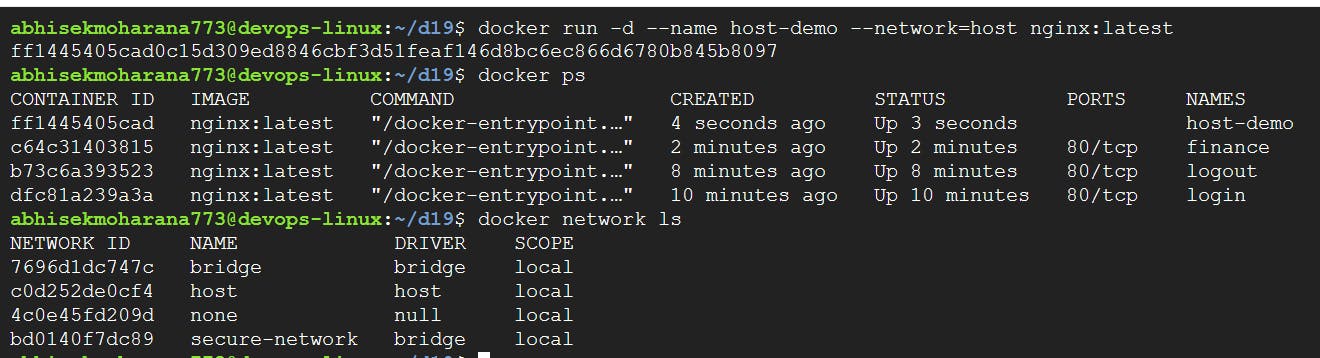
We can verify using docker inspect
docker inspect host-demo

# We can see there is no IP address as this container is directly connect with host network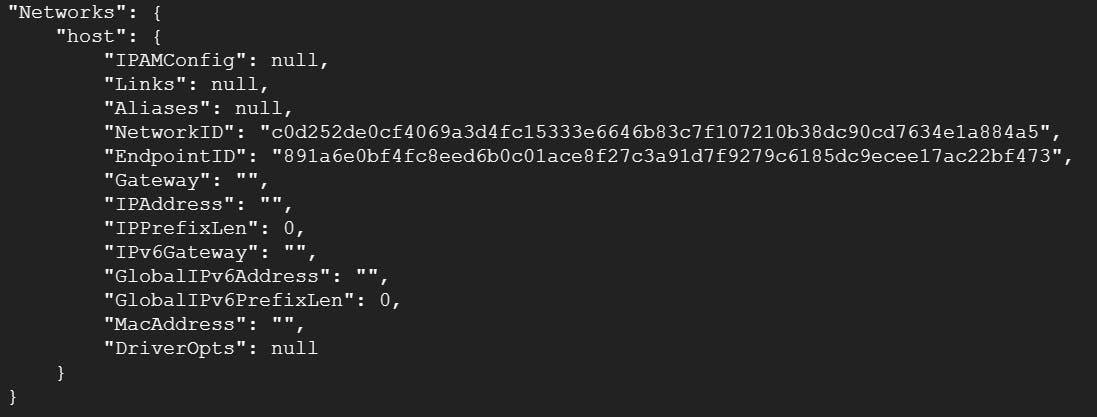
Task 1:
Create a multi-container docker-compose file that will bring UP and bring DOWN containers in a single shot ( Example - Create application and database container )
 mkdir proj2
 cd proj2
 git clone https://github.com/Abhisek773/node-todo-cicd.git
 cd node-todo-cicd
Edit the docker-compose file
 vim docker-compose.yaml
 #
 version: '3.9'

 services:
   web:
     image: abhisek6/node_todo_app:latest
     ports:
       - "8000-8001:8000"
   database:
     image: "mysql:latest"
     ports:
       - "3306:3307:3306"
     environment:
       - "MYSQL_ROOT_PASSWORD=test@123"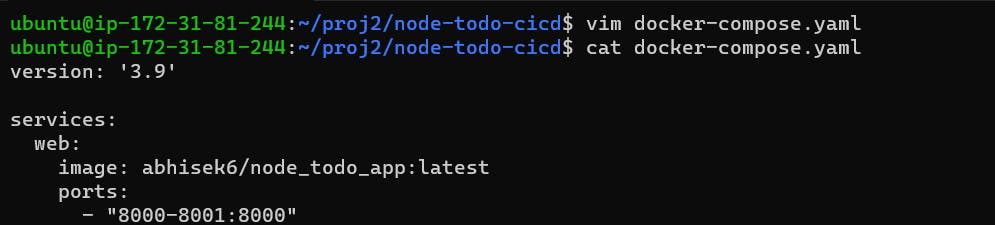

start the container
 docker-compose up -d
 docker-compose down
Use the docker-compose scale command to increase or decrease the number of replicas for a specific service. You can also add
replicasin the deployment file for auto-scaling.docker-compose up -d --scale web=2 --scale database=2
Command to view the status of all containers
docker-compose psCommand to view the logs of a specific service
docker-compose logs
Command to stop and remove all containers, networks, and volumes associated with the application
docker-compose down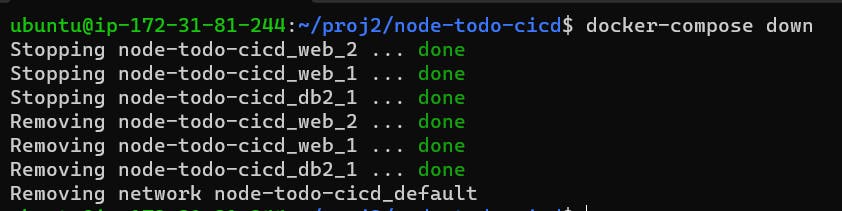
Task 2:
Creating a volume
docker volume create abhisek
Learn how to use Docker Volumes and Named Volumes to share files and directories between multiple containers.
Creating a container using Named Volume
 docker run -d --name container1 -v abhisek:/app nginx:latest
 docker run -d --name container2 -v abhisek:/app nginx:latest

 docker ps
Creating and modifying a file in container1
 docker exec -it container1 bash
 echo "Hello Docker" > /app/hello.txt
 exit
Verify that the data is the same in all containers by using the docker exec command to run commands inside each container.
Using container 2 we can get the same file and output.
 docker exec -it container2 bash
 cat /app/hello.txt
 exit
Create a new volume
docker volume create mydata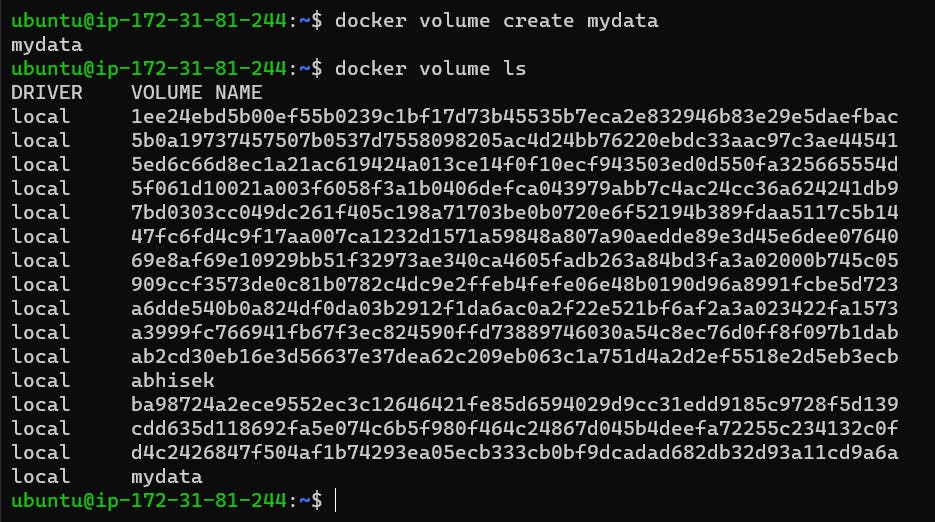
Create two or more containers that read and write data to the same volume using the
docker run --mountcommand.docker run -it --name writer --mount source=mydata,target=/data ubuntu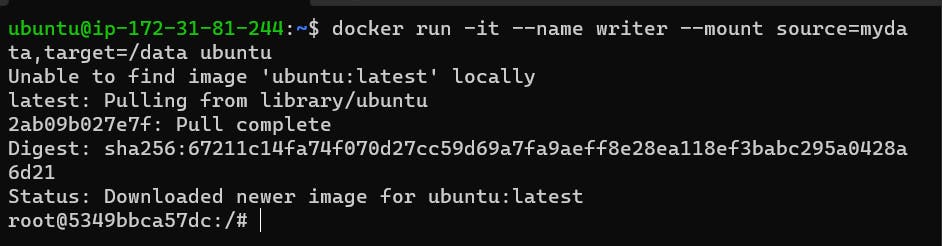
Creating and modifying a file in reader container
 echo "Hello from writer" > /data/writer.txt
 exit
Creating a second container using --mount & we can verify the file contains of reader container.
 docker run -it --name reader --mount source=mydata,target=/data ubuntu bash

 cat /data/writer.txt
To list down all the volume and to remove a particular volume.
 docker volume ls

 # Before removing volume, stop the container first
 docker volume rm <volume_name>

 # If you are getting error removing volume try the below coomand
 docker system prune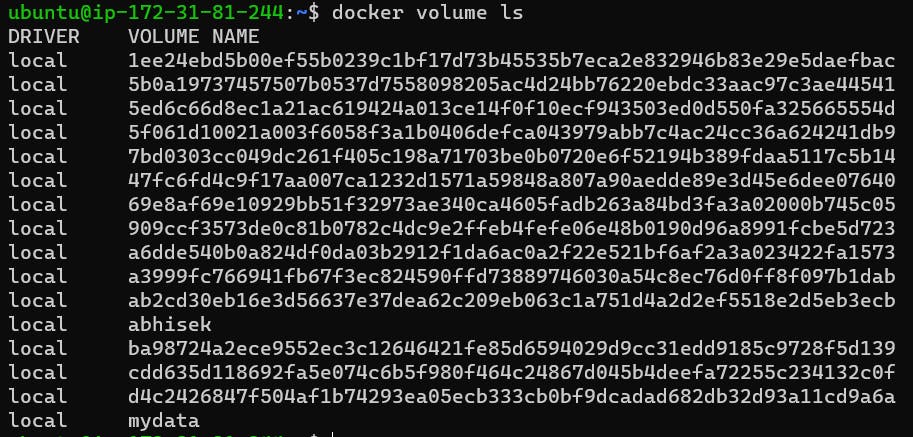
Thank You,
I want to express my deepest gratitude to each and every one of you who has taken the time to read, engage, and support my journey as a becoming DevOps Engineer.
Feel free to reach out to me if any corrections or add-ons are required on blogs. Your feedback is always welcome & appreciated.
~ Abhisek Moharana 😊