
Docker Project on Microservice Flask Application
Day 19 of 90daysofproject


Microservice vs Monolith in Docker
Microservices and monoliths are architectural approaches for building software systems.
In the context of Docker, microservices involve splitting an application into small, loosely coupled services, each running in its own Docker container. This provides scalability, agility, and fault isolation. On the other hand, monoliths are single, tightly coupled applications running in a single Docker container.
Monoliths are simpler to deploy but lack the flexibility and scalability of microservices. Ultimately, the choice depends on the specific requirements of the application, with microservices offering more flexibility and scalability, while monoliths provide simplicity and ease of deployment.
What is API?
- API stands for Application Programming Interface. It is a set of rules, protocols, and tools that allows different software applications to communicate with each other. An API defines the methods, data formats, and conventions that developers should follow when building software components that interact with a particular system or service.
Define CRUD and the types of HTTP requests used by CRUD
CRUD stands for Create, Read, Update, and Delete. It is a set of basic operations that represent the four fundamental actions for persistent storage in a database or application.
Create: The create operation involves adding new data or resources to a system. In terms of HTTP requests used for this operation is POST. It is used to send data to a server to create a new resource.
Read: The read operation involves retrieving or fetching existing data or resources from a system. In terms of HTTP requests used for this operation is GET. It is used to retrieve data from a server without modifying or altering it.
Update: The update operation involves modifying or updating existing data or resources in a system. In terms of HTTP requests used for this operation is PUT or PATCH. PUT is used to completely replace the existing resource with the new data, while PATCH is used to partially update or modify the existing resource.
Delete: The delete operation involves removing or deleting existing data or resources from a system. In terms of HTTP requests used for this operation is DELETE. It is used to request the deletion of a specified resource from a server.
Project on Microservices
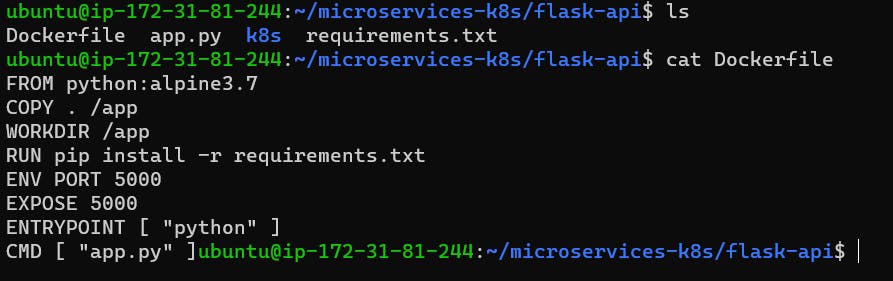
Clone and configure the project file in the local system.
 git clone https://github.com/Abhisek773/microservices-k8s.git
 cd microservices-k8s
 cd flask-api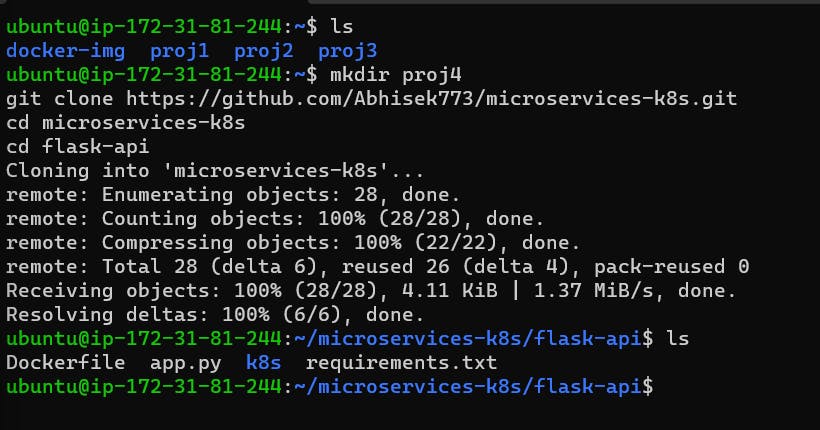
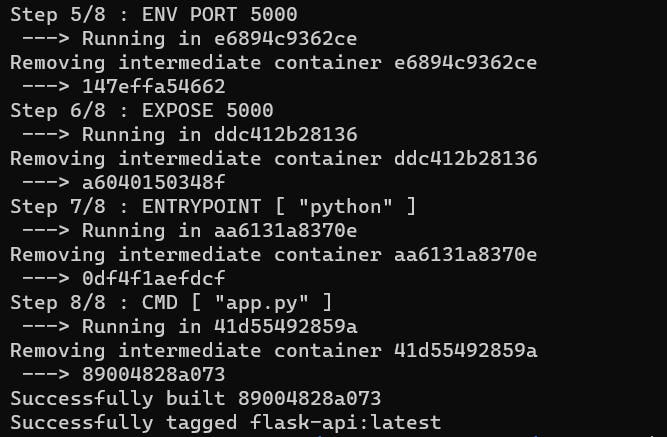
Creating an image from the application
docker build . -t flask-api:latest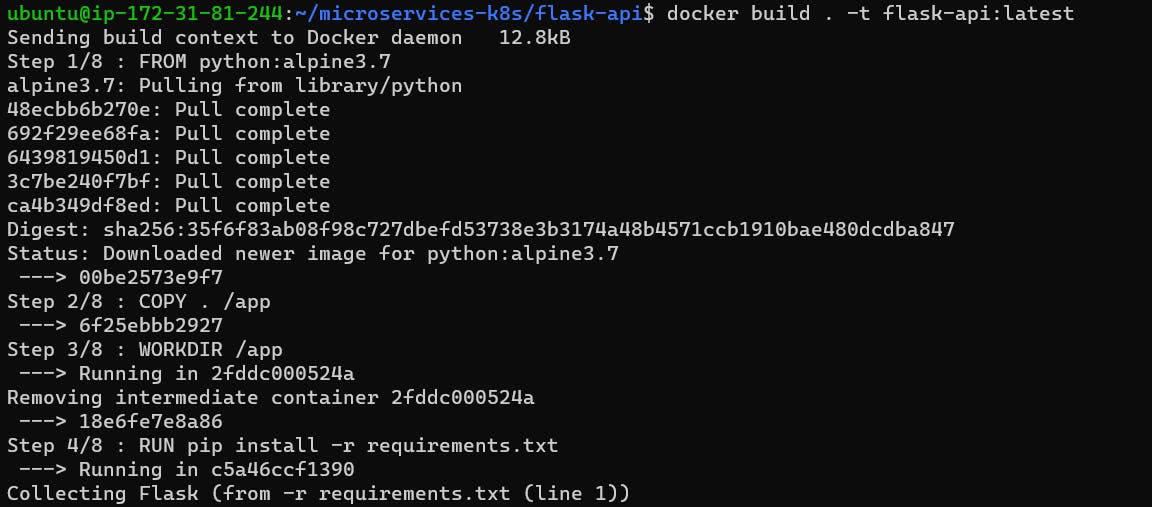
Check & verify the image
docker images | grep <image_name>
Run the image to create a container out of it
docker run -d -p 5000:5000 flask-api:latest
Now edit the inbound rule in the AWS EC2 instance

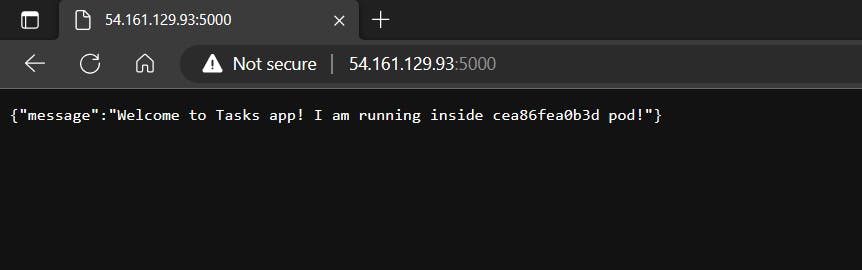
Now we can view the deployed containerized application in the browser
Now we have to Test the API using Postman. So we have installed the Postman in the local system for Testing the API.
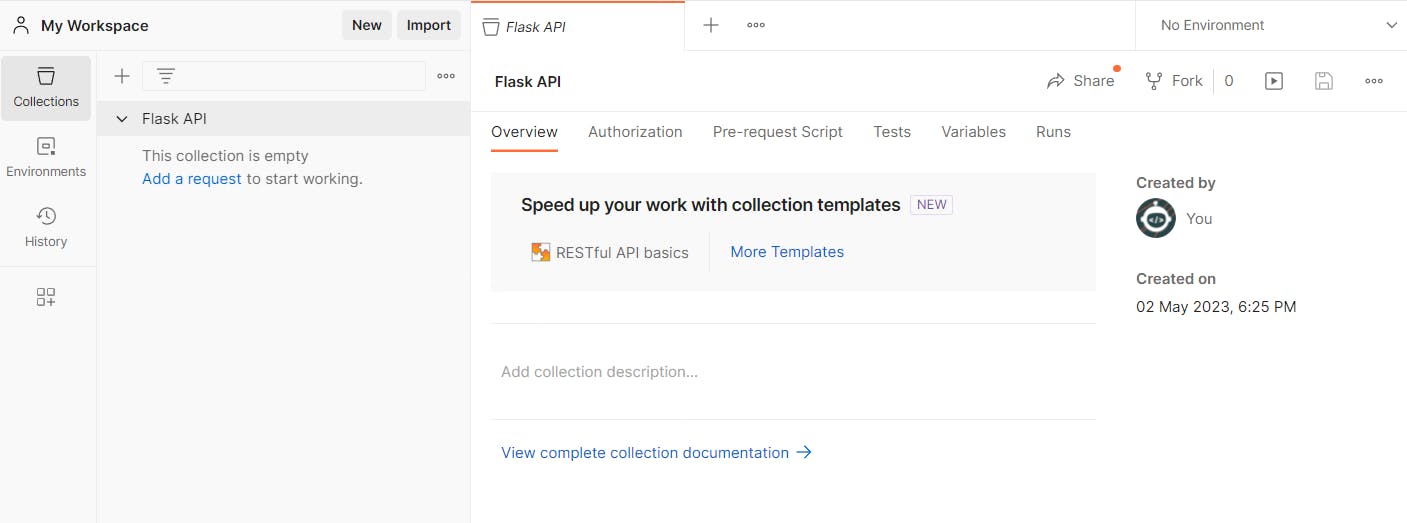
Open the Postman application. Click on + and create a new Collection, rename the collection to "Flask API"
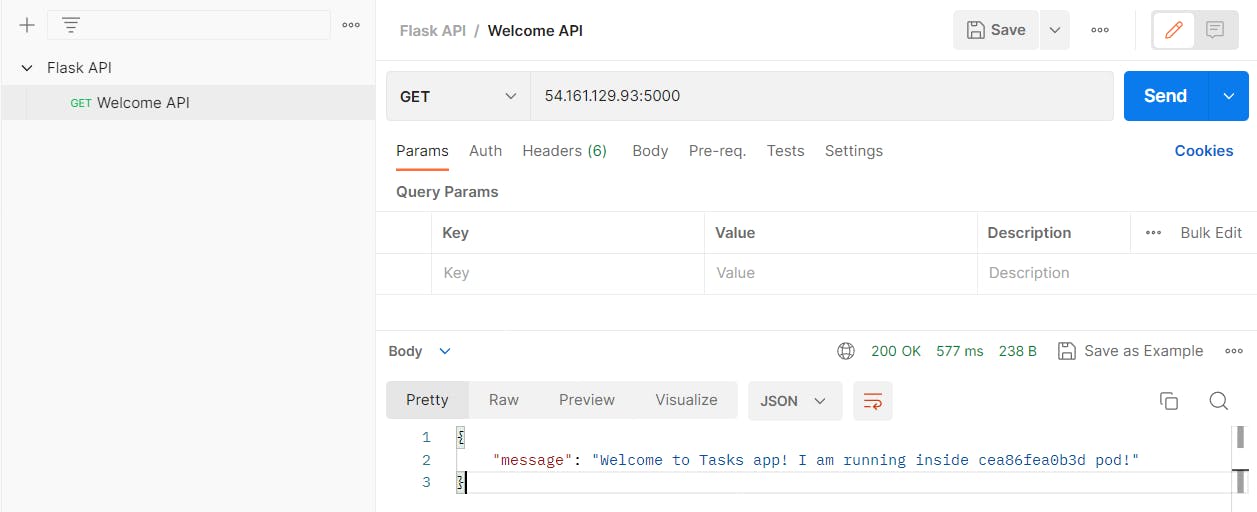
Now Add a request, Choose to Get and paste the Public IPv4:port and click on Send. Now we can see the output in the terminal.
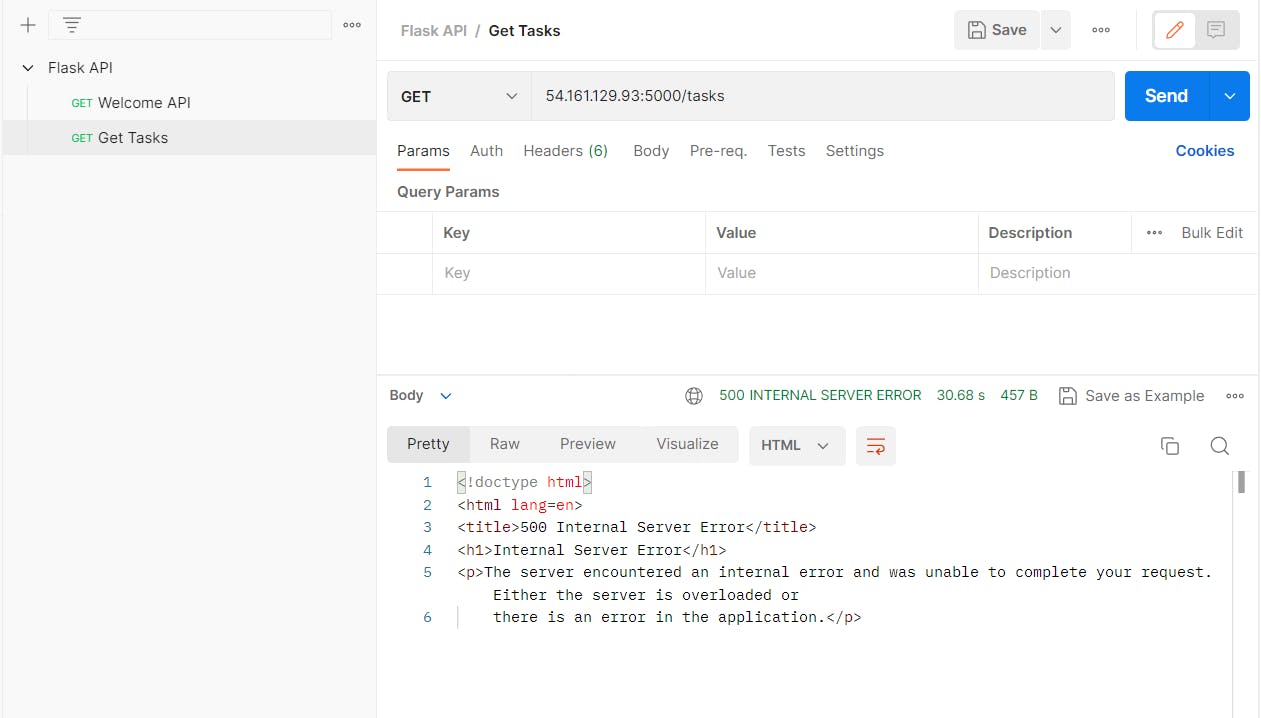
Duplicate Get Task URL <Ip_port_URL>/tasks -> Send
The server runs into an issue as there is no backend database to fetch the details.
Check the running containers
docker ps
docker logs <cont_id>

Now we have to create a container for Mongo, so this container behaves as a backend.
docker run -d -p 27017:27017 --name mongo mongo:latest

# find it in local images or else it will find in Docker hub

docker ps

But still, we get an error as both the container is not connected via a network. So we have to map the container with the network.
Read about the Docker network
 ** containers are isolated to make it secure, need network to connect

Docker Network
1) Bridge (Used for 2 docker container is in a single machine)
2) Host   (Used for Communicated with Host & with docker container)
3) Overlay (Used for 2 docker container is in a different machine)
4) Macvlan / ipvlan
5) none
Now we have to create a custom bridge network for the container so that the container can connect with it.
docker network create flask-mongo-net

docker network ls
Now we have to stop all existing running containers and create again using a custom bridge network
docker run -d -p 5000:5000 --network flask-mongo-net flask-api:latest

docker run -d -p 27017:27017 --network flask-mongo-net --name mongo mongo:latest

We can use the docker-compose to automate the task.
# Install the docker-compose
sudo apt-get install docker-compose -y

#vim docker-compose.yaml

version: '3.9
services:
  flask-api:
    image: abhisek6/flask-micro-api:latest
    container_name:flask-micro-api
    ports:
      -"5000:5000"
  mongo-db:
    image: mongo
    container_name: mongo
    ports:
      -"27017:27017"

#
docker-compose up -d

# If we run the container using docker-compose, no need to create custom network for container. As docker will automatically mapped.
Now open the postman and try to send the URL. We can see, the page is rerouting.
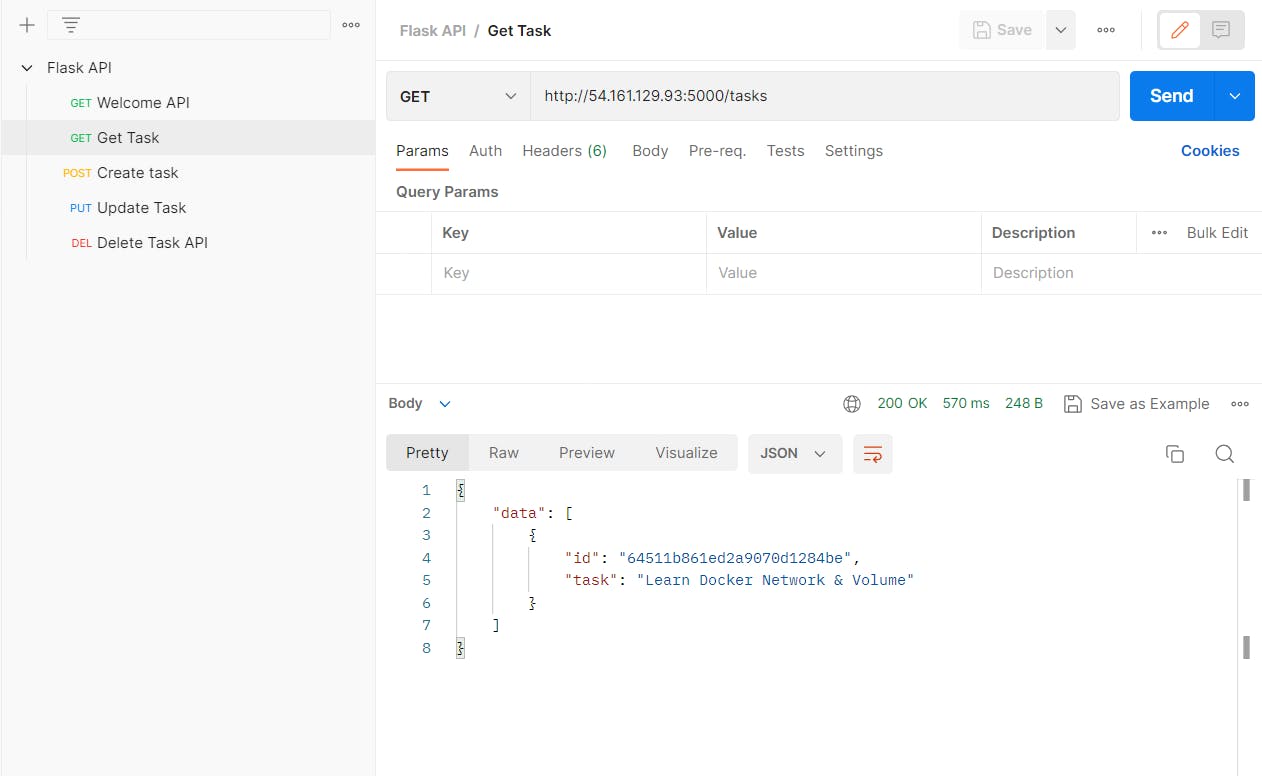
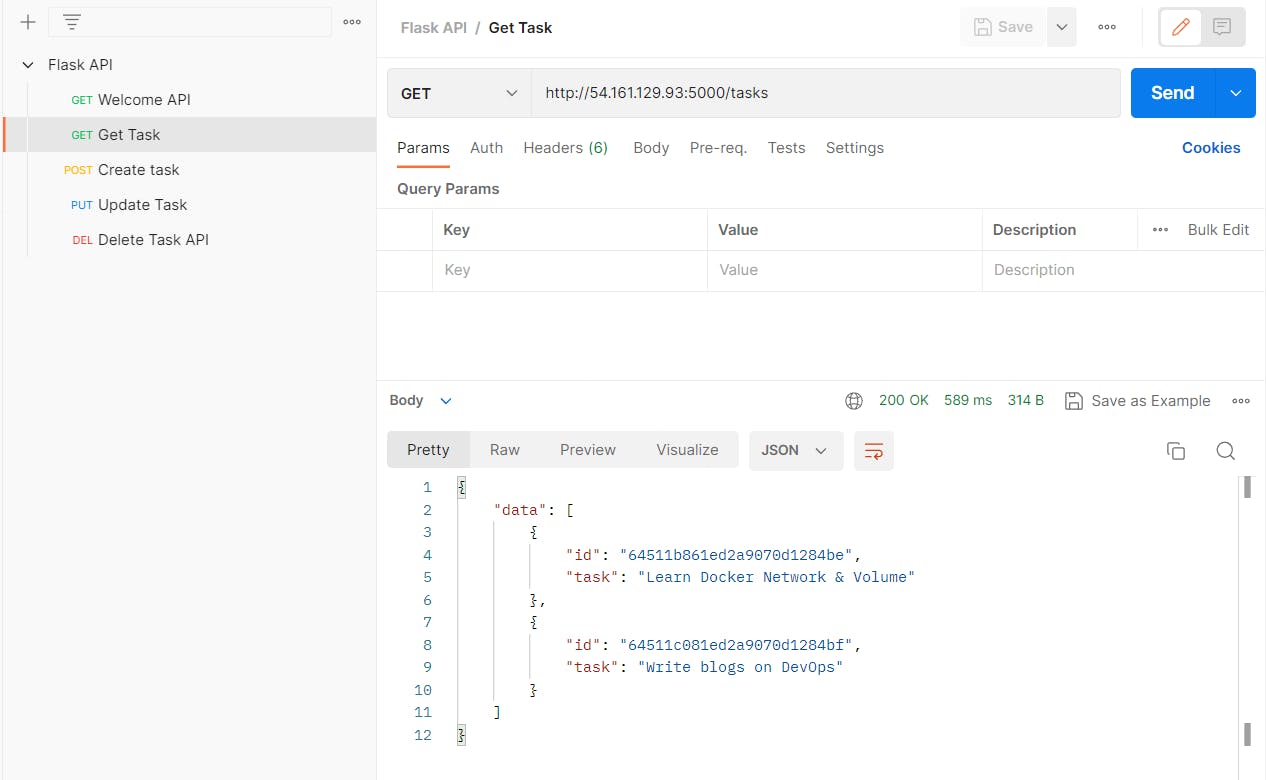
Request Name: Get Task
HTTP Request: GET
URL:  <Public_IPV4_Add>:<port_number>/tasks ->send
If you get an error to create a task, simply remove all the containers, then remove the unused volumes and then recreate the container.
docker system prune --volumesNow create a new request. HTTP requests will be POST and data in JSON for creating a Task.
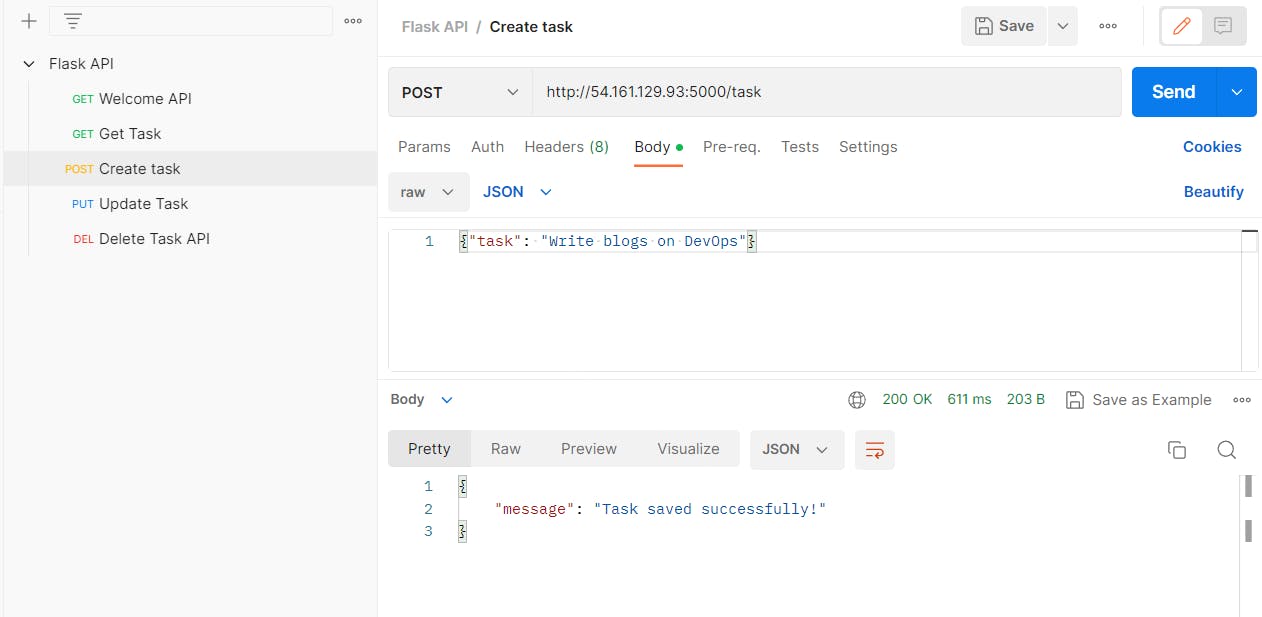
Request Name: Create Task
HTTP Request: Post
URL:  <Public_IPV4_Add>:<port_number>/task
Body/raw/JSON: {"task": "Learn Docker Network & Volume"} -> Send

Body/raw/JSON: {"task": "Write blogs on DevOps"} -> Send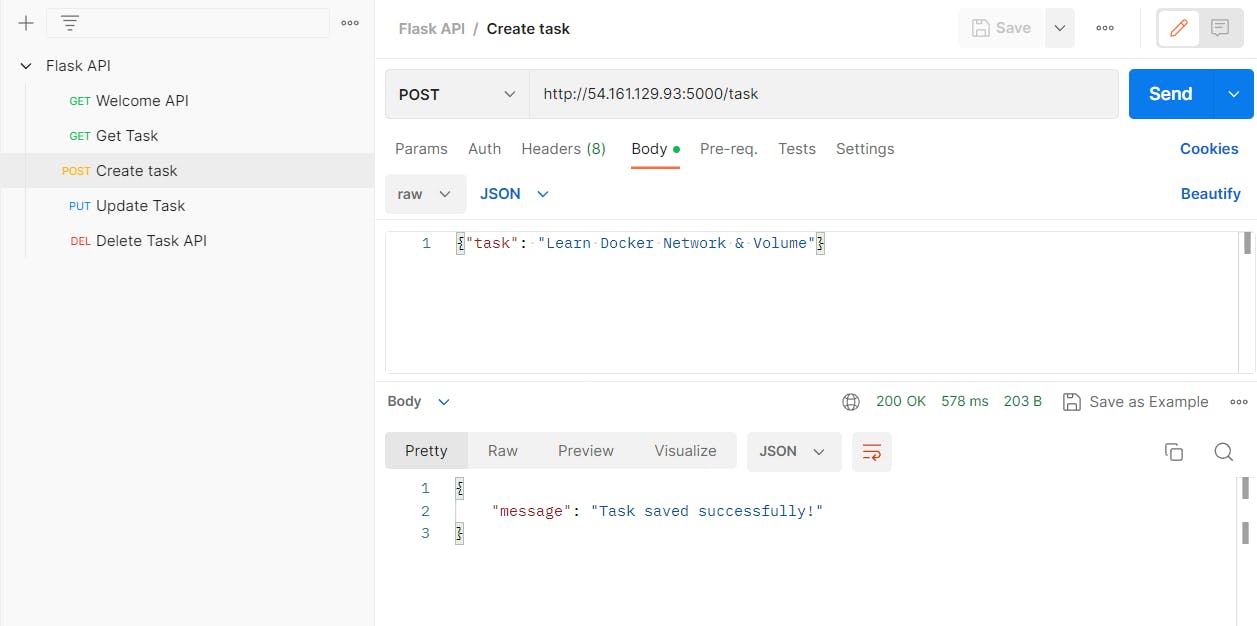
Now we will get tasks
Create another task
Fetching the task
Now create a new request. HTTP request will be UPDATE
Request Name: Update Task
HTTP Request: PUT
URL:  <Public_IPV4_Add>:<port_number>/task/id
Body/raw/JSON: {"task": "Write blogs on DevOps and post it on Linkedin for 90days"} -> Send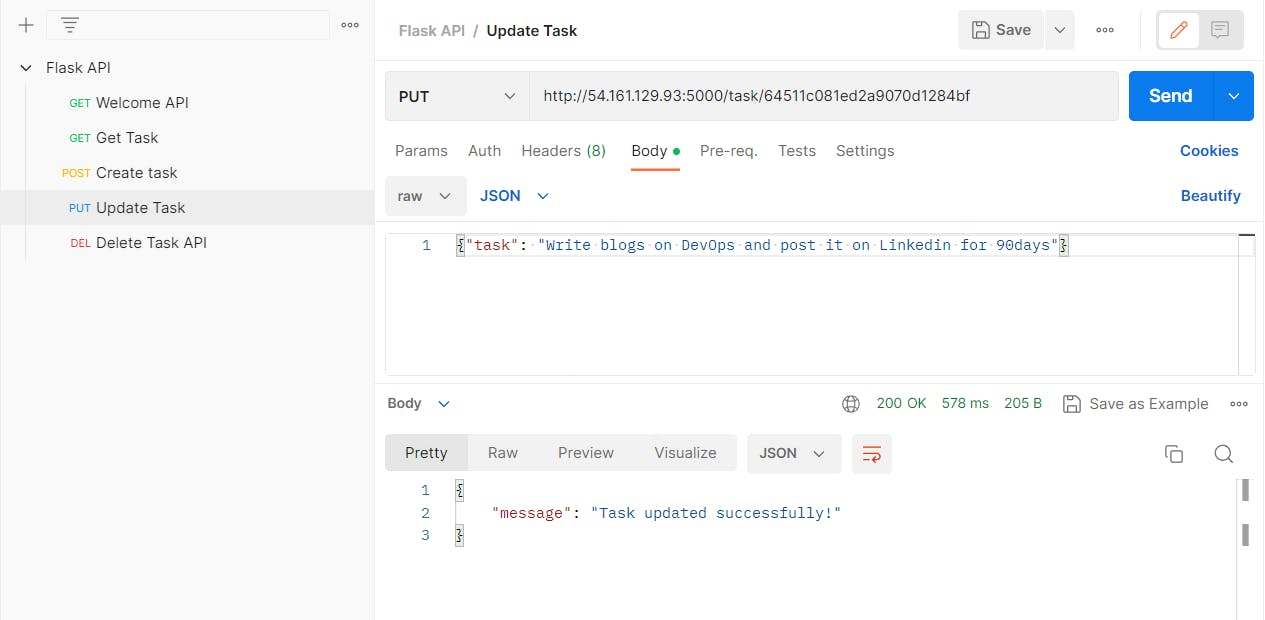
Now it will reflect when we Get Task

Now create a new request. HTTP request will be DELETE
A message will come "Task deleted successfully".
Request Name: Delete Task Task
HTTP Request: DELETE
URL:  <Public_IPV4_Add>:<port_number>/task/<task_id> -> Send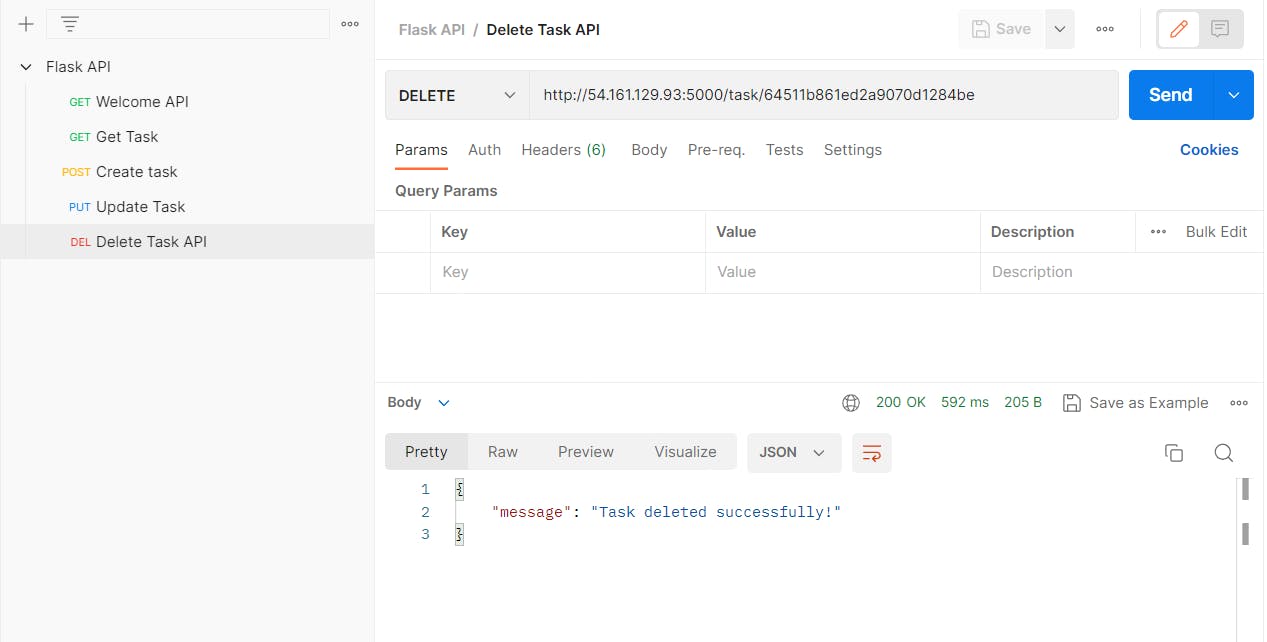
Now the task is deleted.

Now if you want to push the image into the Docker hub, we have to rename it
docker tag flask-api:latest abhisek/flask-micro-api:latest
Push the image into the Docker hub
docker push abhisek6/flask-micro-api:latest
Now the image will be shown in the Docker Hub.

Congratulation, we have successfully deployed the Microservices app using Docker.
Assignment
- Create a docker volume and mount the container to that volume. So whenever the container goes down or is removed the data should be stored in persistent volume.
Using docker-compose
Now we have to modify the docker-compose.yaml file to create a volume for mongo db, where all the data will going to be stored.
 version: '3.9'
 services:
   flask-api:
     image: abhisek6/flask-micro-api:latest
     container_name: flask-micro-api
     ports:
       - "5000:5000"

   mongo-db:
     image: mongo
     container_name: mongo
     ports:
       - "27017:27017"
     volumes:
       - mongo-data:/data/db

 volumes:
   mongo-data:
     driver: local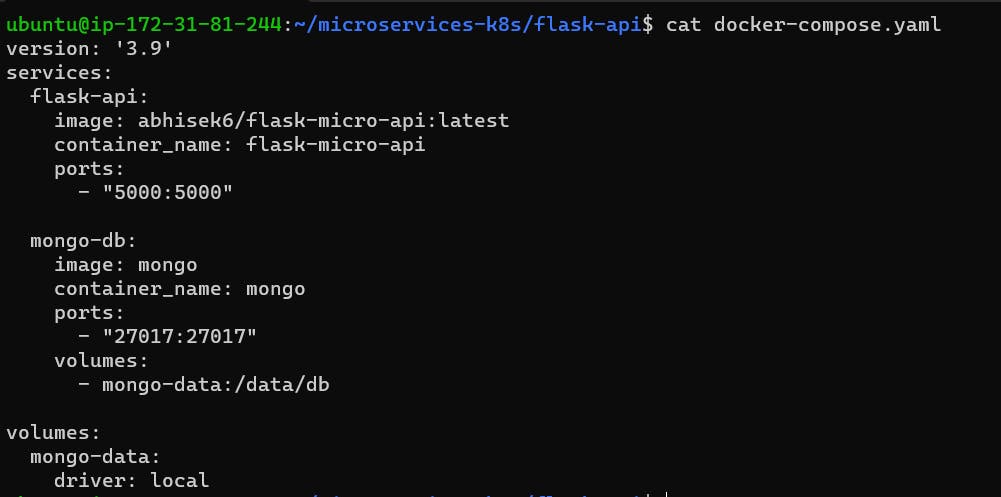
we can directly pass volume in mongo.
 # we can directly add volumes in mongo
  volumes:
       - ./mongo-volume:/data/db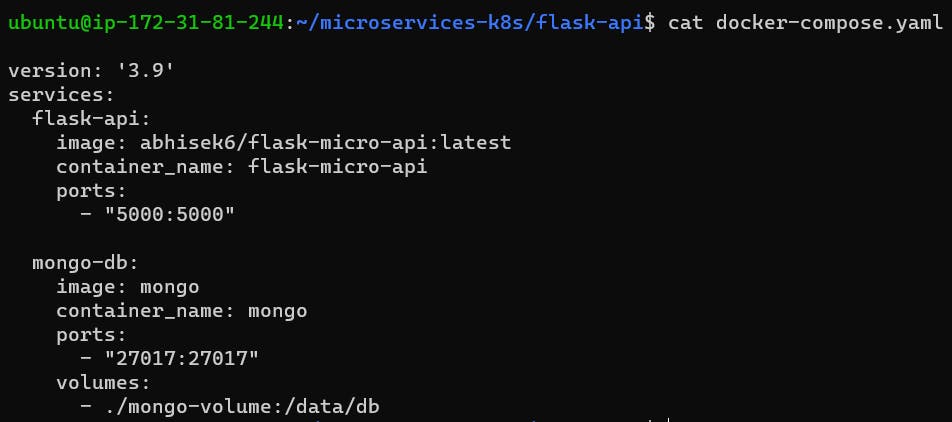
Now we have to do the docker-compose up, so that container gets started.
docker-compose up -d
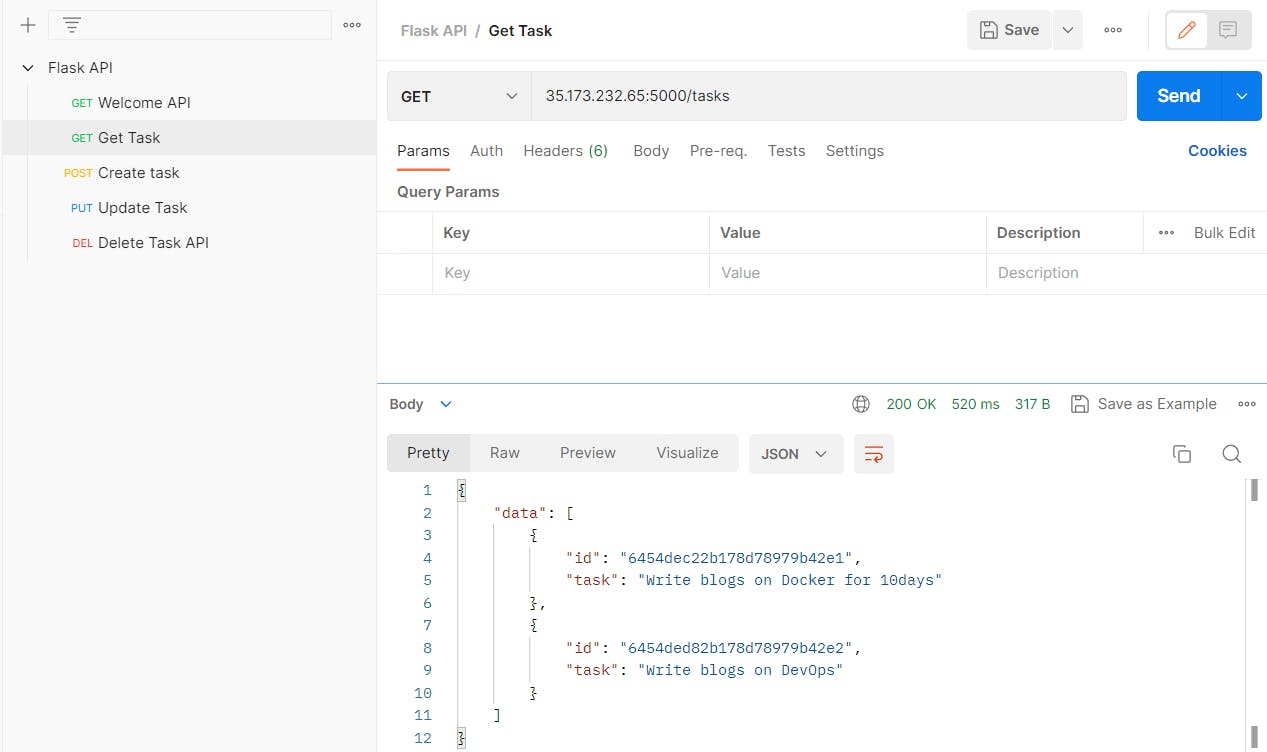
We create a task and get the task using the GET method to see data in the postman.

Now we have to bring down the docker-compose
docker-compose down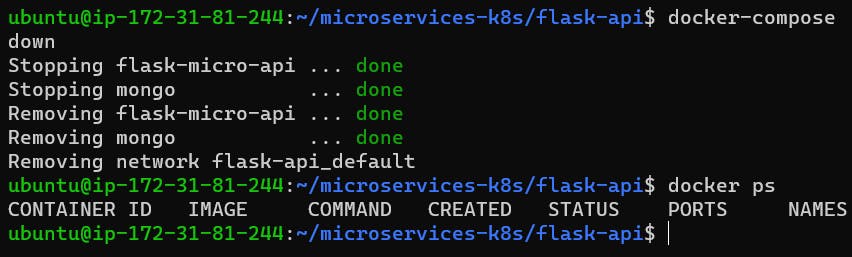
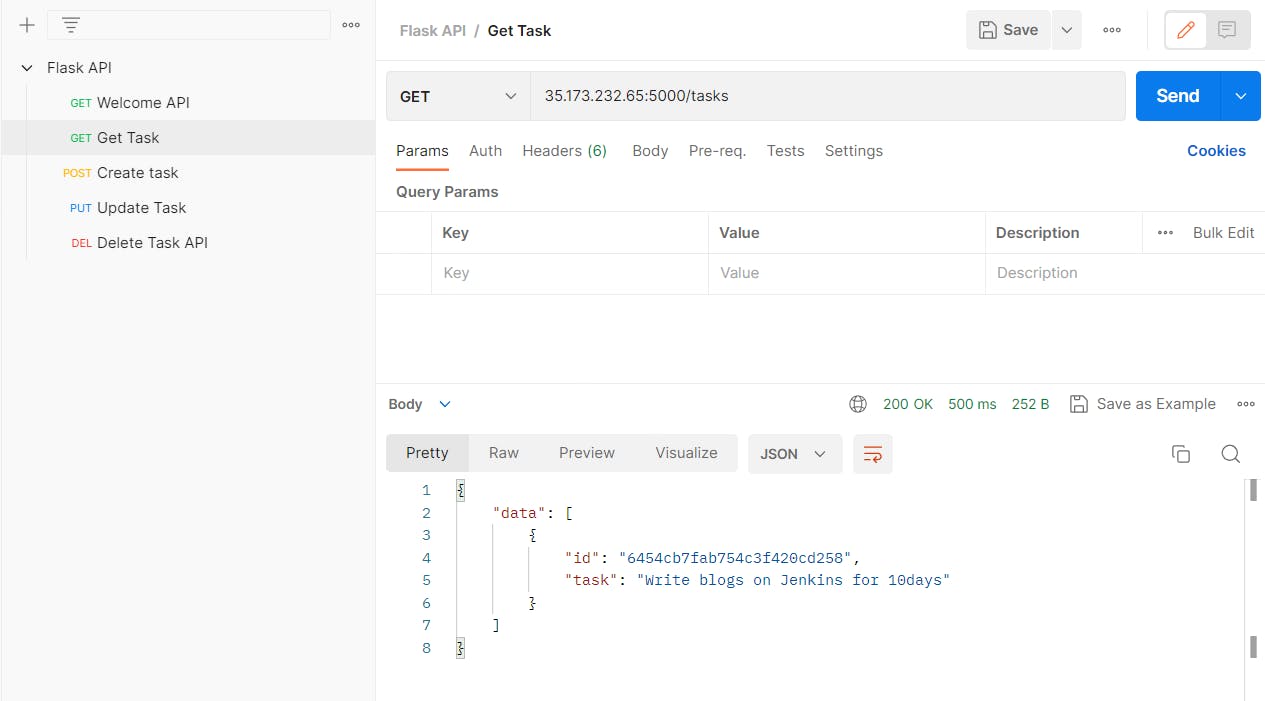
Now we have to again start the container using docker-compose and check in the postman if the data is still there or not.
docker-compose up -d
Yeah !!! finally, all the data showed up as we are using docker-volume, so all the data is kept stored in the persistent volume. Once the container started, it will fetch the data from there.

Read More about the -v or --mount flag
Using --mount
Create a vol "mongo-volume", where mongo db data is going to be kept.
 docker volume create mongo-volume

 # List down all the volume
 docker volume ls
Now add containers for both Flask and Mongo.
We have to pass volume details in the mongo container.
 docker run -d -p 5000:5000 --network flask-mongo-net flask-api:latest

 docker run -d -p 27017:27017 --network flask-mongo-net --mount source=mongo-volume,target=/data/db --name mongo mongo:latest
Now we have to create some tasks and get the task using the GET method in Postman.
Now stop & remove the Mongo containers.
 docker stop mongo && docker rm mongo
 docker ps
Now start the container again to see, if persistent data is there or not
 # We are using same container name as app.py code is hardcoded mongo name

 docker run -d -p 27017:27017 --network flask-mongo-net --mount
 source=mongo-volume,target=/data/db --name mongo mongo:latest
Now we are getting the same data even though we stopped and remove the container

Using -v
Create a vol "mongo-volume", where mongo db data is going to be kept. If you already created no need to create again.
 docker volume create mongo-volume
 docker volume ls
add containers
 docker run -d -p 5000:5000 --network flask-mongo-net flask-api:latest

 docker run -d -p 27017:27017 --network flask-mongo-net -v mongodbdata:/data/db  --name mongo mongo:latest
Now we have to create some tasks and get the task using the GET method in Postman.
Now stop & remove the containers.
 docker stop mongo && docker rm mongo
 docker ps
Now start the container again to see, if persistent data is there or not
 # We are using same container name as app.py code is hardcoded mongo name

 docker run -d -p 27017:27017 --network flask-mongo-net -v mongodbdata:/data/db  --name mongo mongo:latest
Now we are getting the same data even though we stopped and remove the container

Thank You,
I want to express my deepest gratitude to each and every one of you who has taken the time to read, engage, and support my journey as a becoming DevOps Engineer.
Feel free to reach out to me if any corrections or add-ons are required on blogs. Your feedback is always welcome & appreciated.
~ Abhisek Moharana 😊