

DockerFile
A Dockerfile is a text file used to define the instructions for building a Docker image. It provides a set of steps that Docker follows to create an image, which can then be used to run containers.
In a Dockerfile, you specify the base image, add additional dependencies and files, set environment variables, and define the commands to run when starting a container from the image. The Dockerfile acts as a recipe for building a Docker image with all the necessary components and configurations.
Here are some key reasons to use Dockerfiles:
Reproducibility and Consistency: Dockerfiles ensure reproducibility by capturing the exact steps and configurations needed to build an image by defining the precise versions of software packages, libraries, and dependencies required by your application.
Automation: Dockerfiles allow for automated image builds. By defining the build steps in a Dockerfile, you can automate the image creation process, reducing manual effort and the risk of human error.
Customization and Configuration: Dockerfiles provide flexibility in configuring the application environment. You can define specific settings, environment variables, and file placements within the image.
Scalability and Deployment: Dockerfiles facilitate the scaling and deployment of containerized applications. By defining the build process in a Dockerfile, you can easily create multiple instances of the same image, allowing for horizontal scaling of your application.
Task: Deploying Projects
Project 1: React_Django_App
React Django Application Repository
Cloning the react django application from git and removing the existing Dockerfile.
 mkdir proj1
 cd proj1
 git clone https://github.com/Abhisek773/react_django_demo_app.git
 cd react_django_demo_app
 rm Dockerfile
Create a new Dockerfile to write the set of instructions for execution
 vim Dockerfile

 # Dockerfile contains
 FROM python:3.9
 COPY . .
 RUN pip install -r requirements.txt
 EXPOSE 8001
 CMD ["python","manage.py","runserver","0.0.0.0:8001"]

 # RUN is intermediate steps executed for creating an image to but CMD is entry point inside in your image

 # NOTE
 # To optimise and small the docker image we use python:3.9-alpine
Now we have to build the application by providing the image & tag name
 docker build . -t react_django_app:latest
 # -t is used for tagging
 # we use . as Dockerfile is same dir. But if it is in different dir we have to pass the absolute path  of Dockerfile

 # To create a Docker file and from the Dockerfile we create an image
 # From the image we can create a container

 # succssfully tagged message should come atlast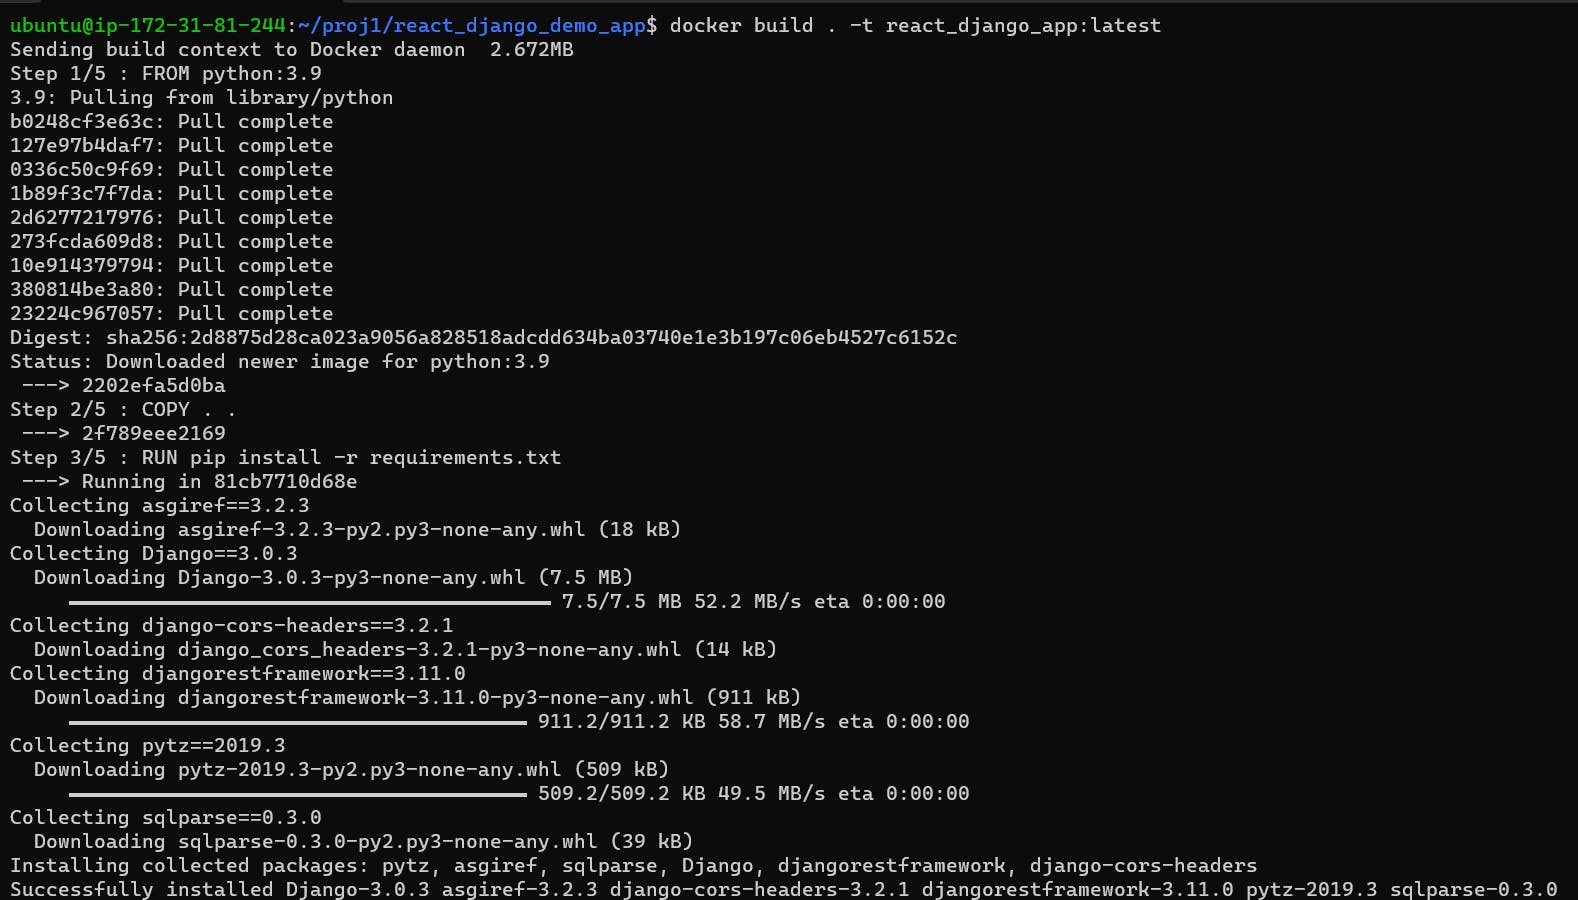

Create a container from the built application/image
docker run -p 8001:8001 -d react_django_app:latest
Check the container is up & running in port 8001
docker ps
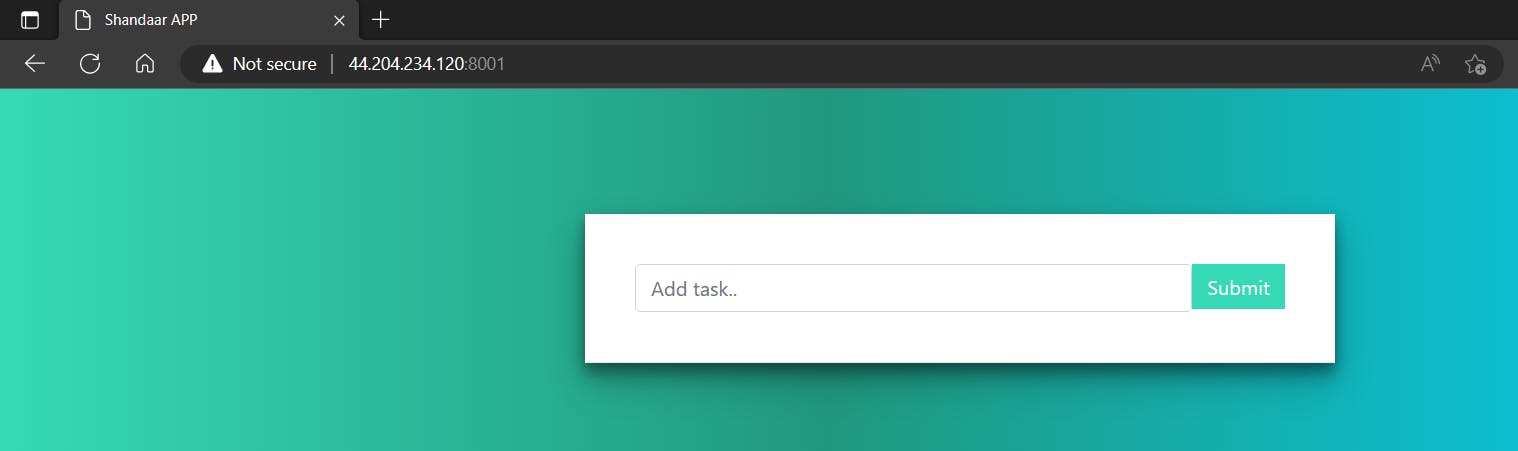
Now we have to map our URL in the EC2 instance so that app can run on a Public IPv4 port.
 # Follow the steps:
 # EC2 -> Security -> Security Groups -> Inbounds Rules-> Edit -> Add a rule

 Type: Custom TCP
 Port Range : 8001
 Source Tyep : Anywhere-IPv4

 Now save the Rule
Now copy the public ipv4 address and pass the port number to view the application.
Public_IPv4_URL:<Port_number>
Project 2: Node Todo App

Cloning the Node Todo application from git and removing the existing Dockerfile.
 mkdir proj2
 cd proj2
 git clone https://github.com/Abhisek773/node-todo-cicd.git
 cd node-todo-cicd
 rm Dockerfile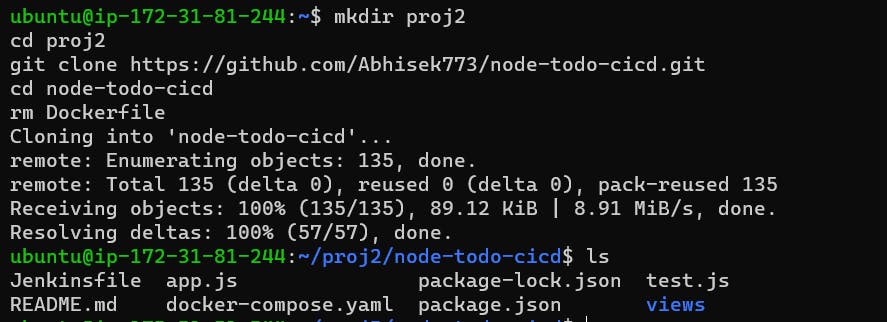
Create a new Dockerfile to write the set of instructions for execution
 vim Dockerfile

 #
 FROM node:12.2.0-alpine
 COPY . .
 RUN npm install
 EXPOSE 8000
 CMD ["node","app.js"]
Create a container from the built application/image
docker build . -t node_todo_app:latest
Checking the images
docker images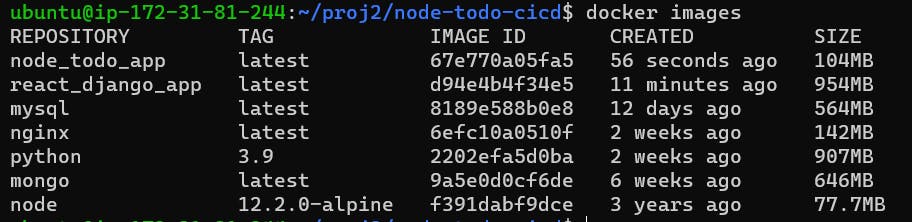
Create a container from the built application/image
docker run -p 8000:8000 -d node_todo_app:latest
Now edit the inbound rule for mapping the port number 8000 so that it will be shown using public IPv4.
 # Follow the steps:
 # EC2 -> Security -> Security Groups -> Inbounds Rules-> Edit -> Add a rule

 Type: Custom TCP
 Port Range : 8001
 Source Tyep : Anywhere-IPv4

 Now save the Rule
Now copy the public ipv4 address and pass the port number to view the application.
Public_IPv4_URL:<Port_number>
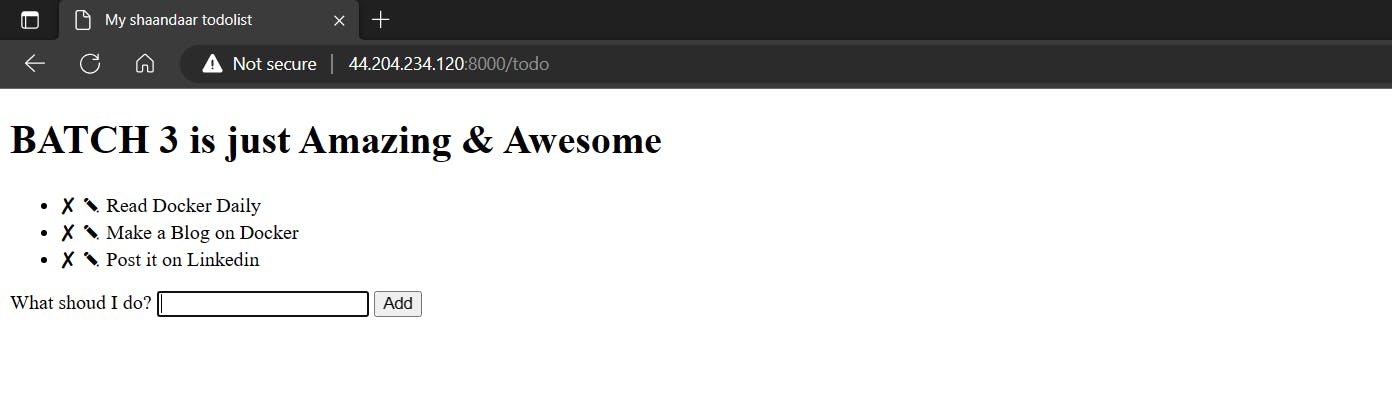
Now we can see the containers up & running in port 8000
docker ps
Push the image to a public or private repository (e.g. Docker Hub )
Create an account on Docker Hub
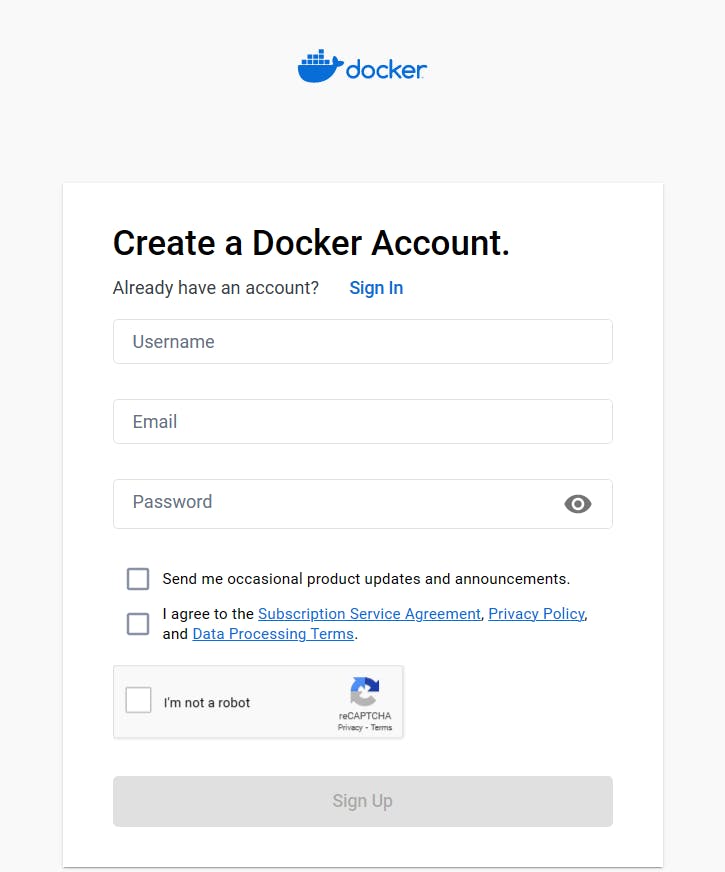
Choose the free plan

Log in to the Docker hub
 sudo docker login
 # User name & password should provided
Creating the new image name for the existing container

 # Checking the image name
 docker ps

 # Giving new image name to the existing one
 sudo docker image tag react_django_app:latest abhisek6/react_django_app:latest
Push the image from local to remote
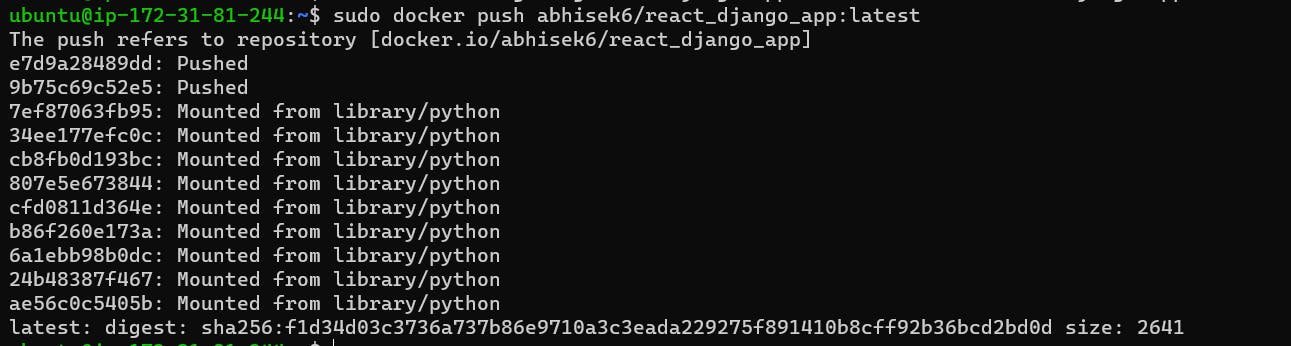
sudo docker push abhisek6/react_django_app:latestNow from the DockerHub dashboard, we can view our deployed image.

Thank You,
I want to express my deepest gratitude to each and every one of you who has taken the time to read, engage, and support my journey as a becoming DevOps Engineer.
Feel free to reach out to me if any corrections or add-ons are required on blogs. Your feedback is always welcome & appreciated.
~ Abhisek Moharana 😊