

What is ECS?
ECS stands for Elastic Container Service is a fully managed container orchestration service provided by AWS. It allows you to run, manage, and scale Docker containers in a highly scalable and flexible manner.
With ECS, you can easily deploy containers as tasks within clusters of EC2 instances or by utilizing AWS Fargate, a serverless compute engine for containers.
ECS takes care of the underlying infrastructure, including resource provisioning, load balancing, and automatic scaling, enabling you to focus on running your applications. It integrates seamlessly with other AWS services, providing a comprehensive ecosystem for building and deploying containerized applications.
ECS offers features such as task definitions, which define container configurations, and services, which help with managing and scaling tasks. It provides fine-grained control over networking, security, and access control, ensuring reliable and secure container deployments at scale.
What is ECR?
ECR stands for Elastic Container Registry, it is a fully managed Docker container registry provided by AWS. ECR allows you to store, manage, and deploy Docker container images, making it easier to build, test, and deploy applications using containers.
With ECR, you can securely store and share your container images, ensuring reliable access and high availability. It integrates seamlessly with other AWS services like ECS, EKS (Amazon Elastic Kubernetes Service), and CodePipeline, enabling streamlined container workflows.
ECR supports private repositories, fine-grained access control, image lifecycle management, and automatic encryption at rest.
By using ECR, developers can easily push, pull, and manage container images, while ensuring their availability, security, and scalability within the AWS ecosystem.
What is Fargate?
AWS Fargate is a serverless compute engine for containers provided by Amazon Web Services (AWS). It allows you to run containers without the need to manage the underlying infrastructure.
With Fargate, you can focus solely on deploying and scaling your containers, while AWS takes care of provisioning and managing the necessary compute resources.
Fargate abstracts away the complexities of managing EC2 instances and allows you to run containers as tasks directly. It automatically scales the underlying infrastructure based on the resource requirements specified in your task definitions.
Fargate integrates seamlessly with other AWS services like ECS and EKS, enabling you to build scalable and highly available containerized applications.
By using Fargate, developers can enjoy the benefits of serverless computing for containers, such as reduced operational overhead, improved resource utilization, and simplified deployment workflows, ultimately allowing them to focus more on application development and innovation.
Deploy Flask APP
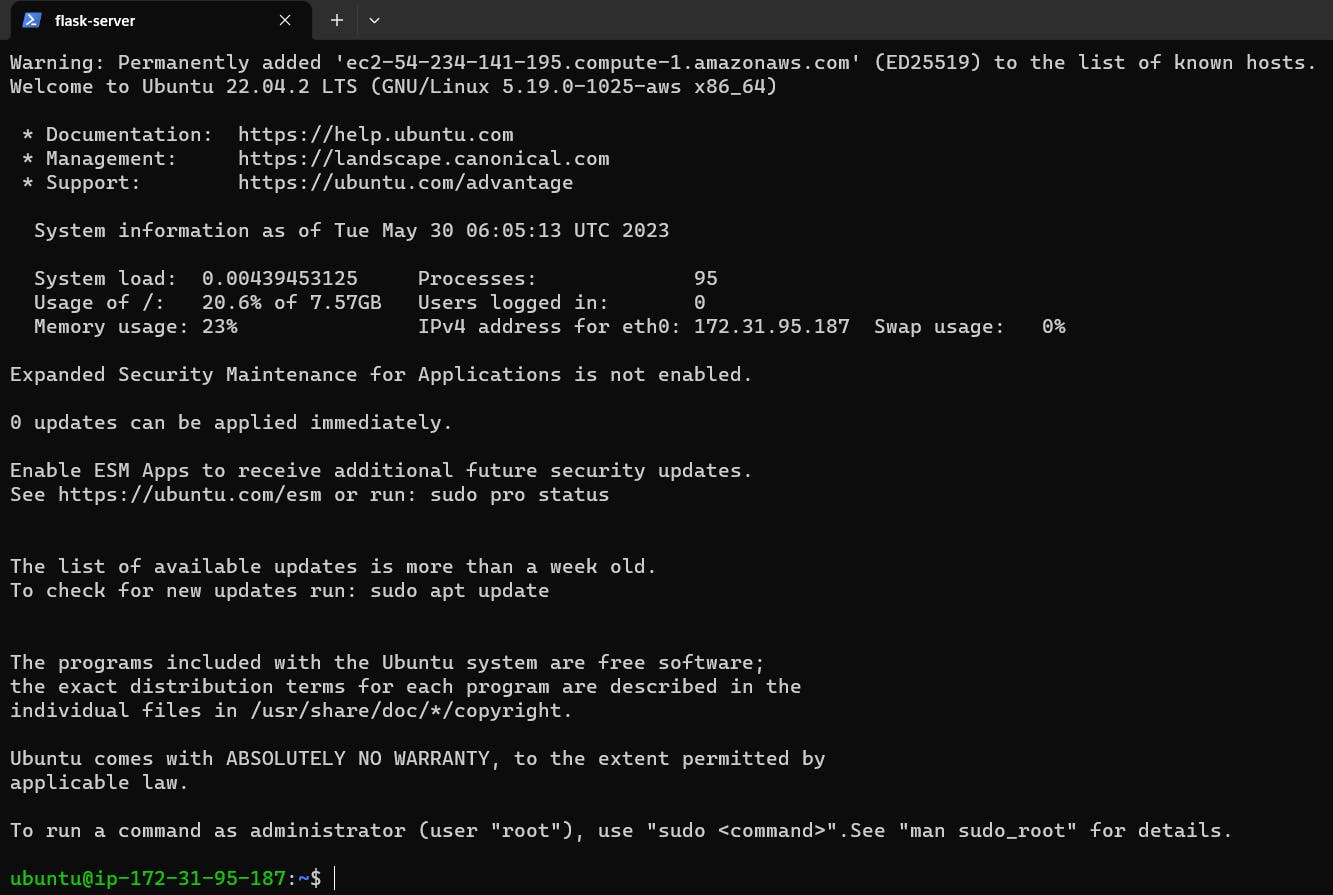
Setting Up EC2 instance
Create a new EC2 instance and SSH into it

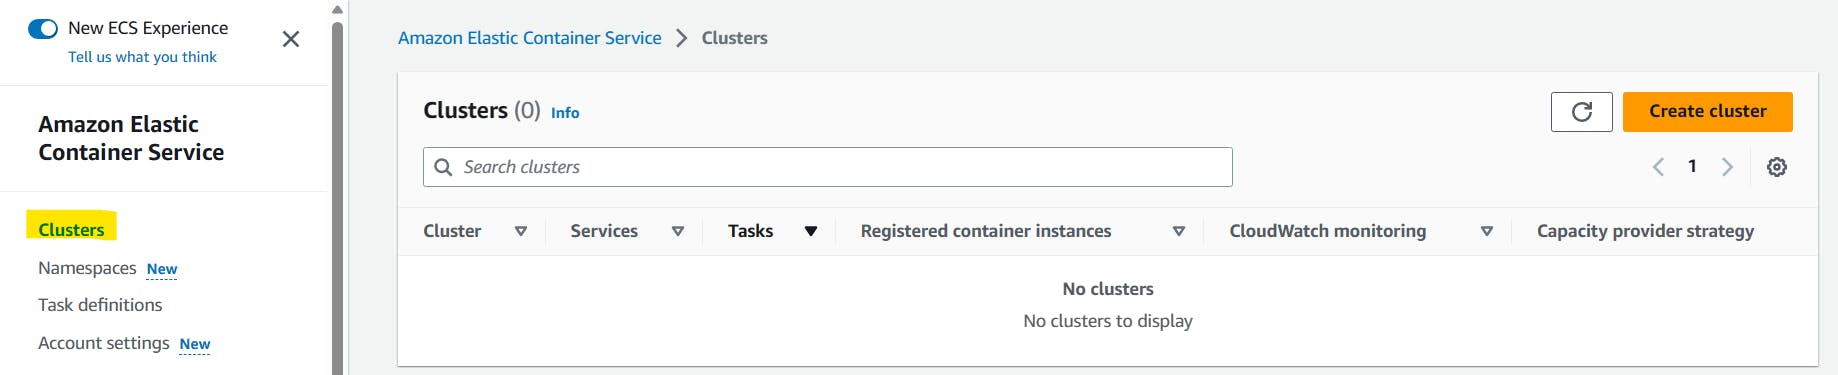
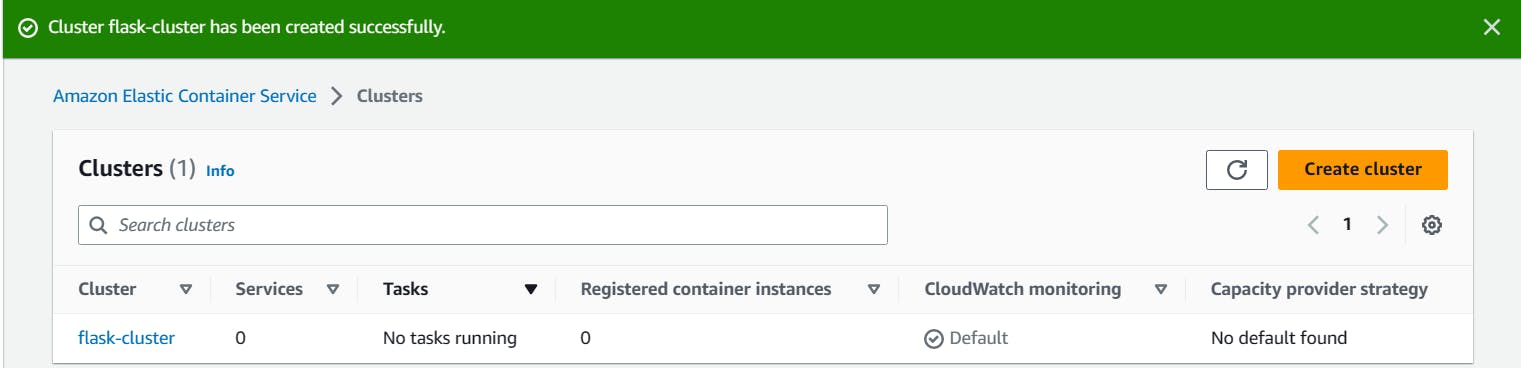
Create an ECS cluster:
In the ECS service, click on "Create Cluster".
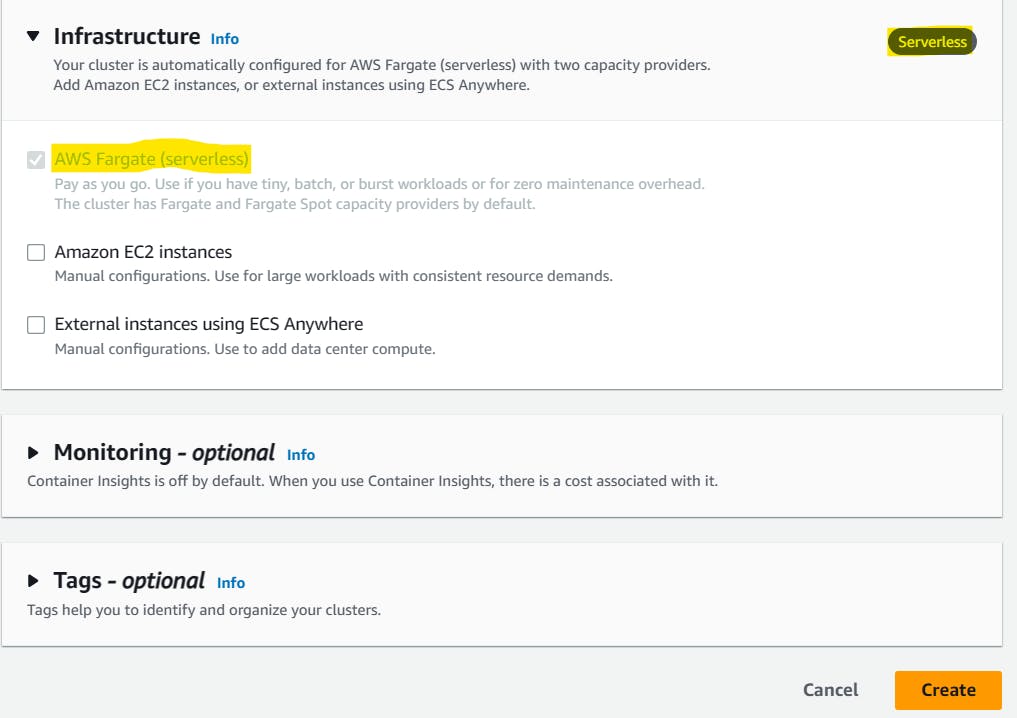
Configure the cluster settings, such as the cluster name, VPC, and subnet.


We are using Fargate as Serverless and now Click on 'Create'.
Create an ECR repository to store the Image
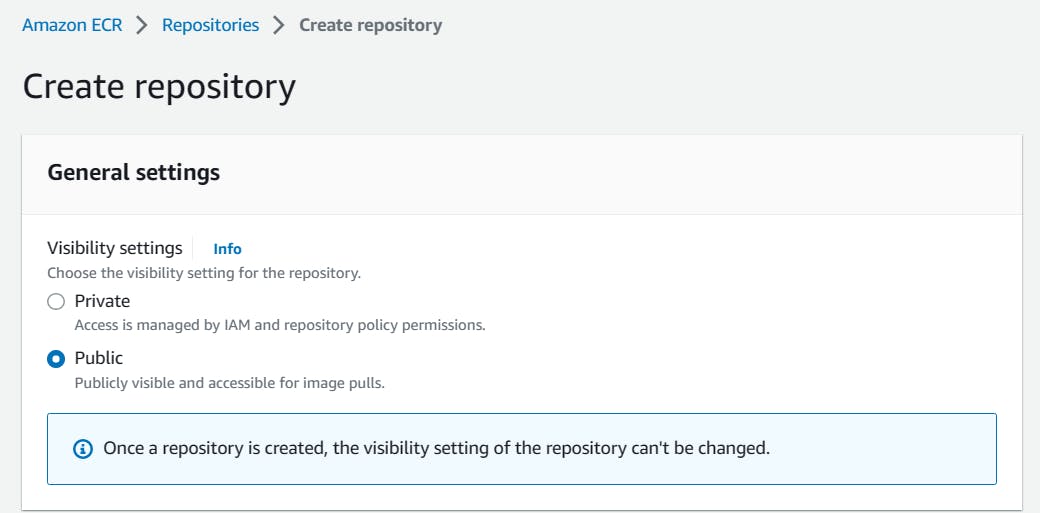
In the ECR, Click on "Create Repository"
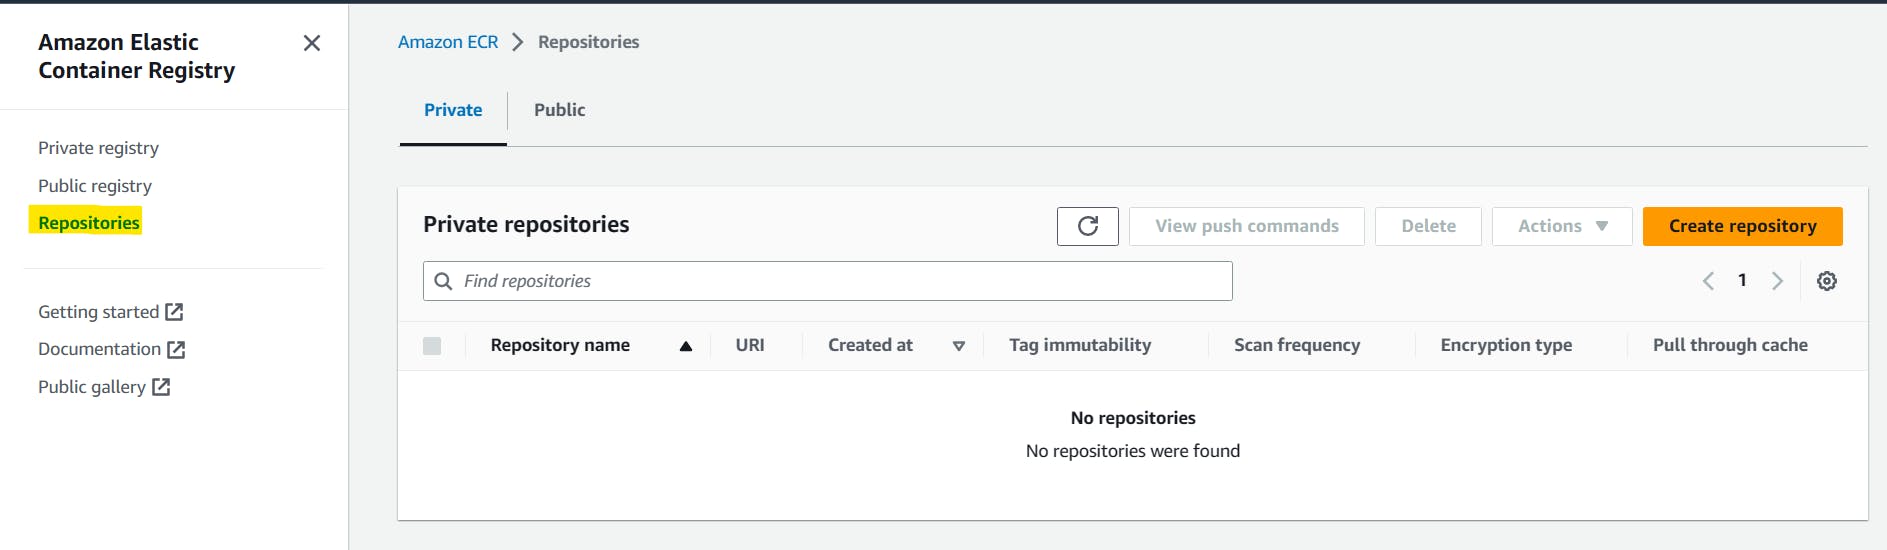
Keep the repo public so that we can access easily.
Provide the reasonable repository name
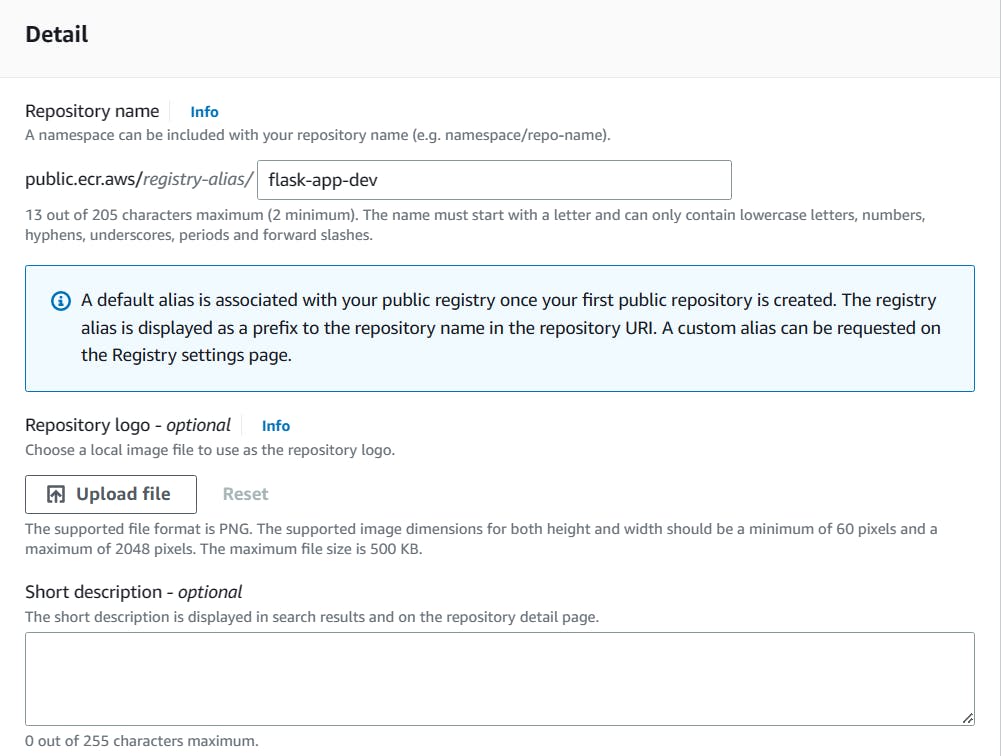
Once all the details are filled in, now click on "Create the Repository".

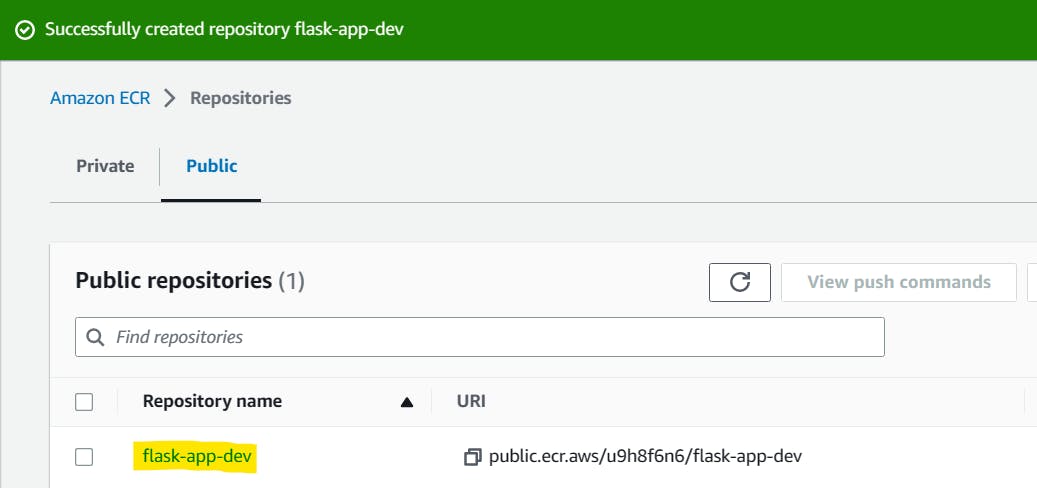
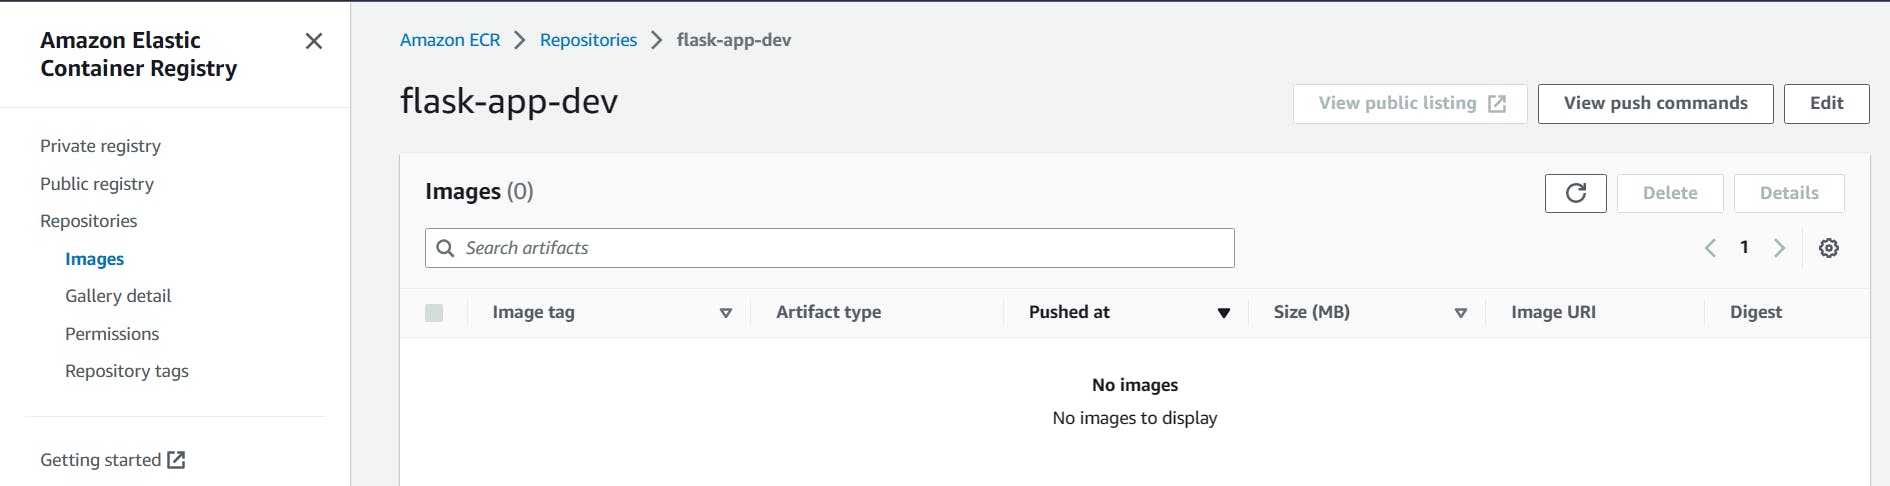
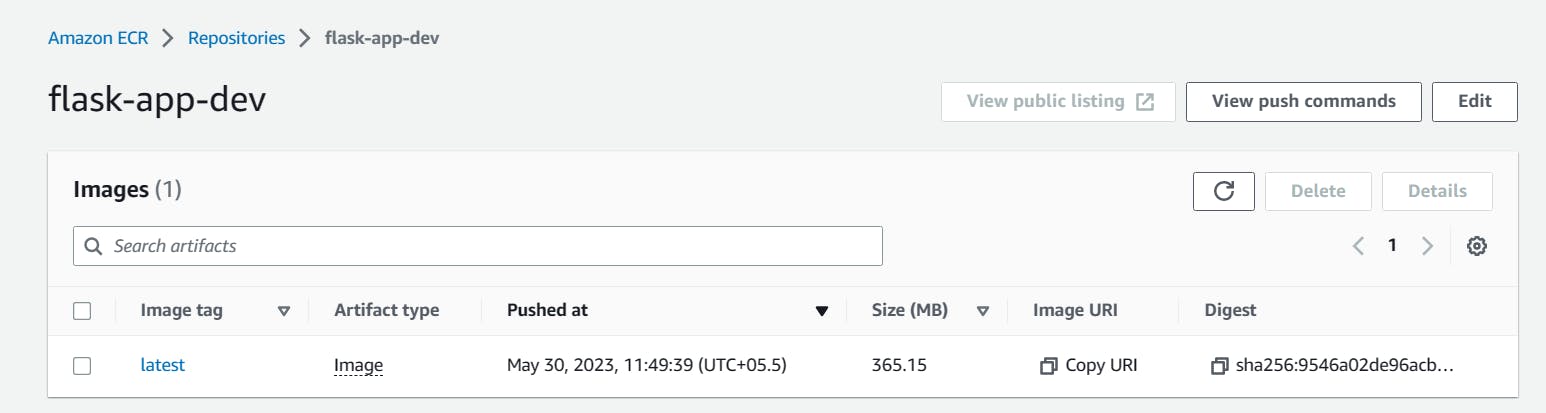
The ECR Repo has been created, we have to push the application image from the server.
Push the Flask Application Image to ECR Repo
Setup docker into the EC2 instance
Install docker in the EC2 Instance using below commands.
  sudo apt update
  sudo apt install docker.io -y

  sudo usermod -aG docker $USER
  sudo reboot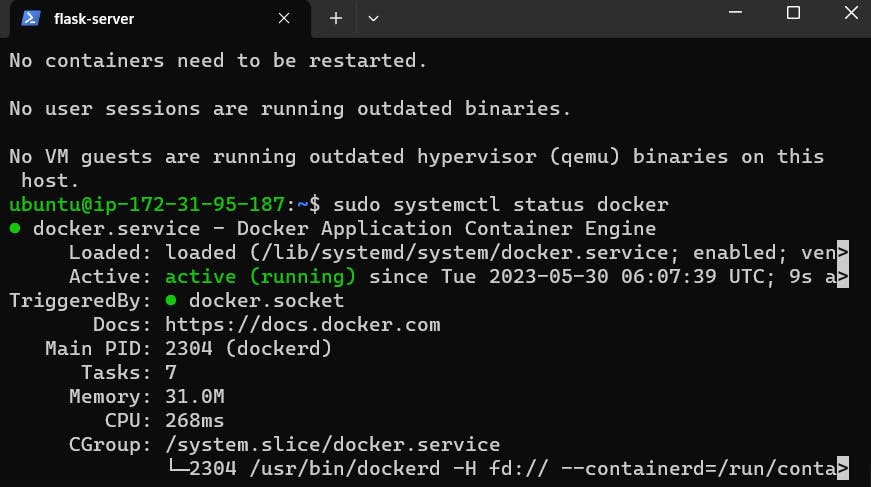
Now git clone the Flask app code from the GitHub Repo
git clone https://github.com/Abhisek773/flask-app-ecs.git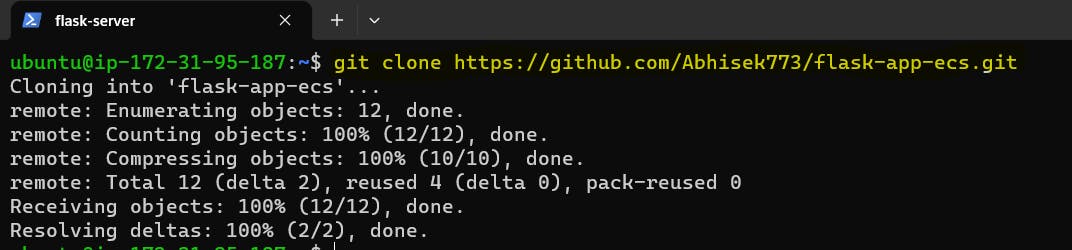
Change into the repository folder.
cd flask-app-ecs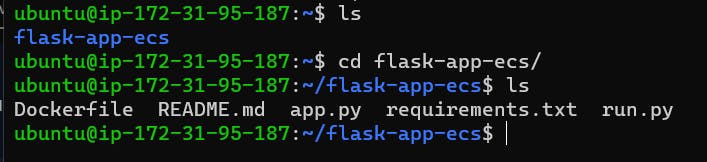
- We can verify the content of the file using cat command.

Now copy and paste the ECR commands one by one that is provided.
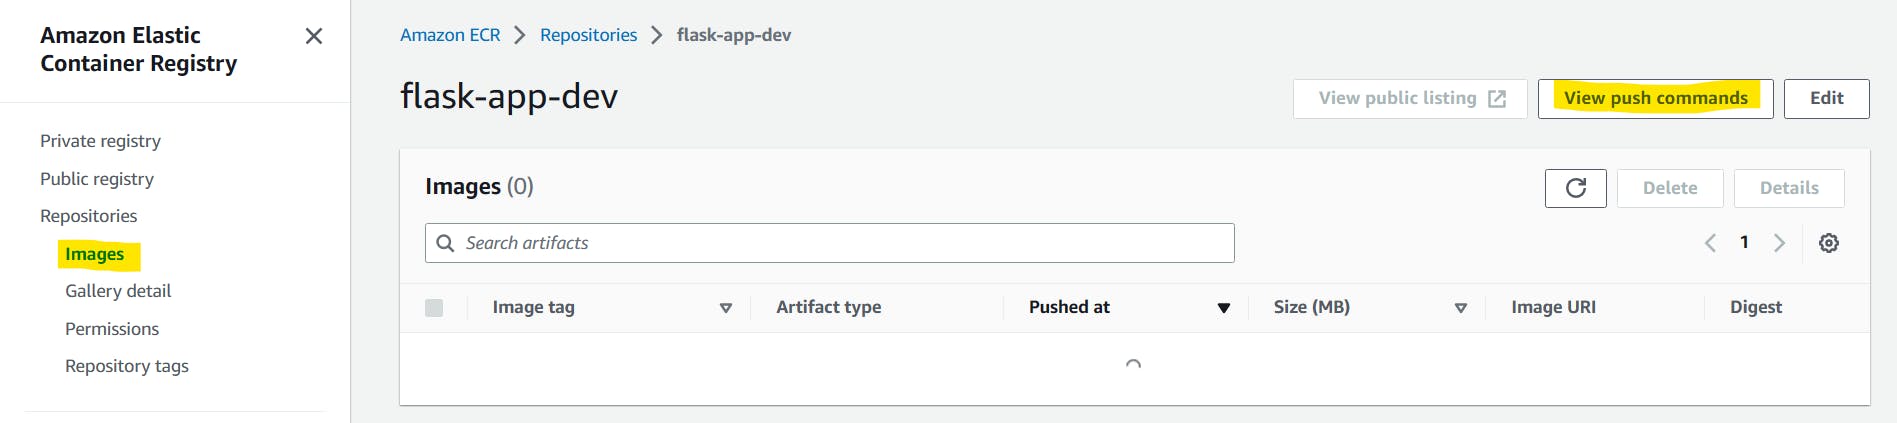
- Login to the ECR repo in the EC2 Instance using "View Push Command"

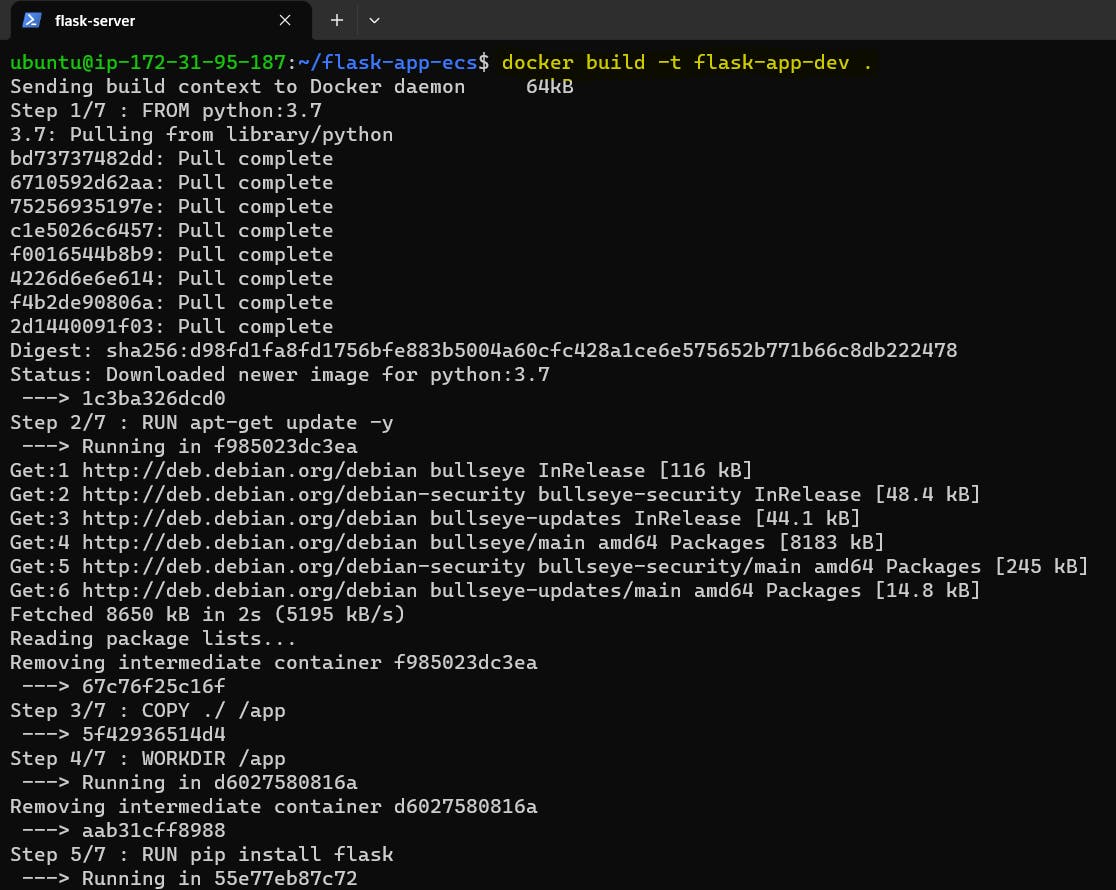
- Build the Flask app using Dockerfile.
- Tag the container

- Now push container into ECR Container.
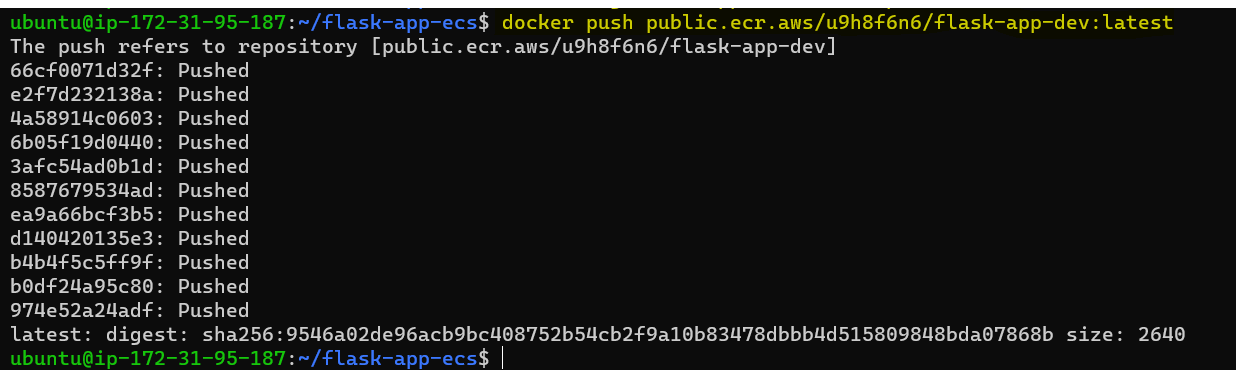
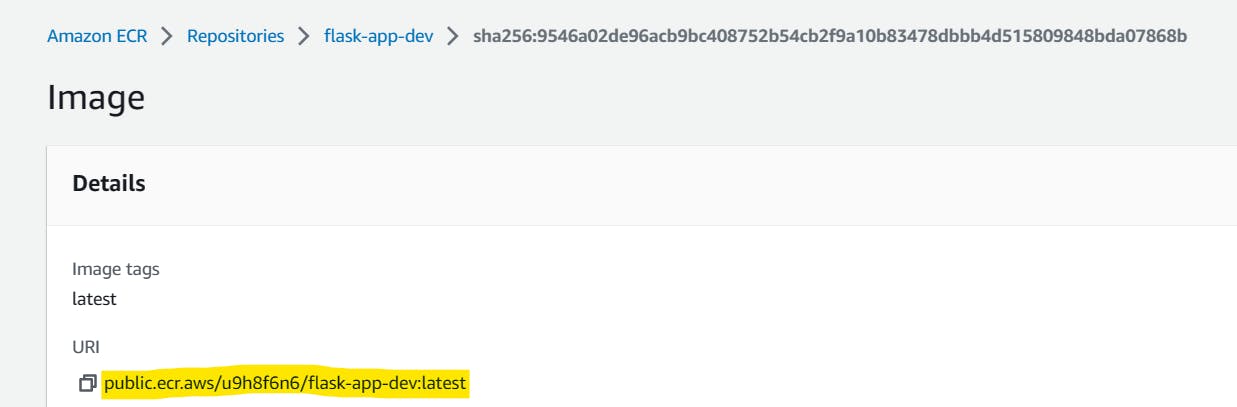
We can verify in ECS that our image is pushed into the ECR repo.
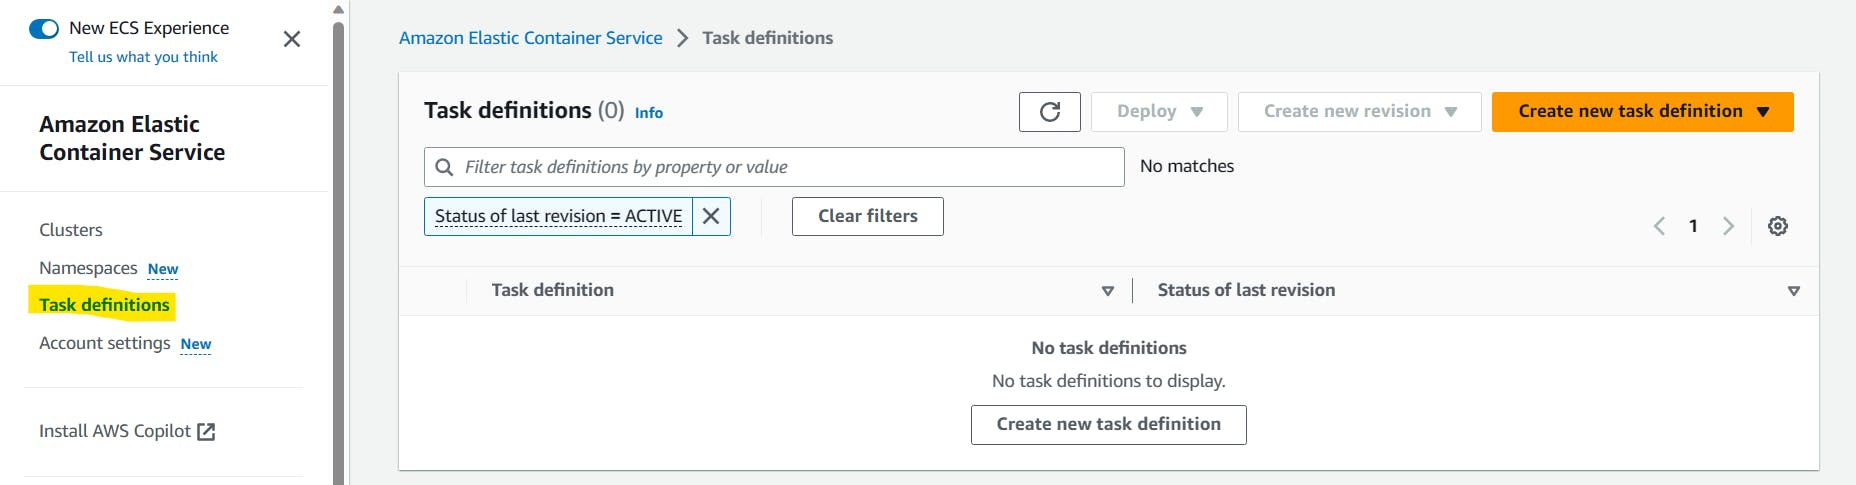
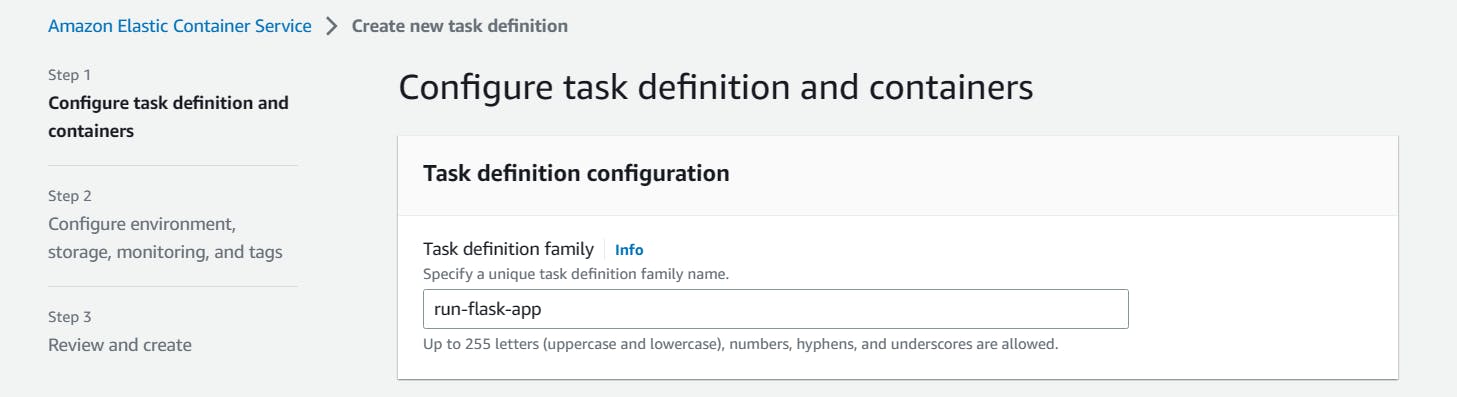
Create a task definition:
In the ECS service, click on "Task Definitions", and then click on "Create new Task Definition".
Set the container name to "run-flask-app", and copy and paste the Image URL from ECR where we updated the flask app image previously. Specify the port mappings for HTTP, by setting the "Container port" to 80.
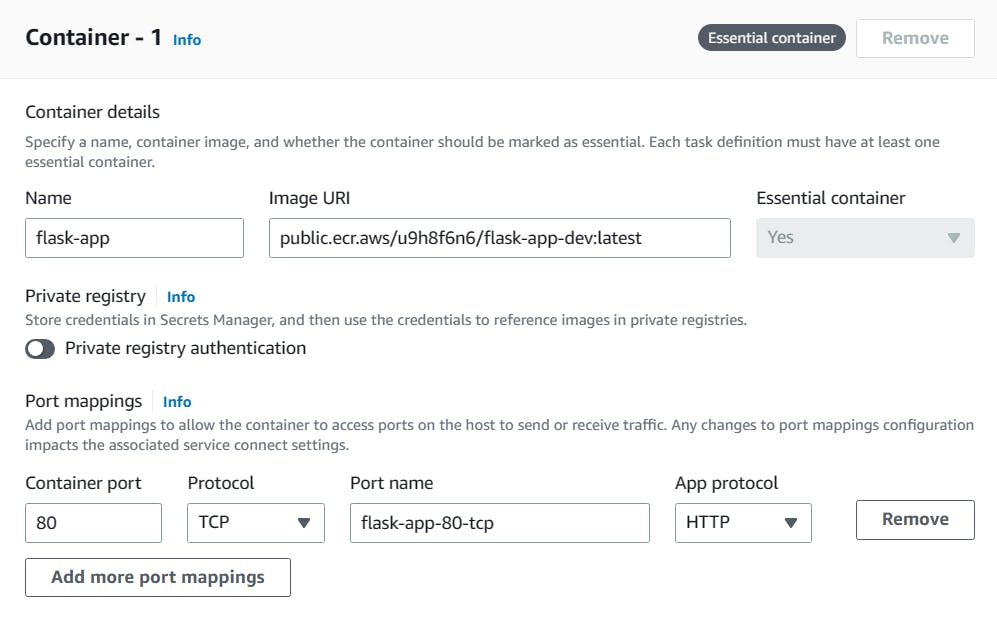
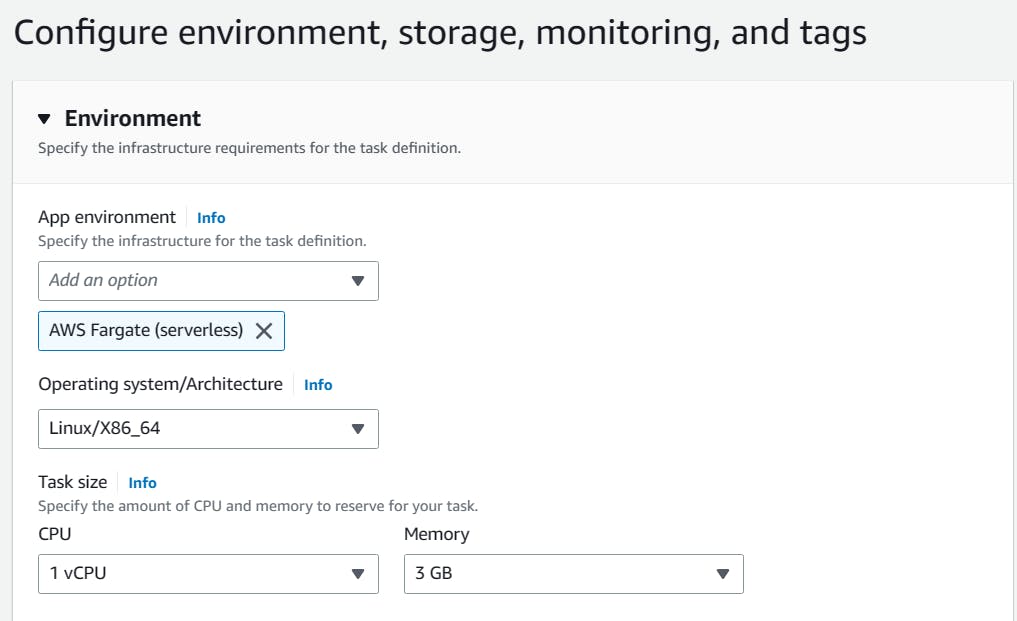
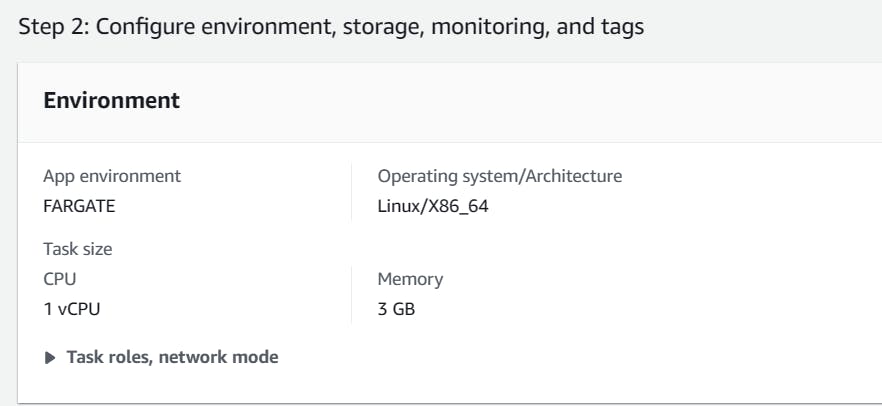
Choose the Fargate launch type, Configure the task settings, such as the task memory and CPU limits, here CPU is 1vCPU and the memory is 3GB.
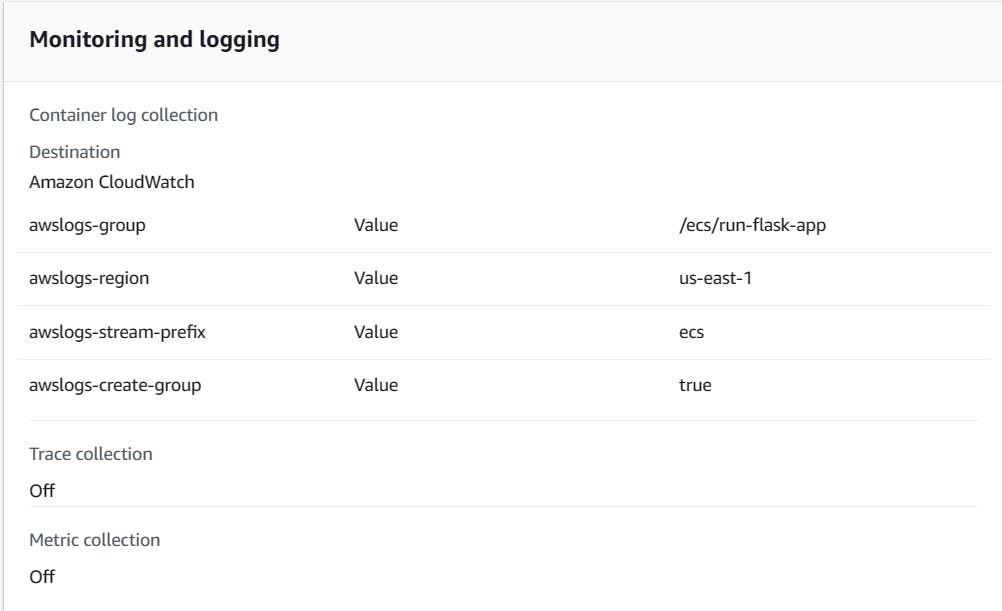
Monitor & logging
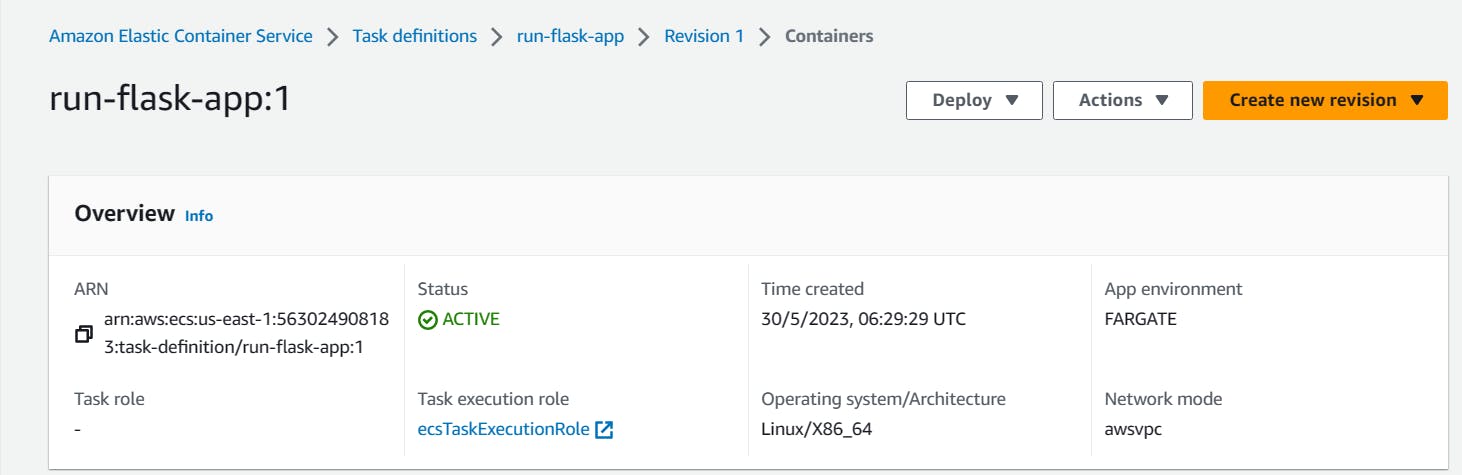
Now review the configuration and create the task definition.
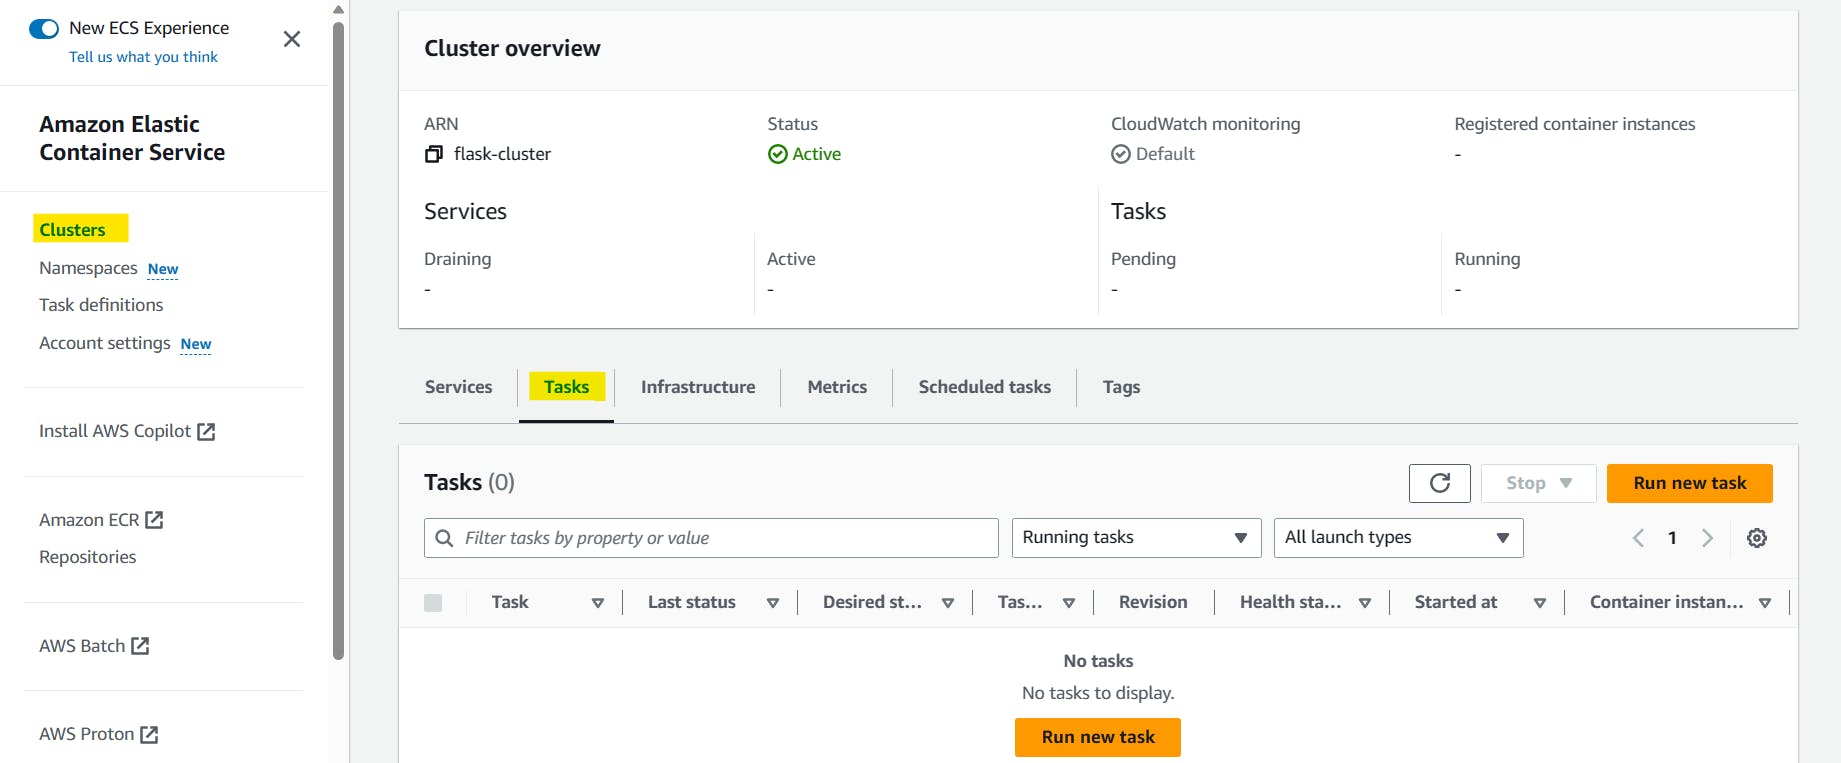
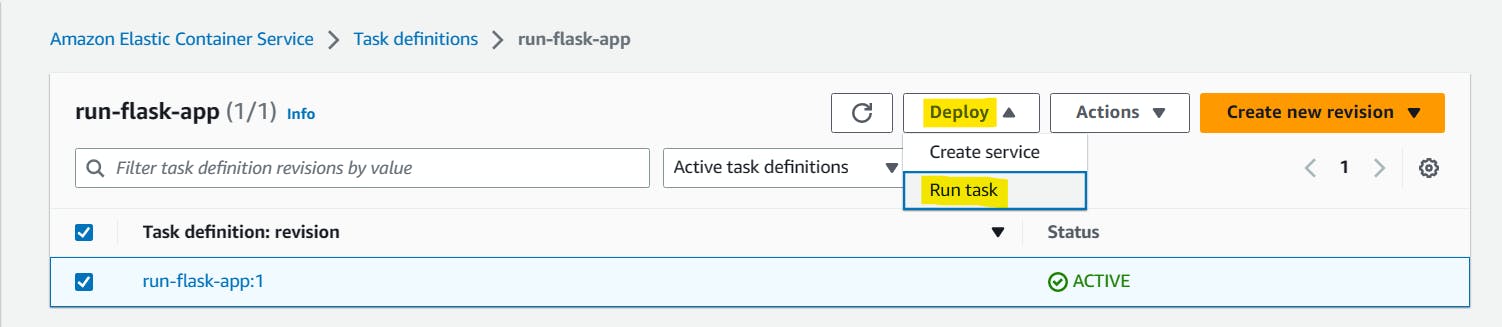
Run the Task Definition
From the ECS container, click on Deploy and then Run Task
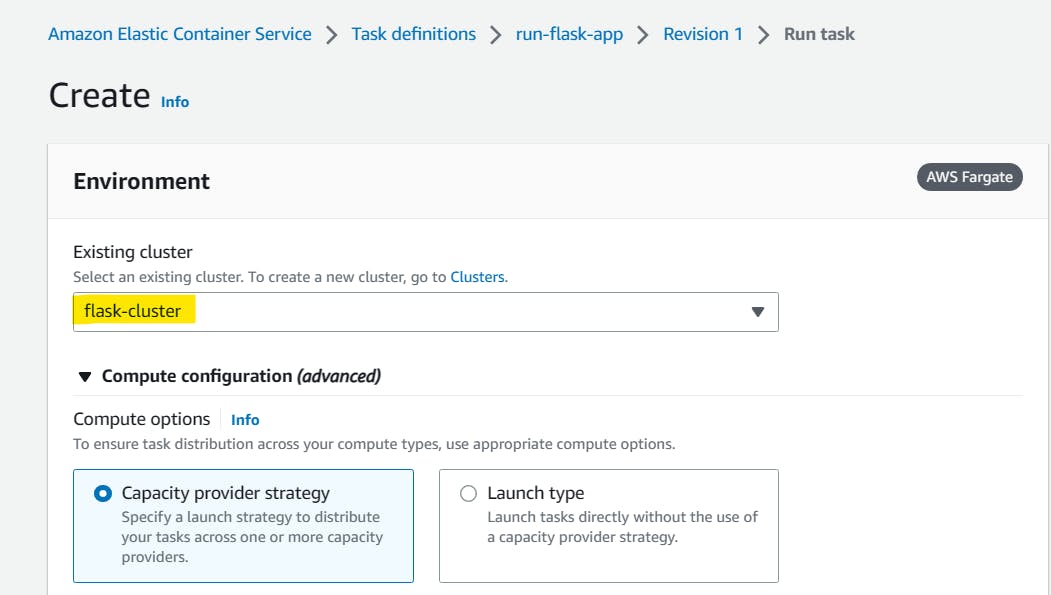
Select the cluster where it should run

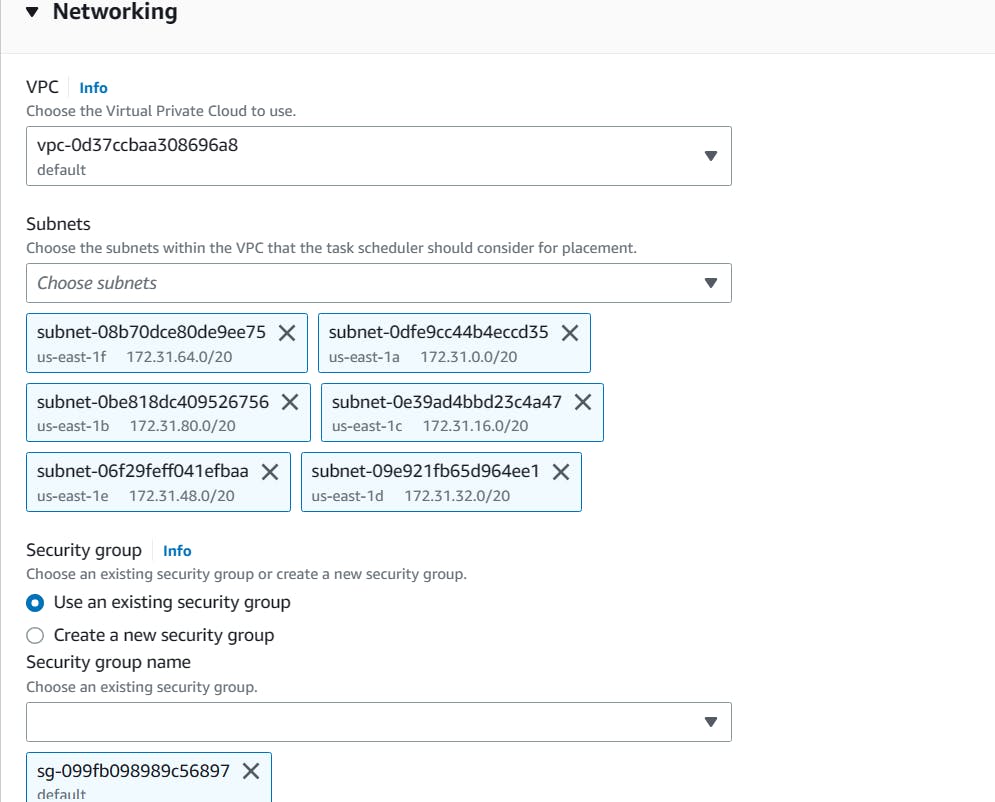
- In the Deployment Configuration provide the details.
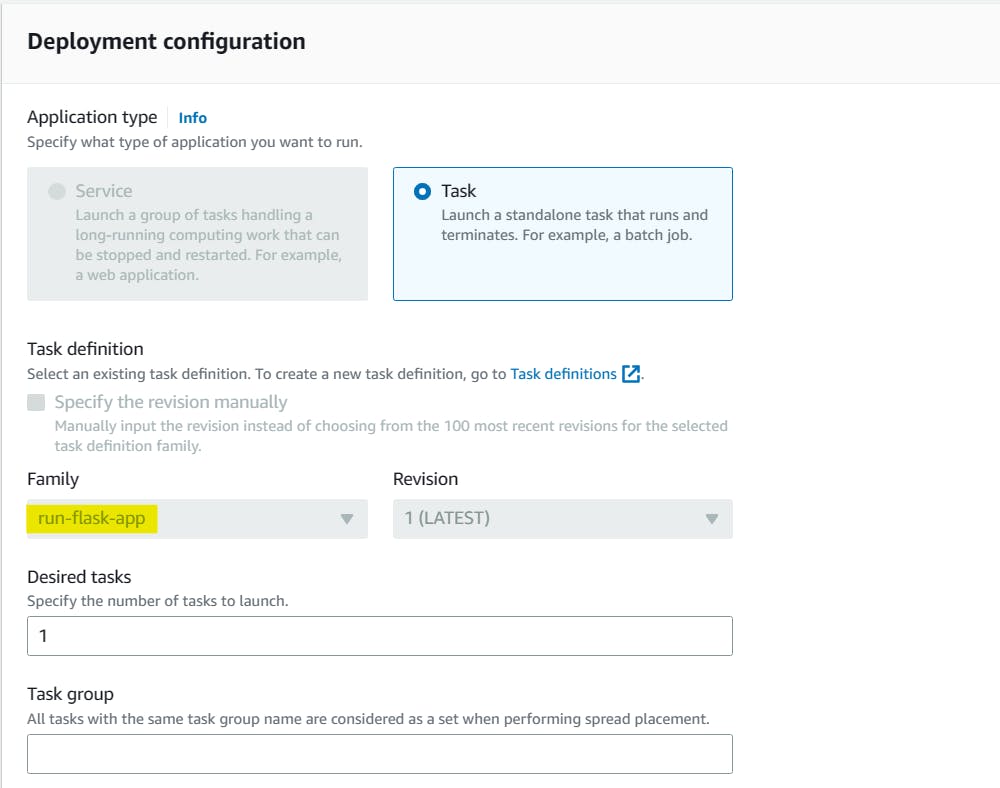
Choose the VPC and SG as per requirement.
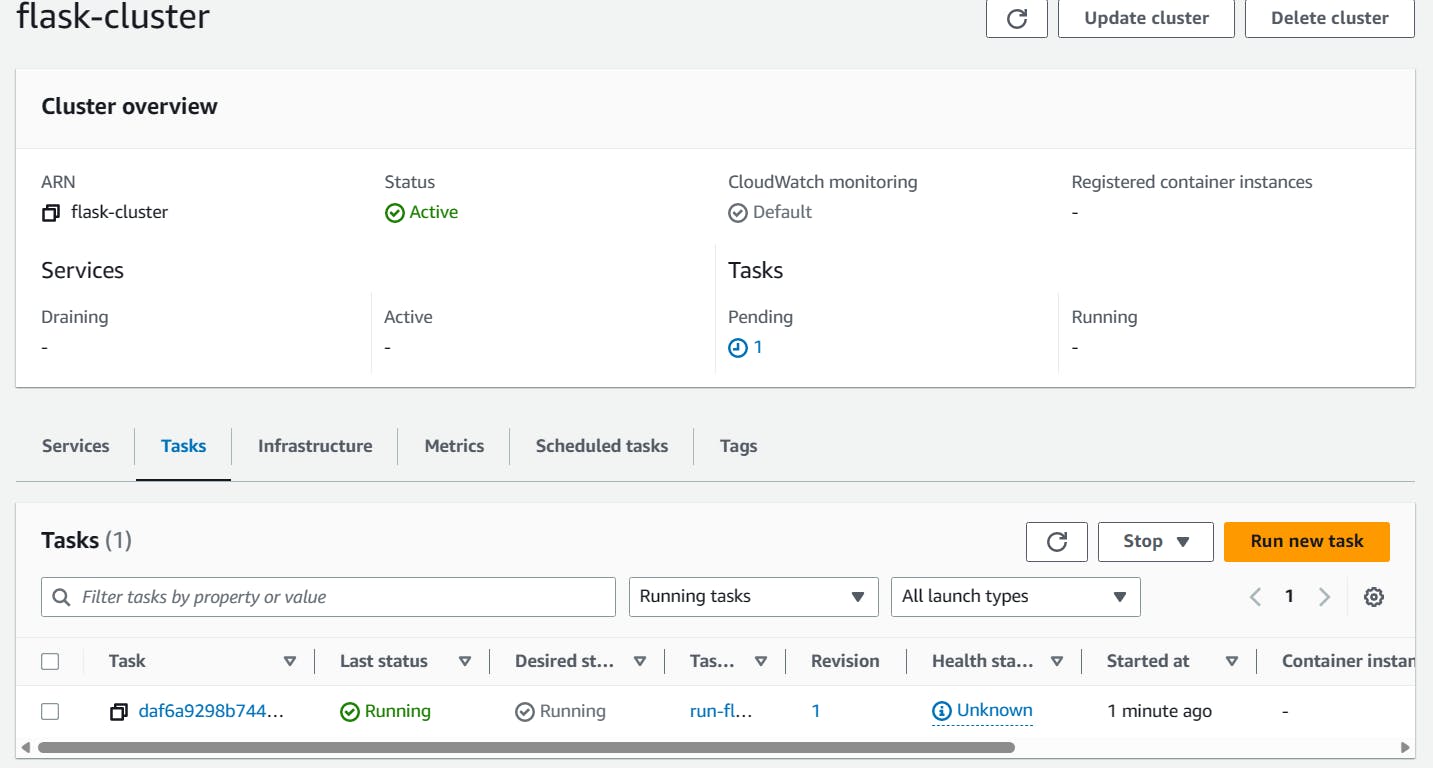
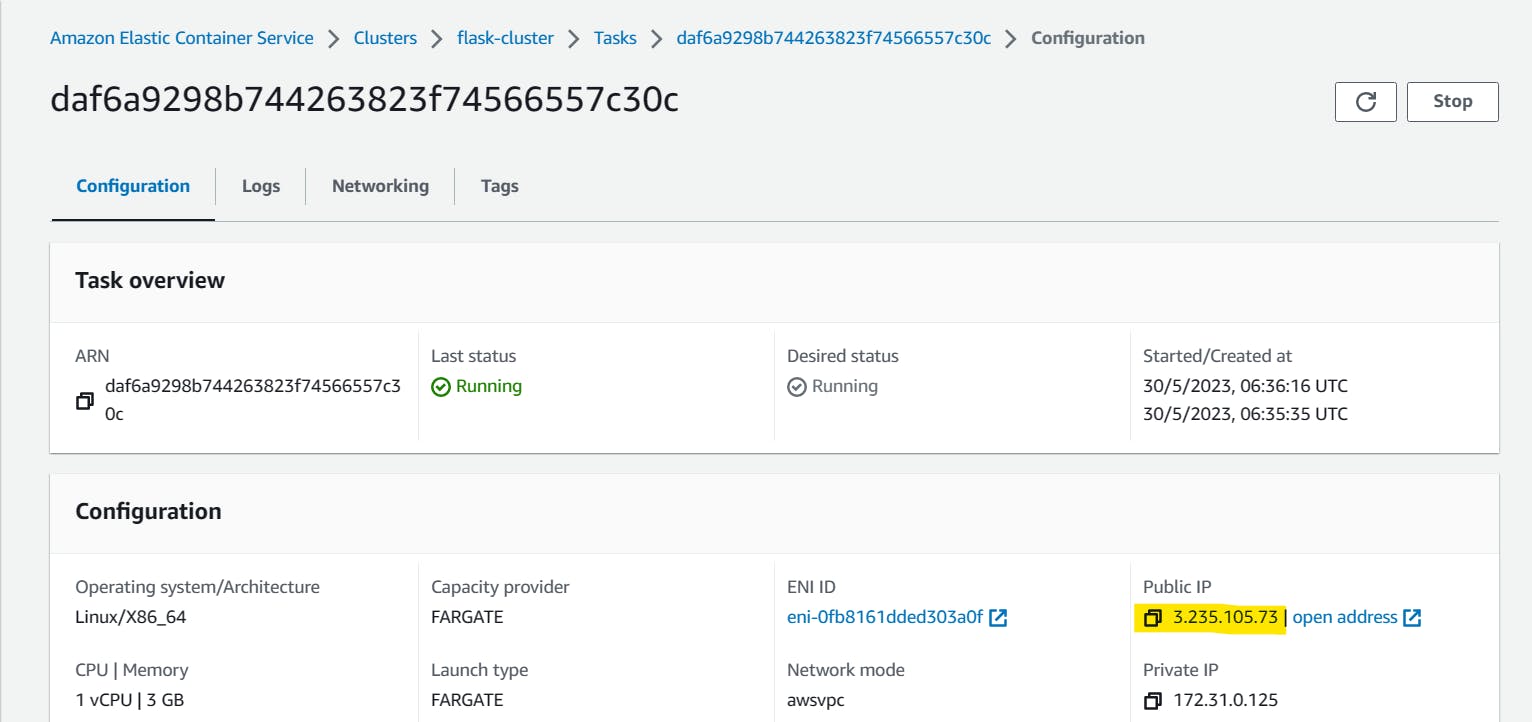
Once the task definition is created, Now launch the task.
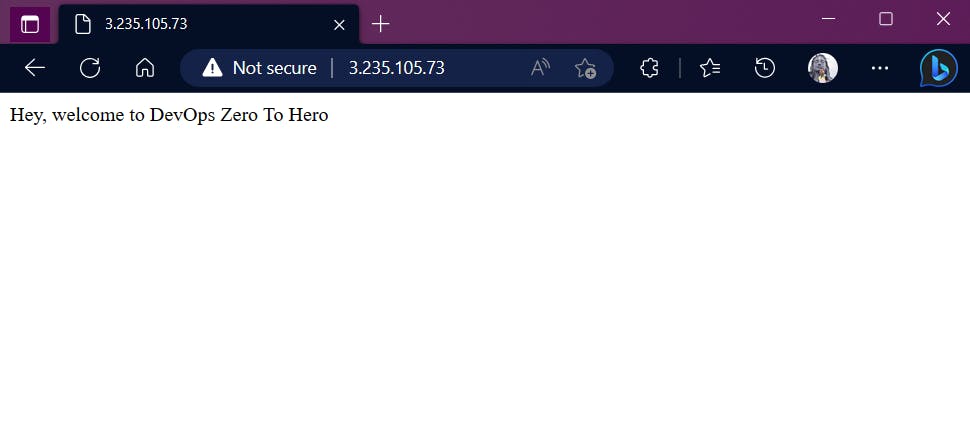
As the task is running, the app is successfully up & running.

Browse the Public IP address, you can see the default Flask app.
Thank You,
I want to express my deepest gratitude to each and every one of you who has taken the time to read, engage, and support my journey.
Feel free to reach out to me if any corrections or add-ons are required on blogs. Your feedback is always welcome & appreciated.
~ Abhisek Moharana 🙂