


What is Configuration Management?
Configuration management is a discipline that focuses on managing and controlling changes to a system's configuration. It involves identifying and documenting the system's components, their relationships, and their attributes.
It ensures that changes to the system are properly planned, evaluated, approved, and implemented. Configuration management aims to maintain consistency, integrity, and traceability of the system's configuration throughout its lifecycle.
It facilitates efficient troubleshooting, maintenance, and version control of software, hardware, or any other complex system. Configuration management helps prevent unauthorized changes and ensures compliance with standards and regulations.
When do we use Configuration Management instead of IaC?
Configuration Management is typically used when dealing with established systems or environments that have already been set up manually or with traditional infrastructure management approaches.
It is useful in scenarios where the primary goal is to manage and track changes to the configuration of these existing systems. In contrast, Infrastructure as Code (IaC) is employed when creating new infrastructure or when adopting a more agile and automated approach to provisioning and managing infrastructure resources.
Common Tools Used in Configuration Management
Ansible: An automation tool that enables configuration management, application deployment, and orchestration.
Puppet: An open-source configuration management tool that helps automate the provisioning, configuration, and management of systems.
Chef: A configuration management tool used for infrastructure automation and management.
Kubernetes: An open-source container orchestration platform that helps manage and automate the deployment, scaling, and operation of containerized applications.
SaltStack: A configuration management and remote execution tool that aids in managing and controlling infrastructure.
Define Ansible
Ansible is an open-source automation tool that allows users to define and manage infrastructure as code. It follows a declarative language approach, making it easy to automate repetitive tasks, configuration management, and application deployment.
Use cases for Ansible include provisioning and managing servers, deploying applications, configuring network devices, automating cloud infrastructure, and orchestrating complex workflows.
It provides a simple and agentless architecture, making it highly scalable and efficient for managing large-scale environments. Ansible's versatility and simplicity make it popular among DevOps teams for streamlining and automating various IT operations.
Task-1: Installation of Ansible on AWS EC2 (Master Node)
Create a new EC2 instance in AWS Console.

Now connect the EC2 instance using SSH.
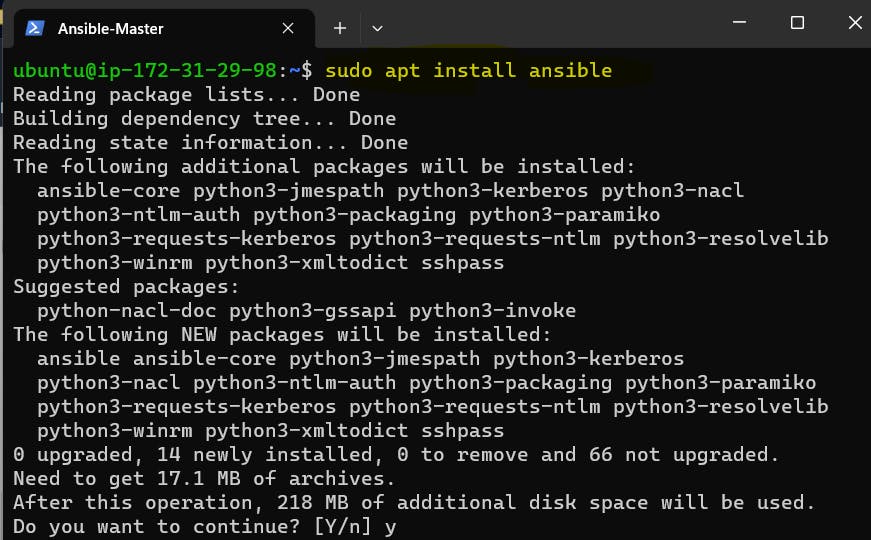
Once you SSH the instance, install Ansible.
  # Add ansible repository to your instance
  sudo apt-add-repository ppa:ansible/ansible

  # Update the package
  sudo apt update

  # Install the Ansible
  sudo apt install ansible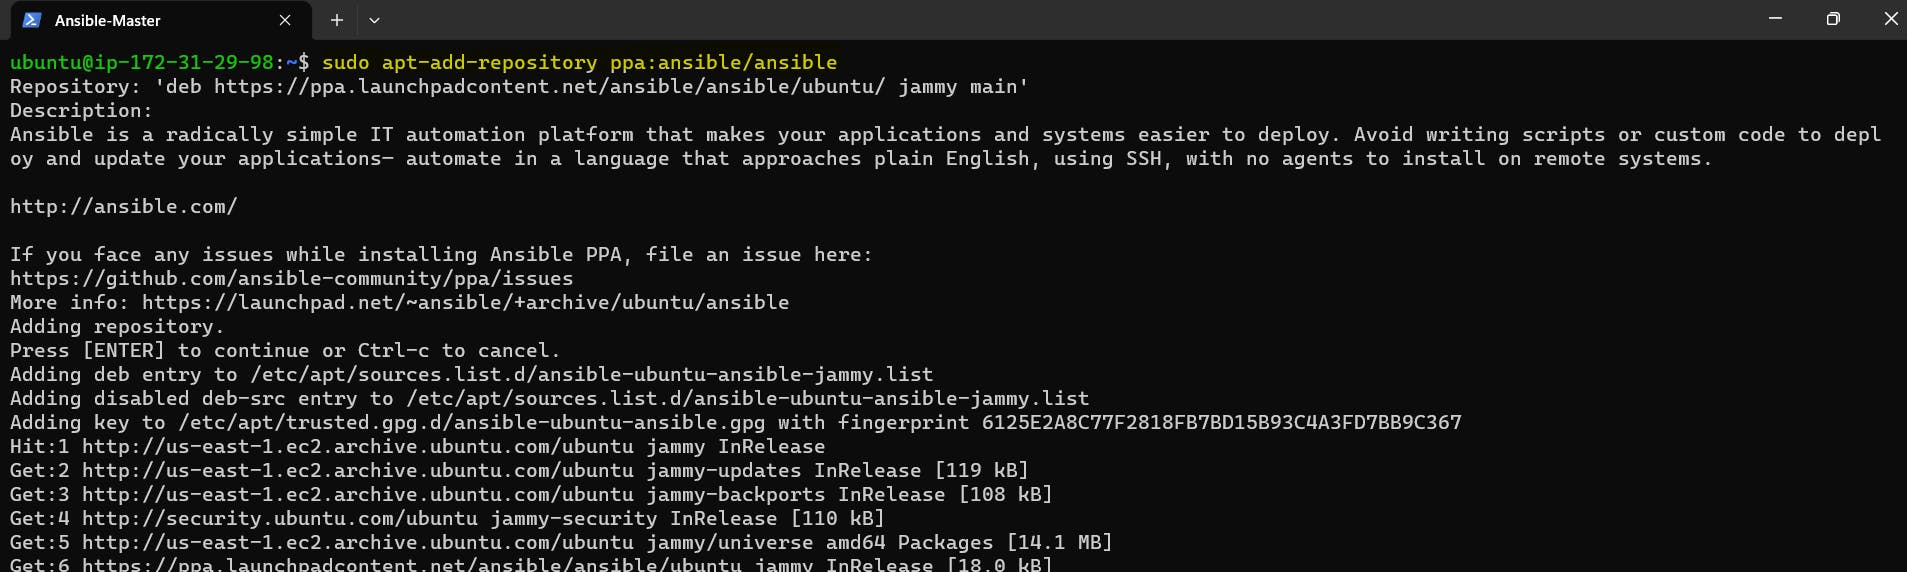

As installation completes, to verify Ansible is installed successfully, we can check the Ansible by using the following command.
ansible --version
Task-2: Ansible Host File
The Ansible host file is a text file that contains a list of hosts or servers that Ansible can connect to and manage. The host's file is located at /etc/ansible/hosts on the Ansible control node, It defines the inventory of systems on which Ansible can perform automation tasks.
To edit the hosts file, you can use any text editor of your choice.
sudo vim /etc/ansible/hosts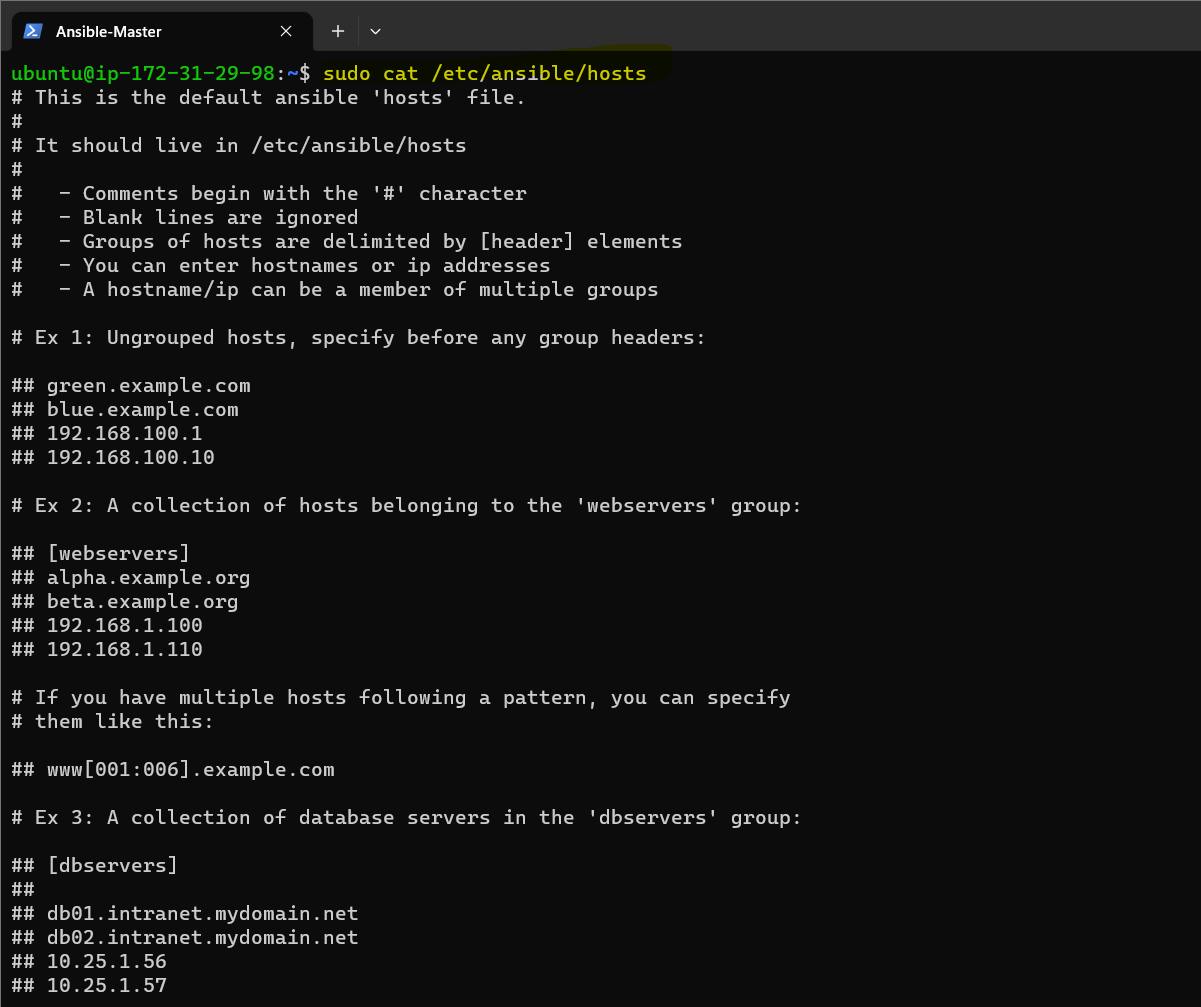
After you have added the hosts to the file, you can verify the inventory of hosts that Ansible can manage using the
ansible-inventory --listcommand.ansible-inventory --list
Task-3: Configuring Ansible Child Node
Now, Setup 3 more EC2 instances having the same Private keys as the Ansible Master Node.

Add the newly created public IPv4 host address in the ansible master /etc/ansible/hosts file.
sudo vim /etc/ansible/hosts[my-servers] server1 ansible_host=<Server1_IPv4_Addr> server2 ansible_host=<Server2_IPv4_Addr> server3 ansible_host=<Server3_IPv4_Addr>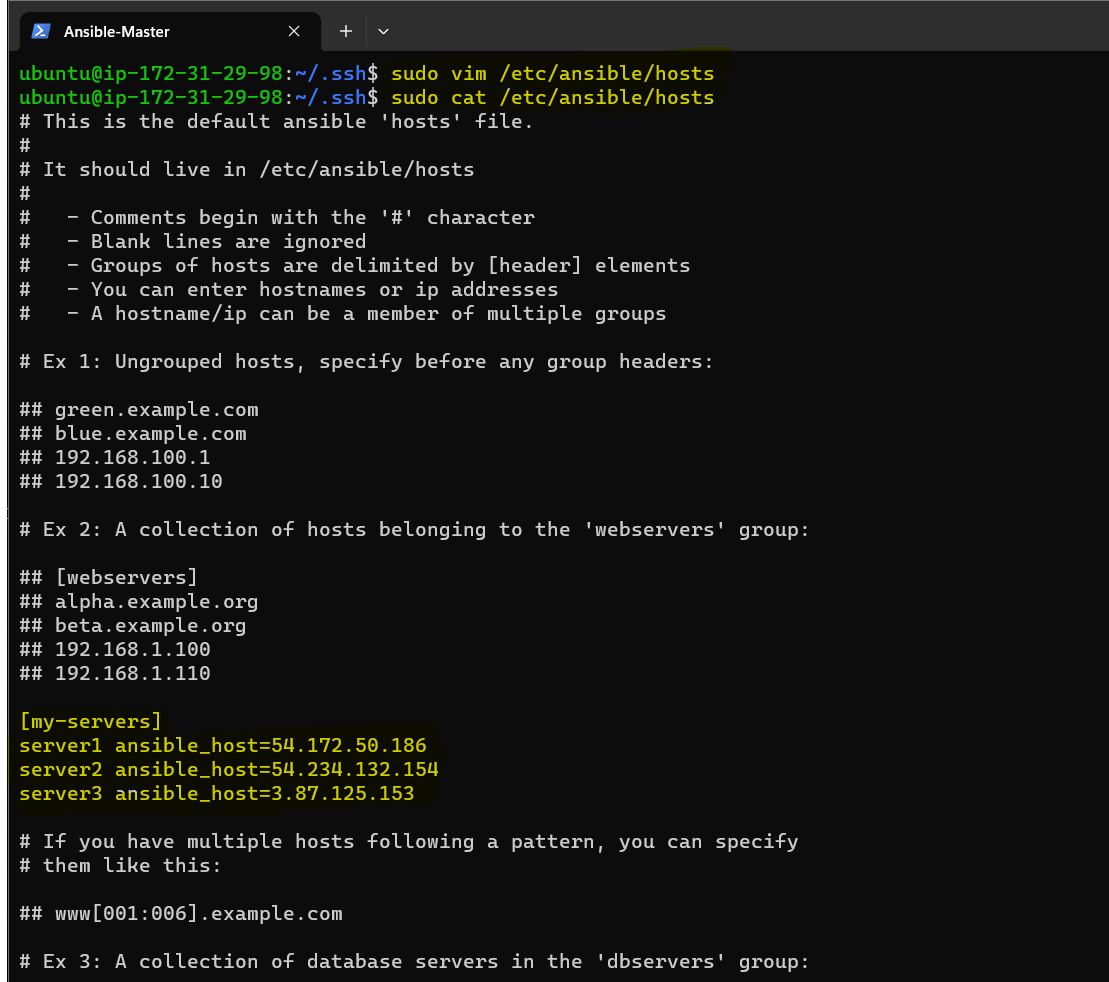
Upload keygen from local to Ec2 instance
sudo scp -i "<pem_key>" <pem_key> ubuntu@ec2-<ipaddr>.compute-1.amazonaws.com:/home/ubuntu/.ssh/
As the file is uploaded into the .ssh folder, change the file permission rwx to the user only.
chmod 700 Ansible-key.pem
As file permission is modified, add the private key and Python file to the host file
  [all:vars]
  ansible_ssh_private_key_file=/home/ubuntu/.ssh/Ansible-Key.pem
  ansible_python_interpreter=/usr/bin/python3
  ansible_user=ubuntu
We can see all the server's details in the inventory list where we are providing the host address, python directory and private key to be used.
ansible-inventory --list
Provide an ad-hoc command to check free RAM for all the servers.
ansible all -a "free -h" -u ubuntu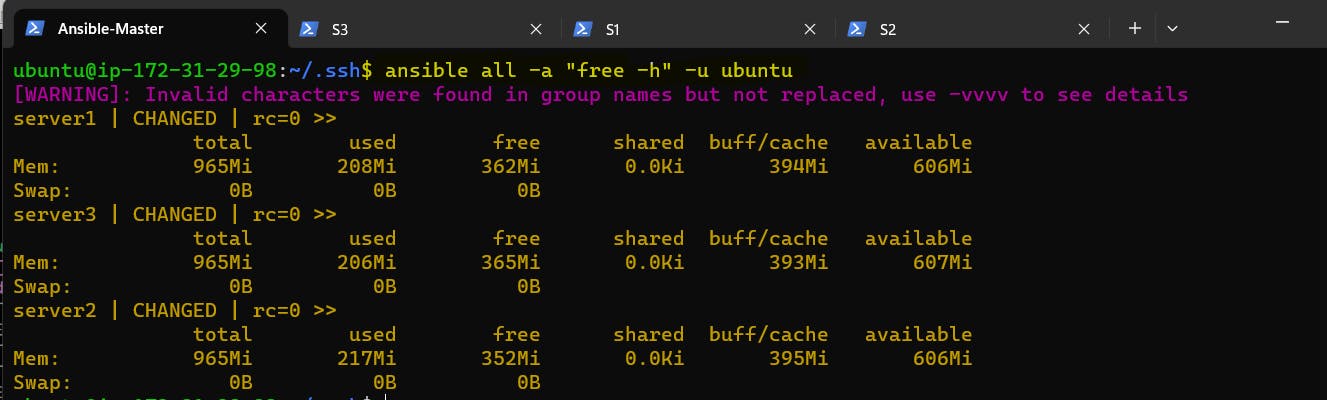
Try a ping module command using ansible to all the child nodes.
ansible all -m ping -u ubuntu
If you are getting an error related to authentication as you’re using a custom SSH key to connect to the remote servers, you can provide it at execution time with the
--private-keyoptionTo know more about Ansible please refer to the video Ansible Video
ansible all -m ping -i /etc/ansible/hosts --private-key=~/.ssh/Ansible-Key.pem
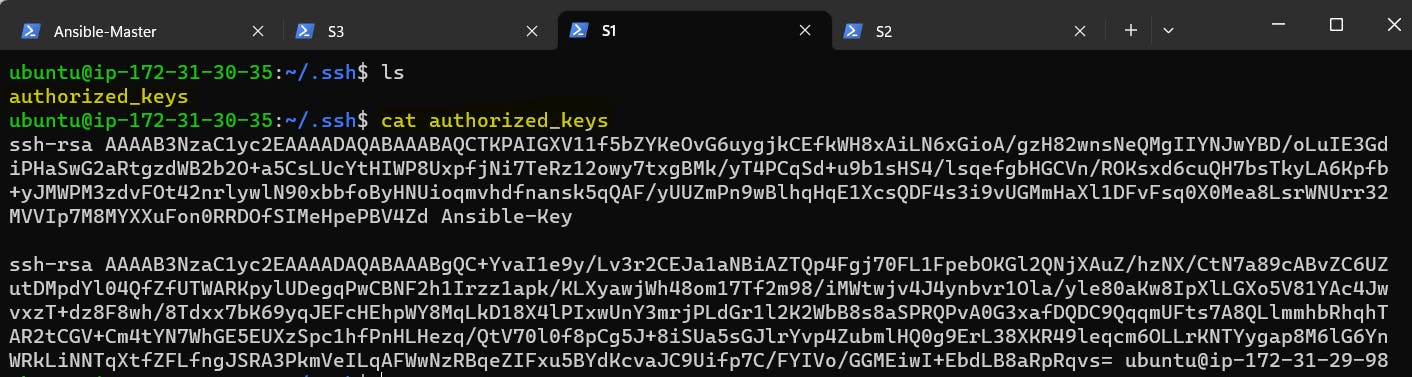
Note: Still If you are getting any error related to the key, then copy the id_rsa.pub key of the Ansible master and paste it to each server.

Child Servers
Thank You,
I want to express my deepest gratitude to each and every one of you who has taken the time to read, engage, and support my journey.
Feel free to reach out to me if any corrections or add-ons are required on blogs. Your feedback is always welcome & appreciated.
~ Abhisek Moharana 🙂