

Table of contents
What is CodeBuild?
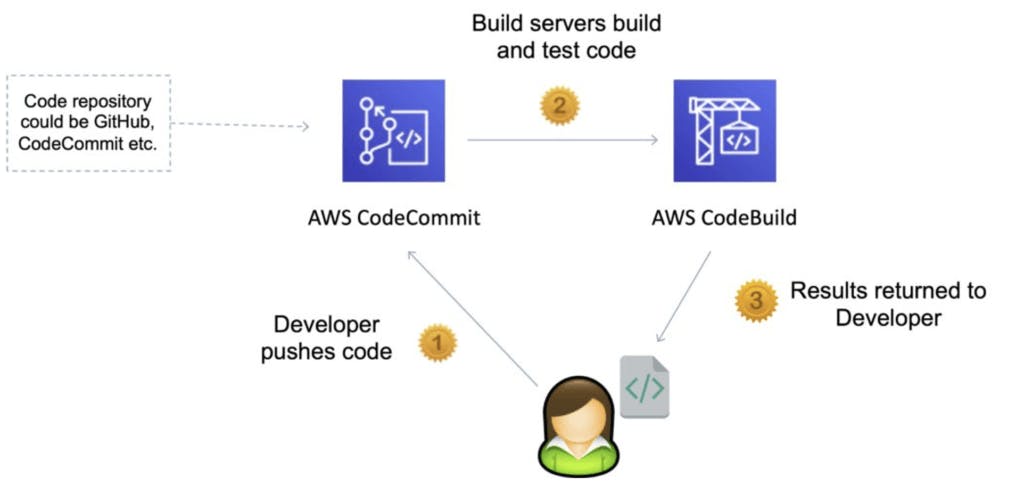
- AWS CodeBuild is a fully managed build service in the cloud. CodeBuild compiles your source code, runs unit tests, and produces artifacts that are ready to deploy. CodeBuild eliminates the need to provision, manage, and scale your own build servers.
Buildspec file for Codebuild
A Buildspec file is a configuration file used in AWS CodeBuild.The Buildspec file is written in YAML format and is used to define the build and deployment steps for your application.
The Buildspec file provides instructions to CodeBuild on how to build and package your source code, run tests, and deploy the artifacts. It is typically placed in the root directory of your source code repository.
Key elements of a Buildspec file:
Version
Specifies the version of the Buildspec file format. The current version is "0.2".
version: 0.2
Phases
Defines a series of build phases, each with a set of commands to execute. Common phases include:
Install: Installs dependencies or any required tools.
Pre-build: Executes any pre-build tasks or setup steps.
Build: Performs the main build process, such as compiling code or generating artifacts.
Post-build: Executes any post-build tasks or cleanup steps.
Deploy: Deploys the artifacts or performs deployment-related actions.
phases:
  install:
    commands:
      - npm install
  build:
    commands:
      - npm run build
  deploy:
    commands:
      - aws s3 sync ./dist s3://example-bucket
Artifacts
Specifies the output artifacts generated during the build. These artifacts can be stored or deployed to other services.
artifacts:
  files:
    - '**/*'
  name: MyArtifact
  discard-paths: yes
- In this example, all files in the build directory and its subdirectories will be included as part of the artifact named "MyArtifact".
Environment
Defines the build environment, such as the compute type, operating system, and environment variables.
environment:
  compute-type: BUILD_GENERAL1_SMALL
  image: aws/codebuild/standard:5.0
  environment-variables:
    - name: MY_ENV_VAR
      value: my-value
- In this example, the build will run on a small compute instance with the specified Docker image. An environment variable named "MY_ENV_VAR" will also be available to the build process with the given value.
Task-01 :
Read about the Buildspec file for Codebuild.
Create a simple index.html file in CodeCommit Repository
You have to build the index.html using the nginx server
Create a simple index.html file in CodeCommit Repository
Create a code commit repository. I'm using the repository that was created on Day 50 task.
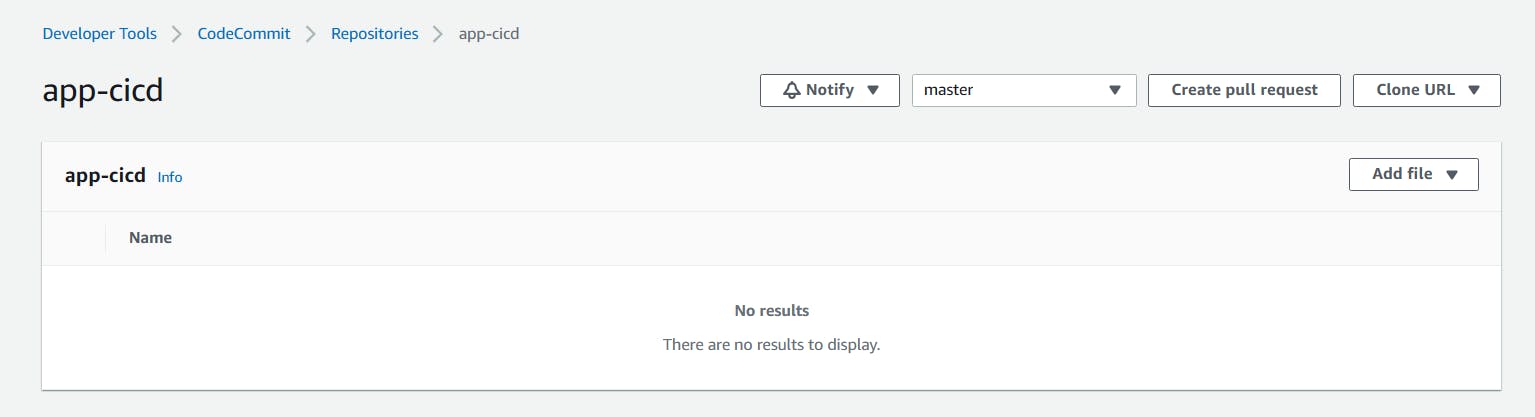
Copy the repository HTTPS URL for cloning.
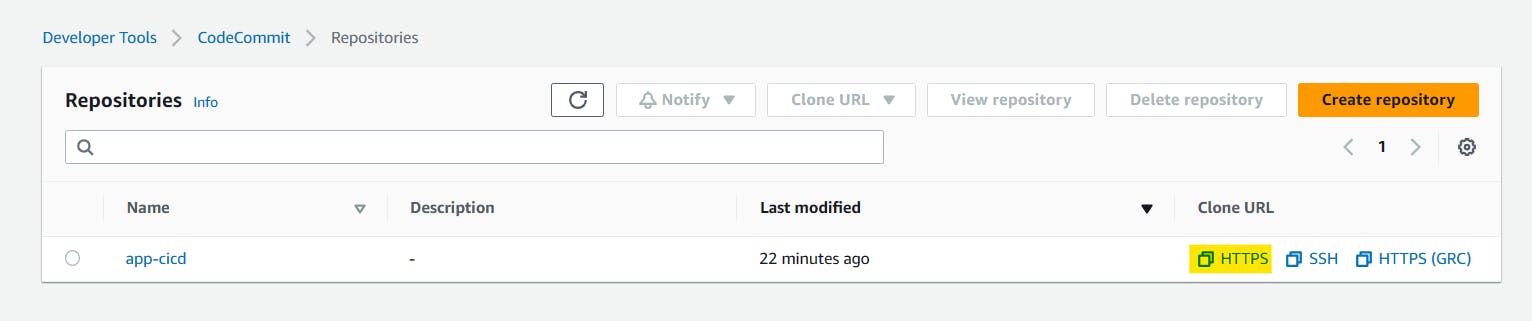
In git bash, clone the repository to your local machine using the git clone command.
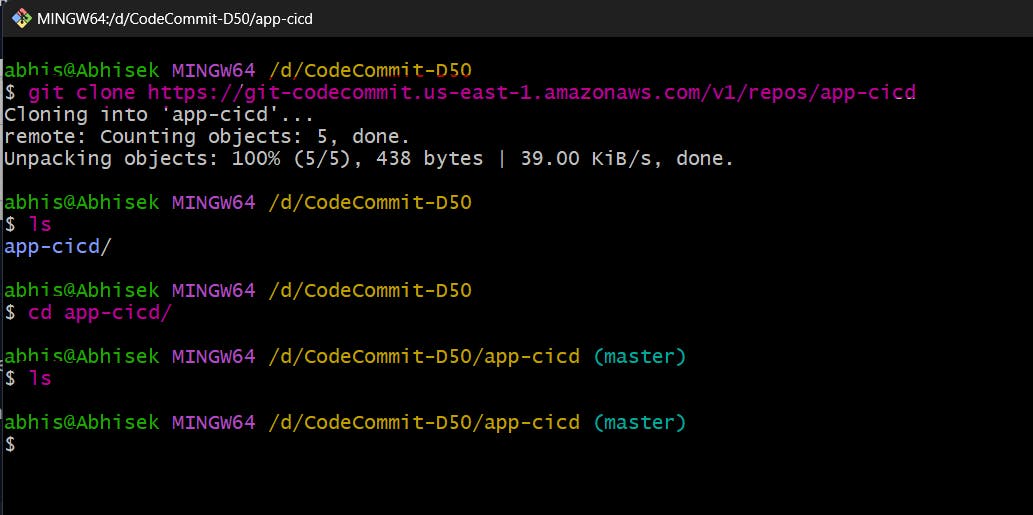
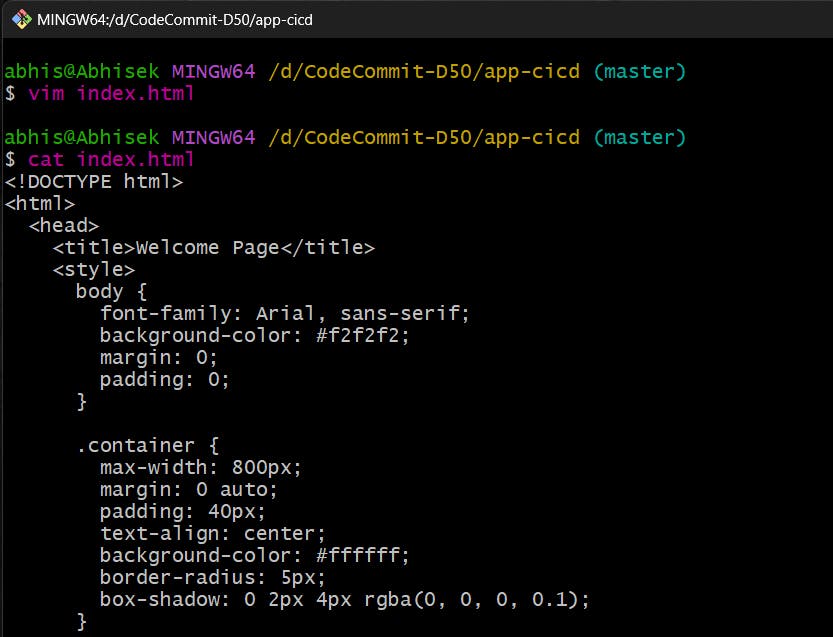
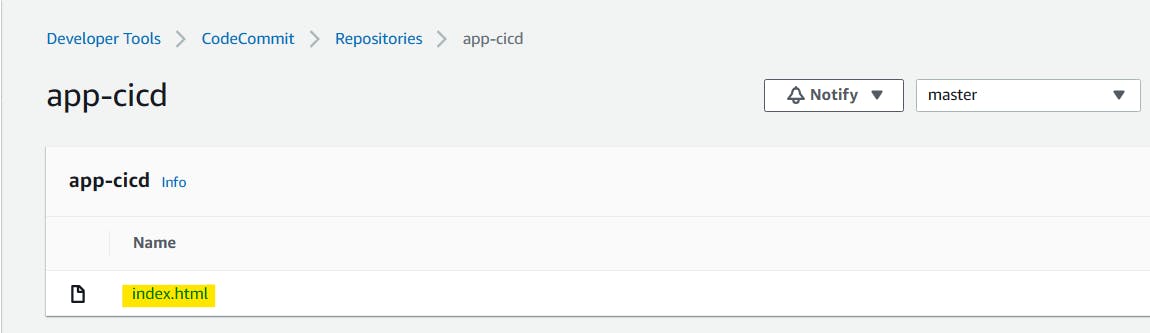
Inside the code commit repository create an index.html file
Save the file and commit the changes to the repository using the git add and git commit commands.
git add <file-name>git commit -m "commit message"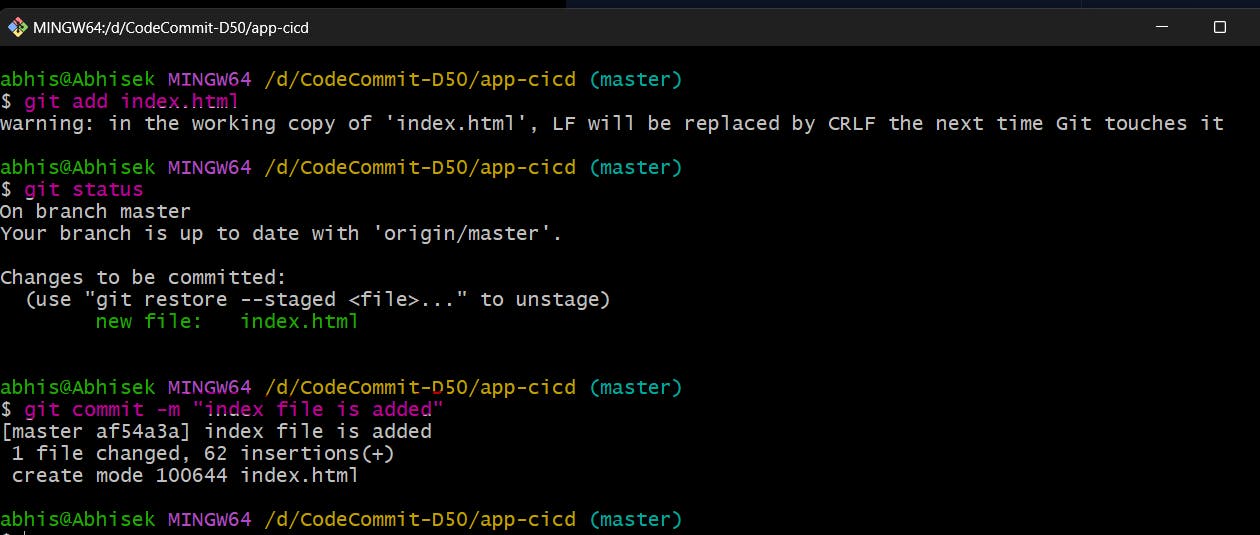
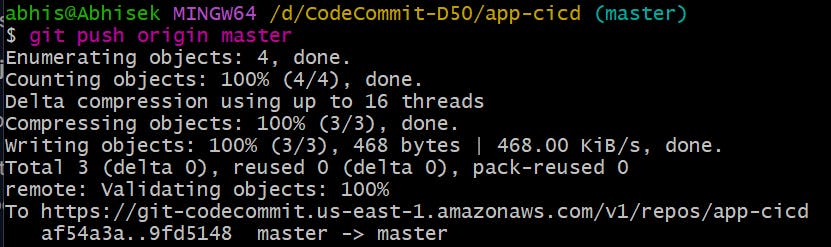
Push the changes to the repository using the git push command.
git push origin master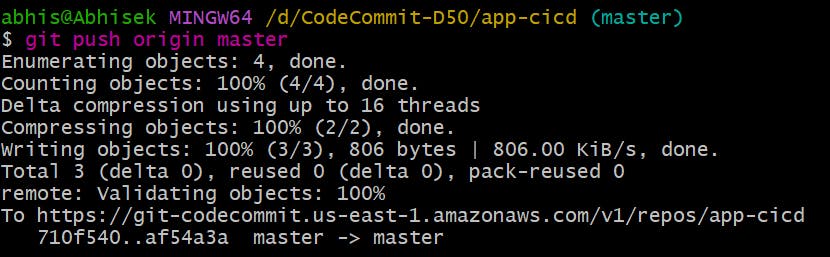
You have a simple index.html file in your CodeCommit repository
Task-02 :
- Add
buildspec.yamlfile to CodeCommit Repository and complete the build process.
Create a Buildspec file to build the file using an Nginx server.
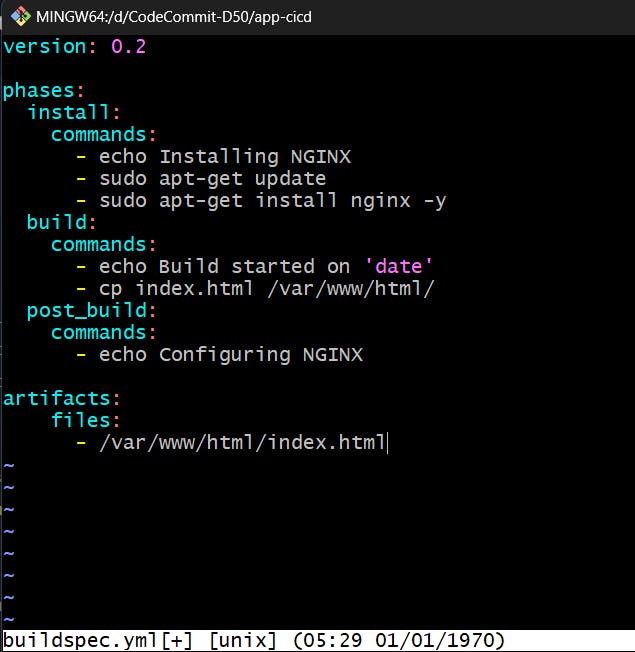
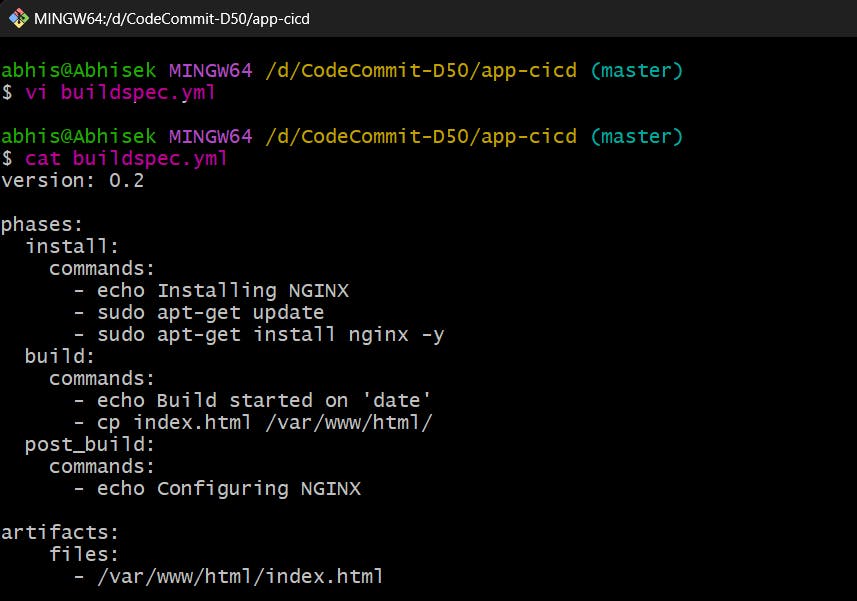
- Now create a buildspec.yml file into the existing repository.
version: 0.2

phases:
  install:
    commands:
      - echo Installing NGINX
      - sudo apt-get update
      - sudo apt-get install nginx -y
  build:
    commands:
      - echo Build started on 'date'
      - cp index.html /var/www/html/
  post_build:
    commands:
      - echo Configuring NGINX

artifacts:
    files:
      - /var/www/html/index.html
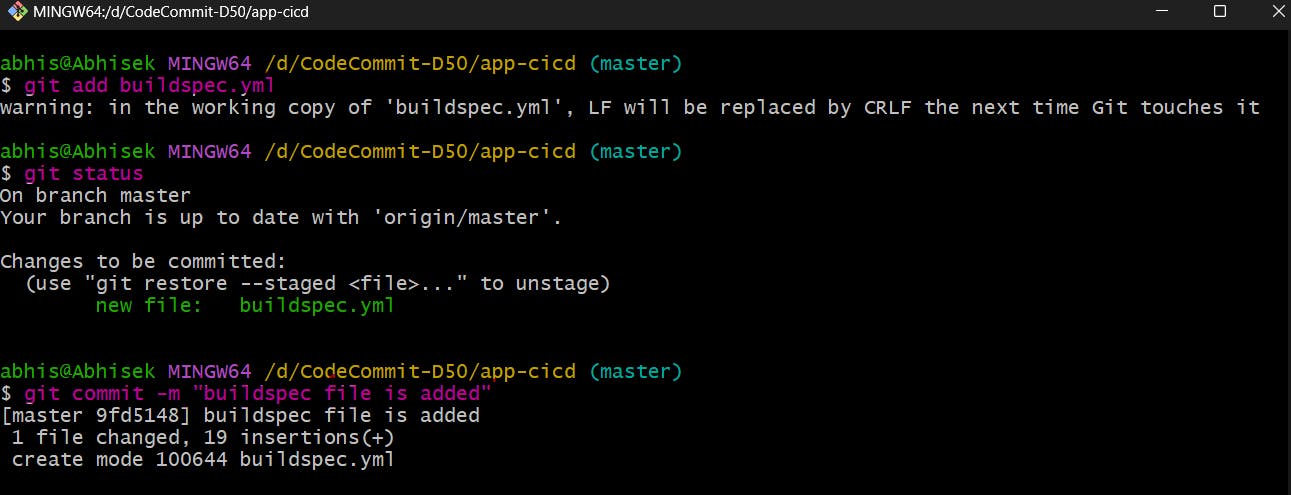
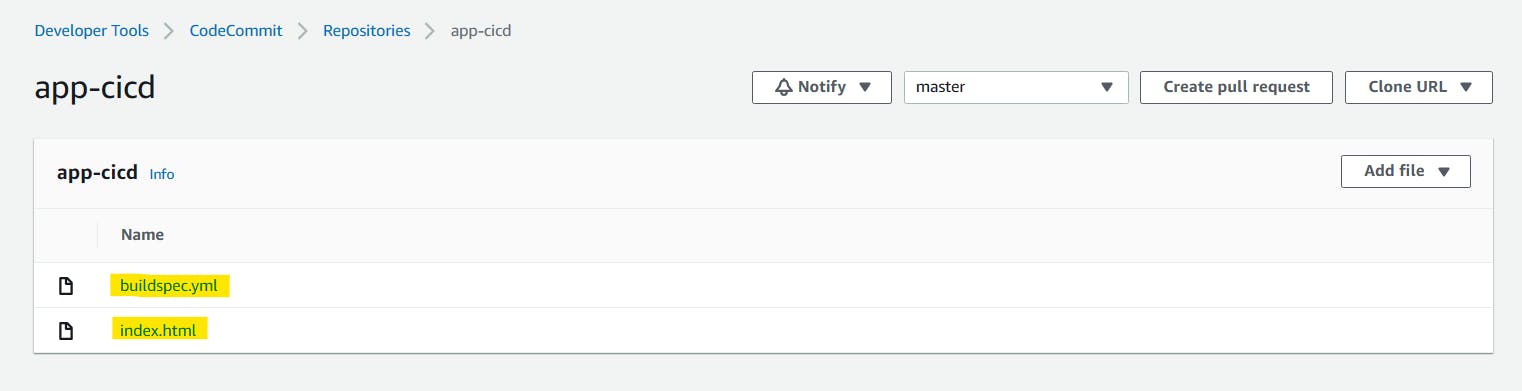
- Save the file and commit the changes to the repository using the git add and git commit commands.
- Push the changes to the code commit repository
- You have a buildspec.yml and index.html file in your CodeCommit repository
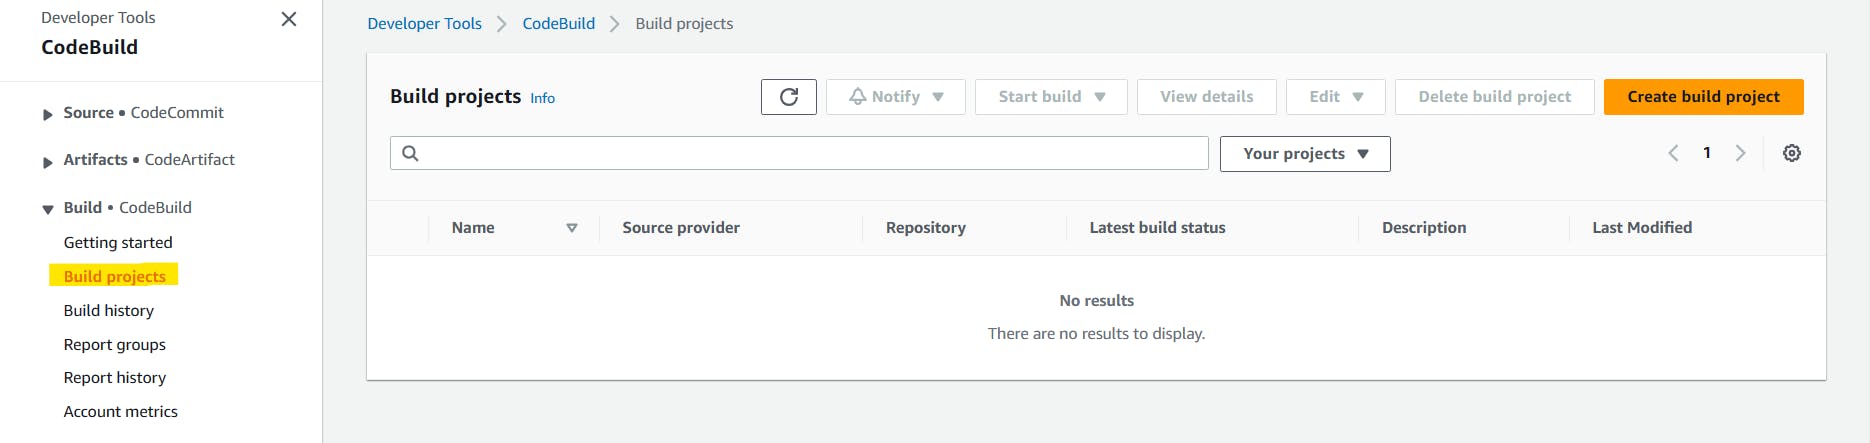
Create build project:
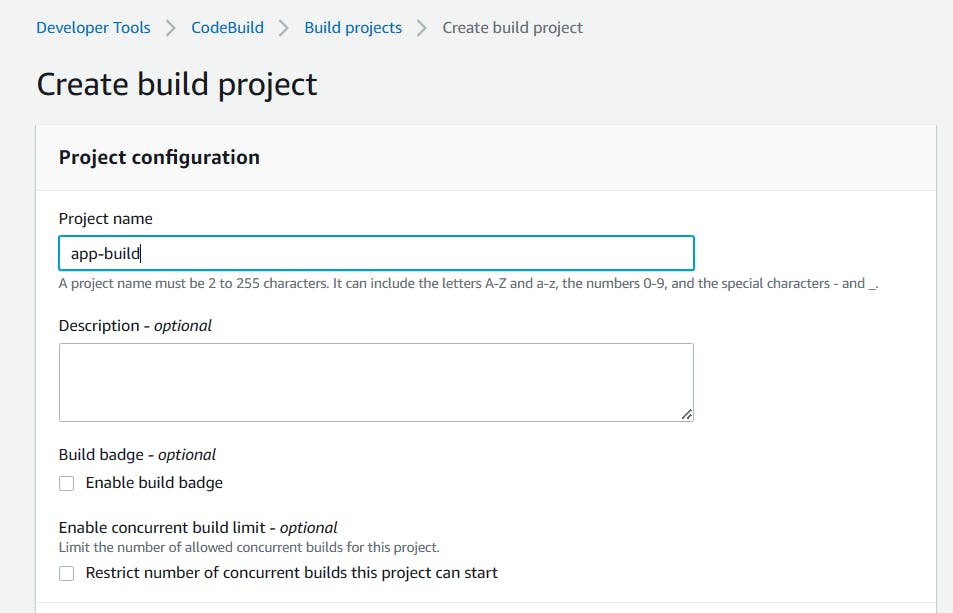
Go to the CodeBuild service. Click the "Create build project" button.
Fill in the details of your build project, including the project name.
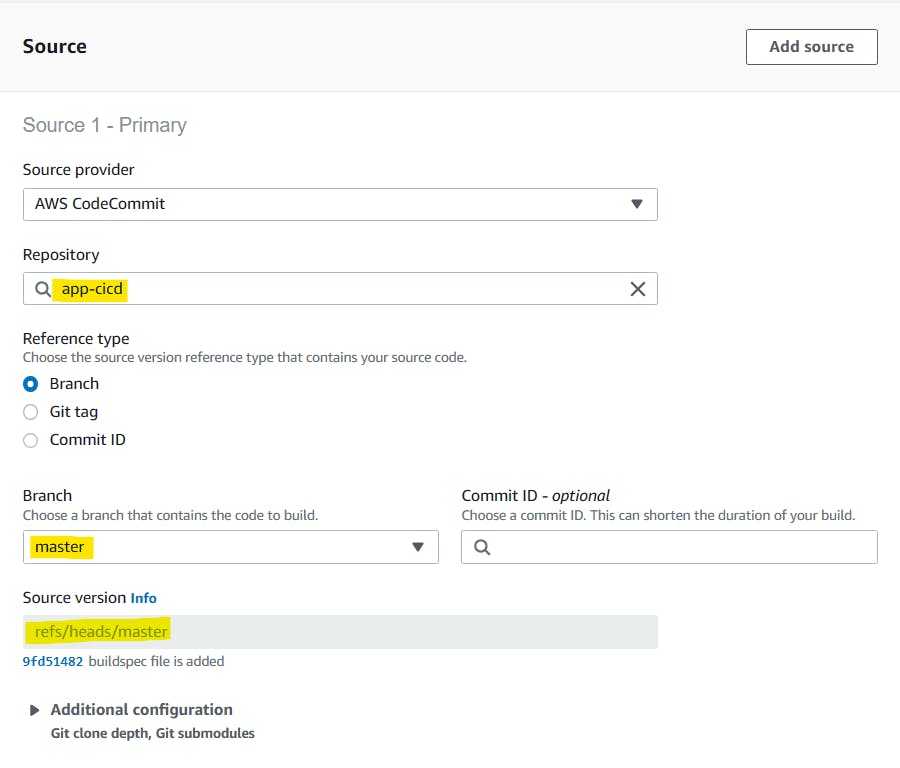
In the source section, select the source provider as AWS CodeCommit, select the repository that you created earlier and select branch master.
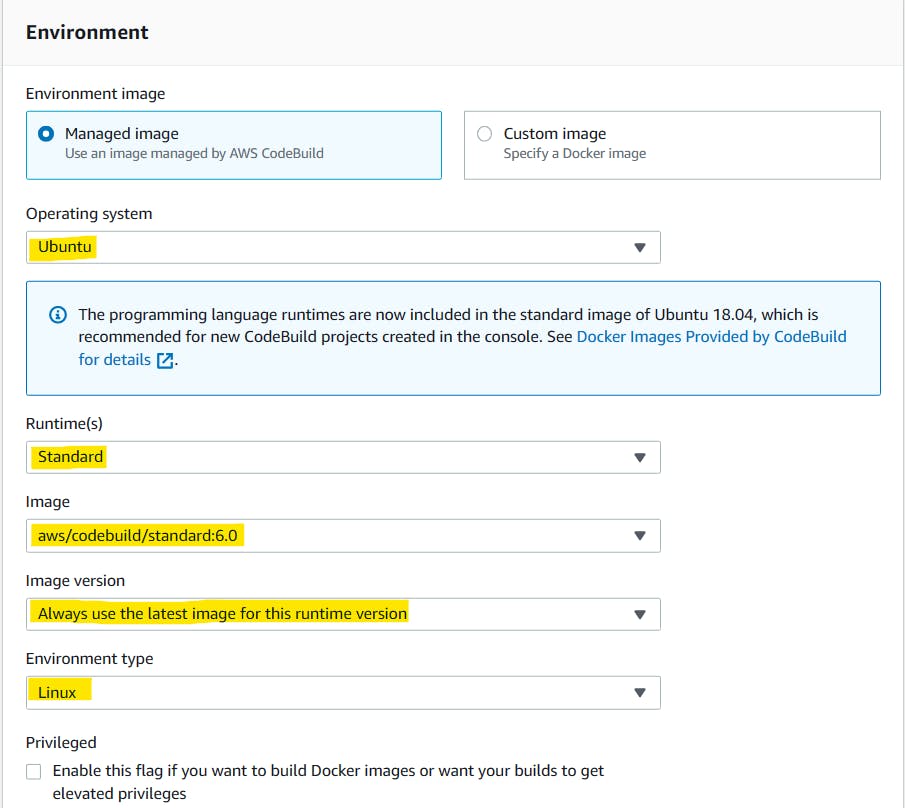
In the Environment section, choose the operating system, runtime and image. Here I'm choosing Ubuntu OS and the environment will be Linux.
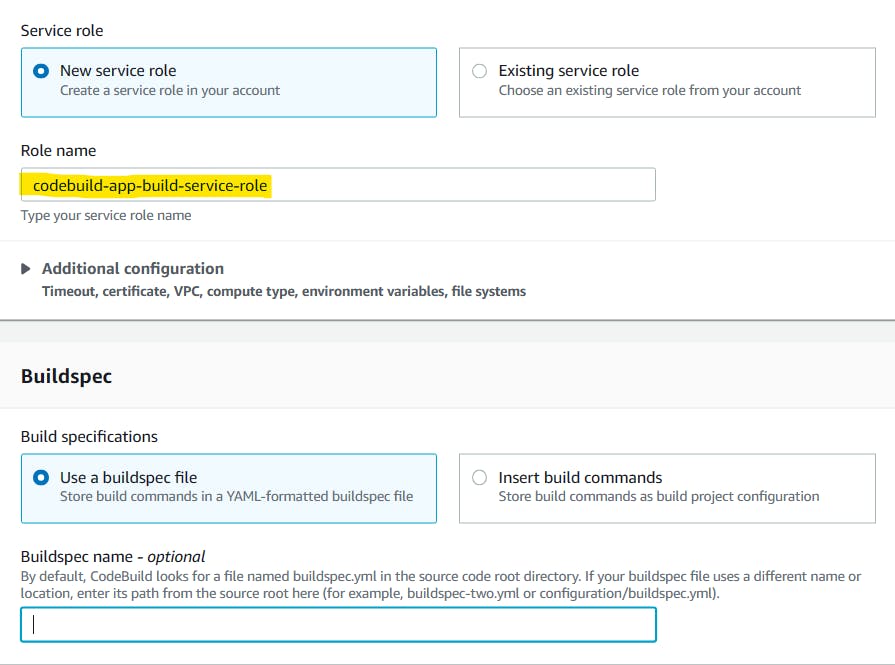
Create a new service role and Under the "Buildspec" section, click on "Use a buildspec file".
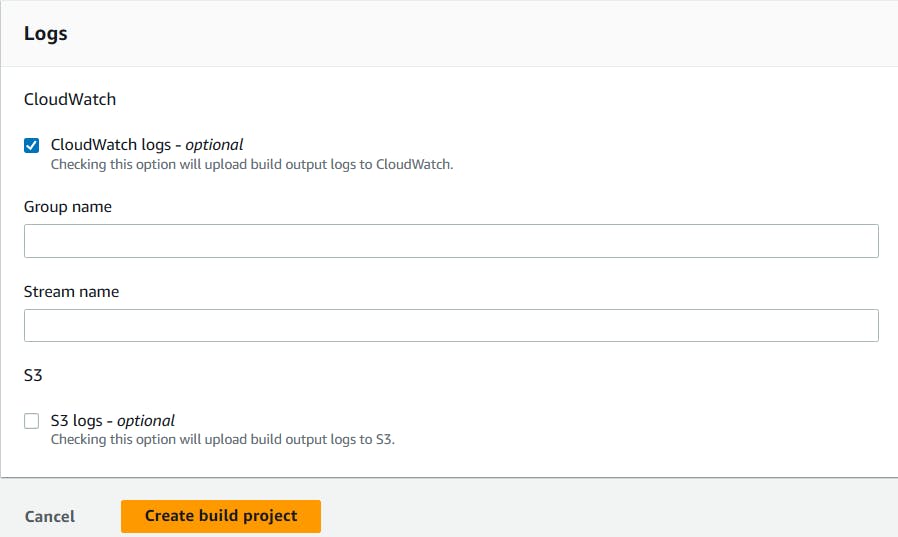
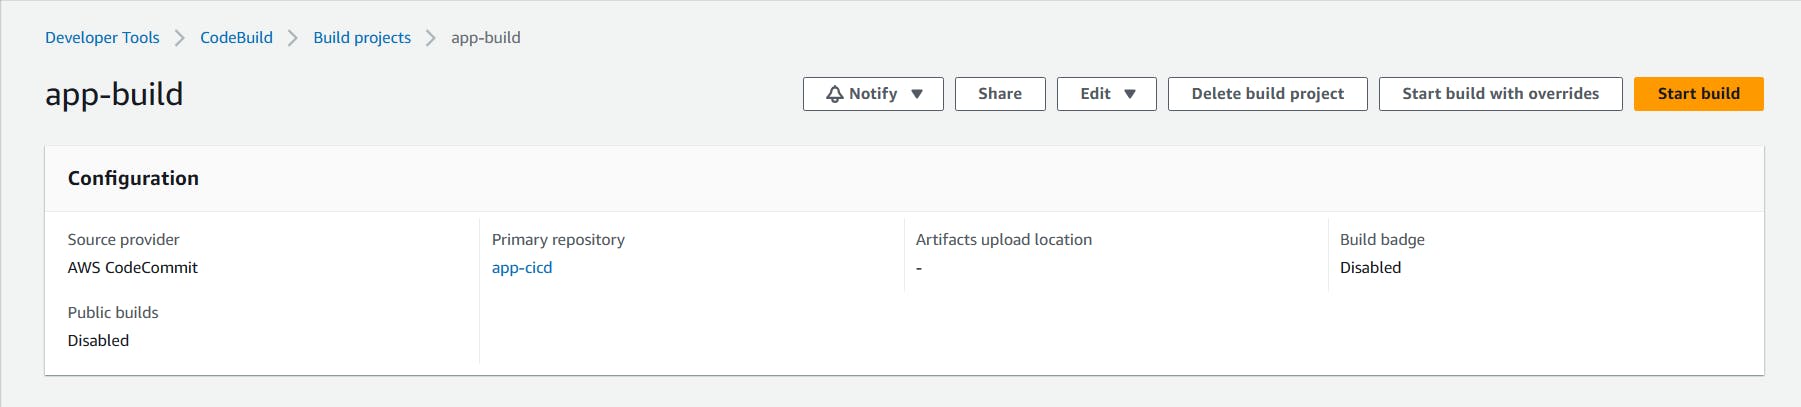
Click "Create build project" to create your project.
A successfully build project is created.
Click the "Start build" button to start a new build.
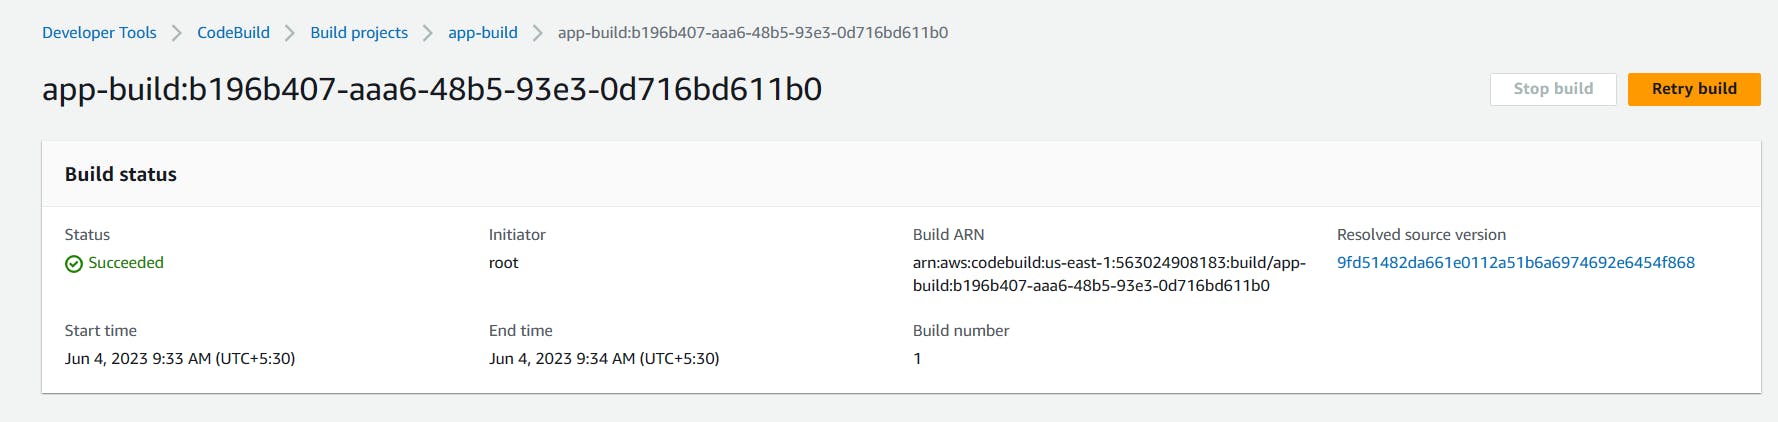
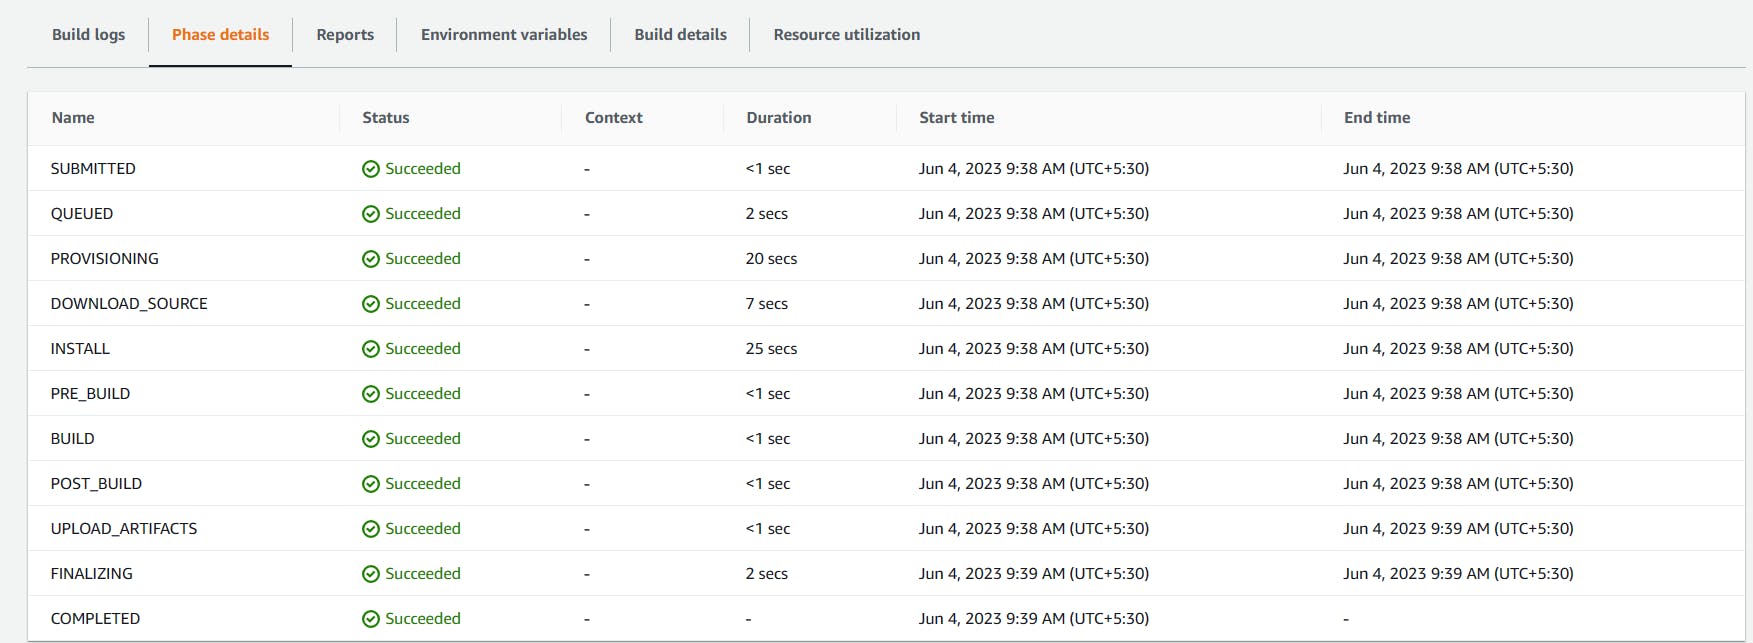
Check the status of the build which is Succeeded.
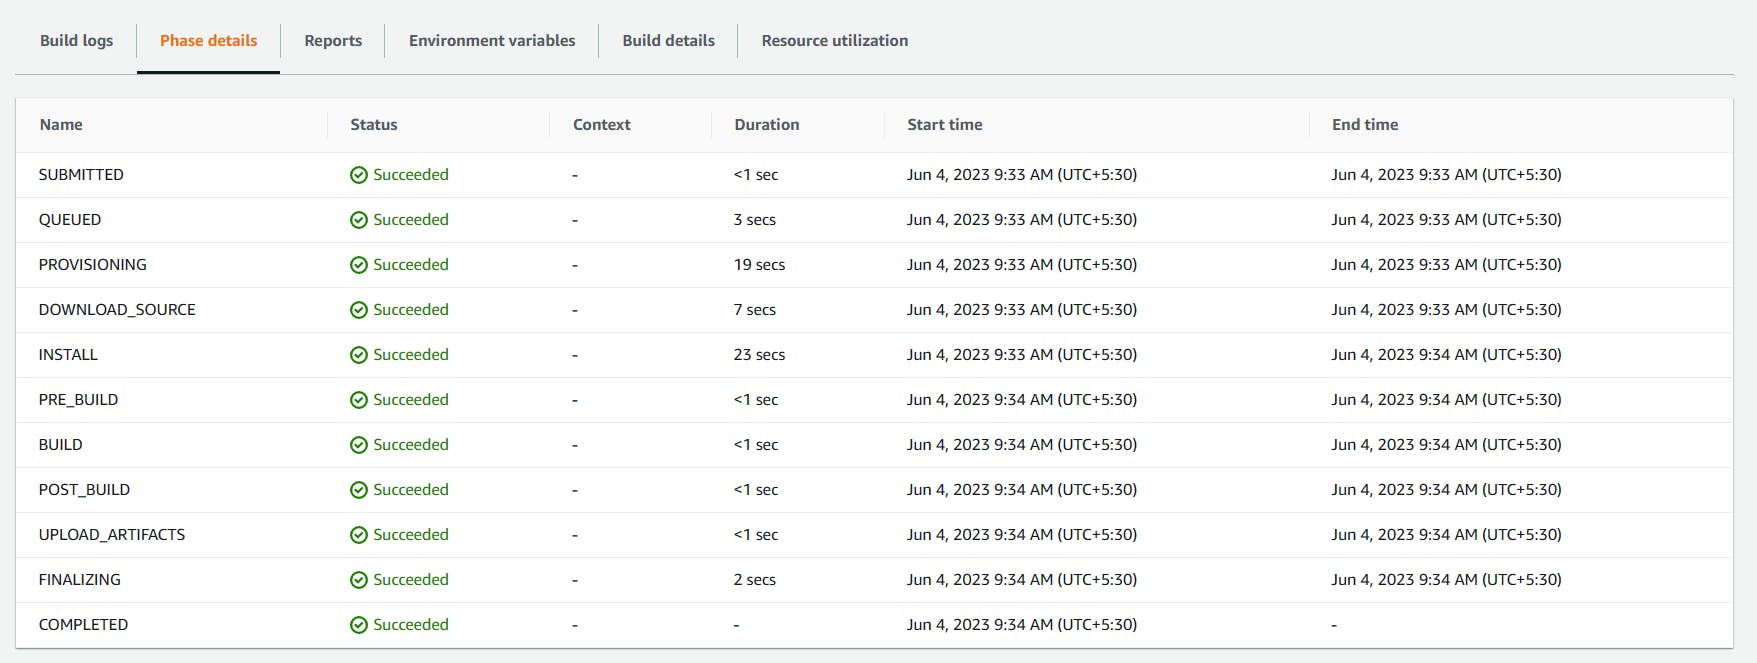
All the phase steps also succeeded.
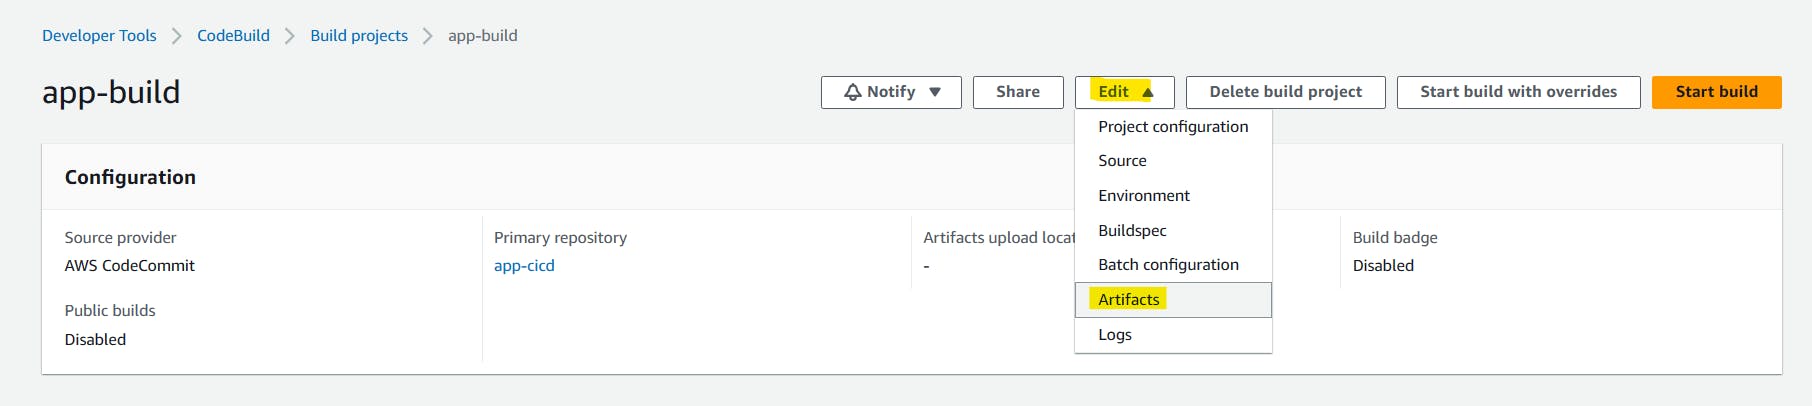
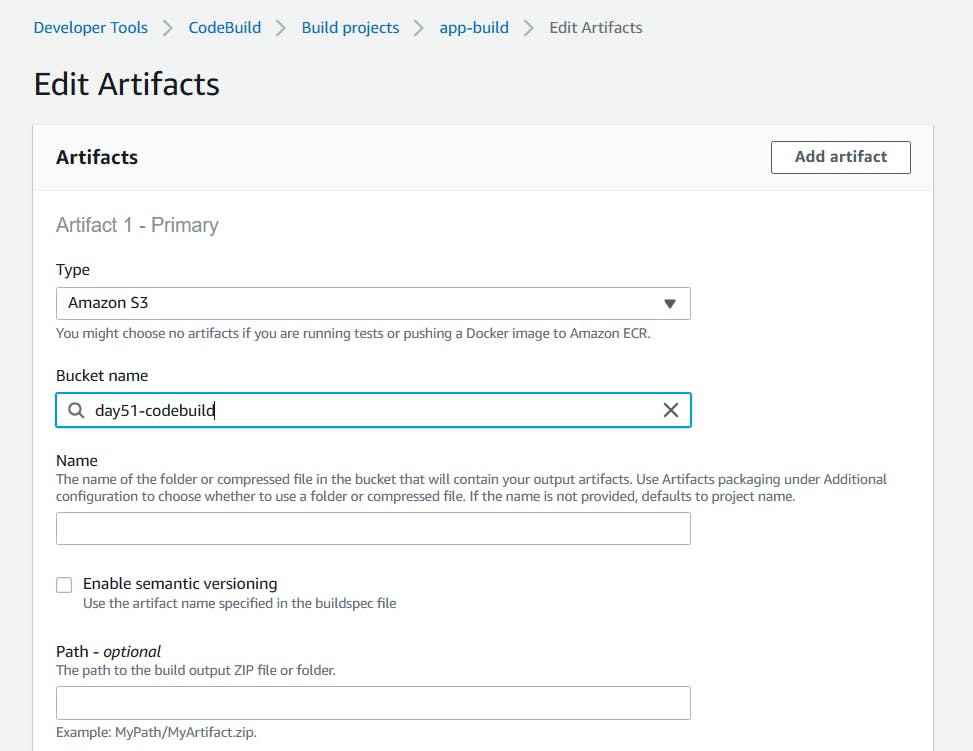
To add artifacts to a CodeBuild project and store them in an S3 bucket.
Click on 'edit' and select 'Artifacts'.
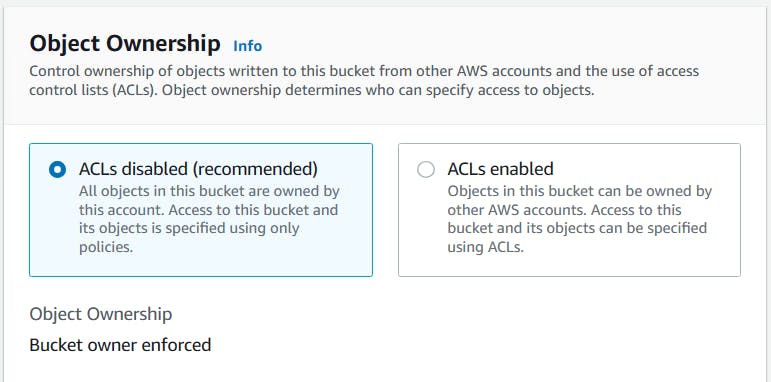
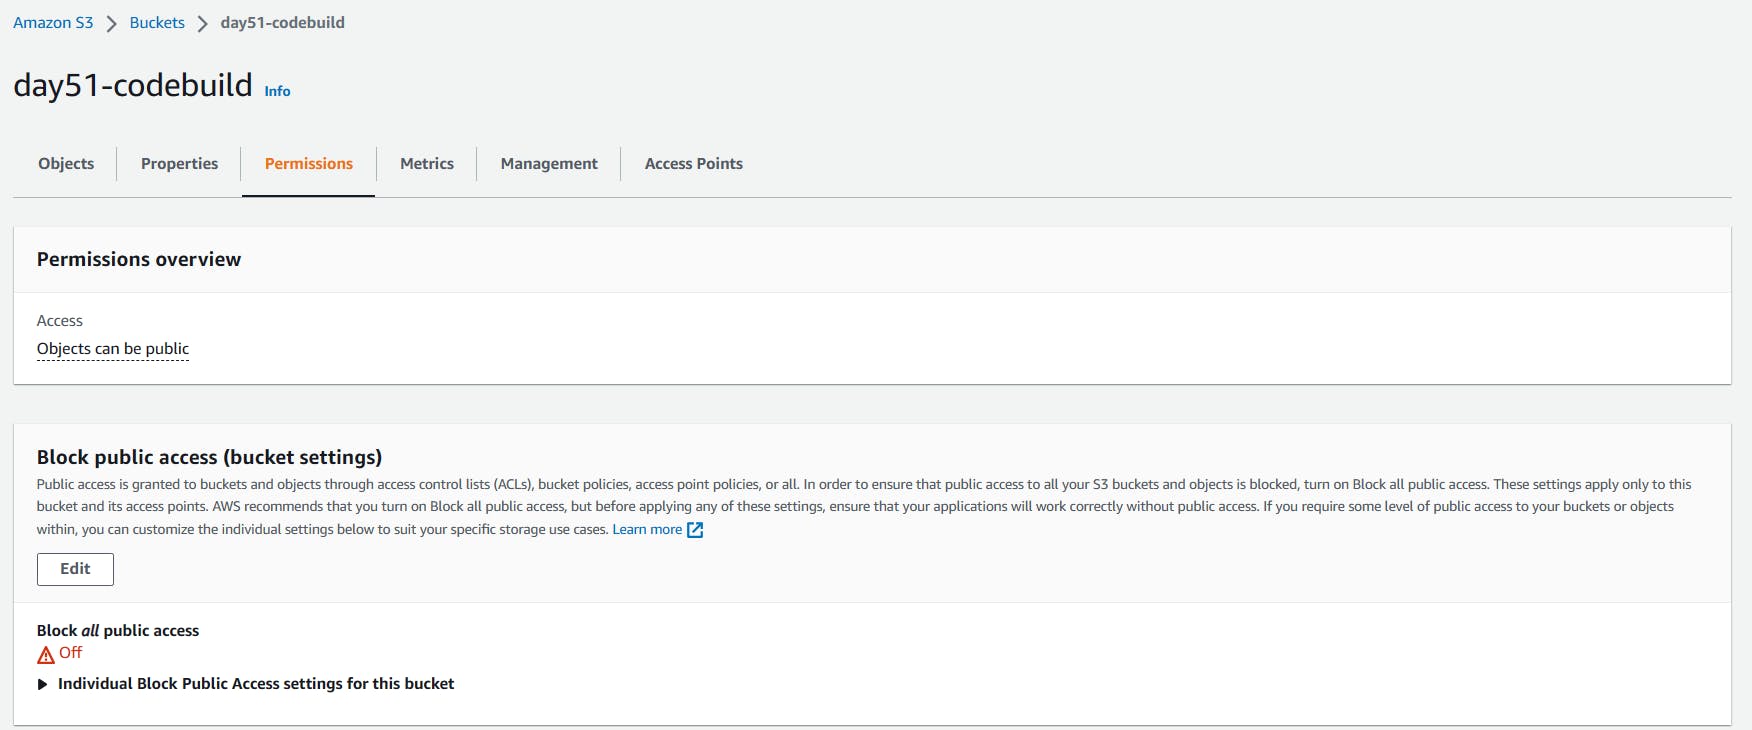
First, create an S3 bucket having public access.
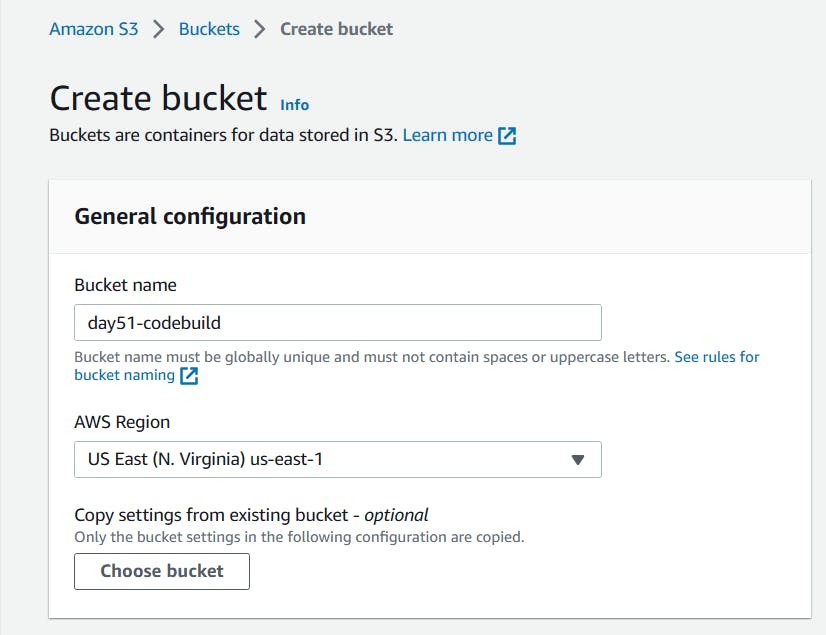
Bucket is successfully created.

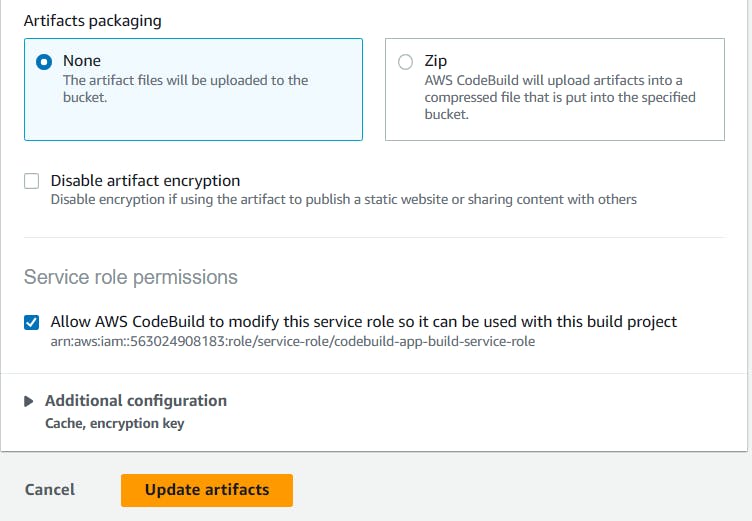
In Artifacts, select type Amazon S3 and select bucket name that you created in above step.
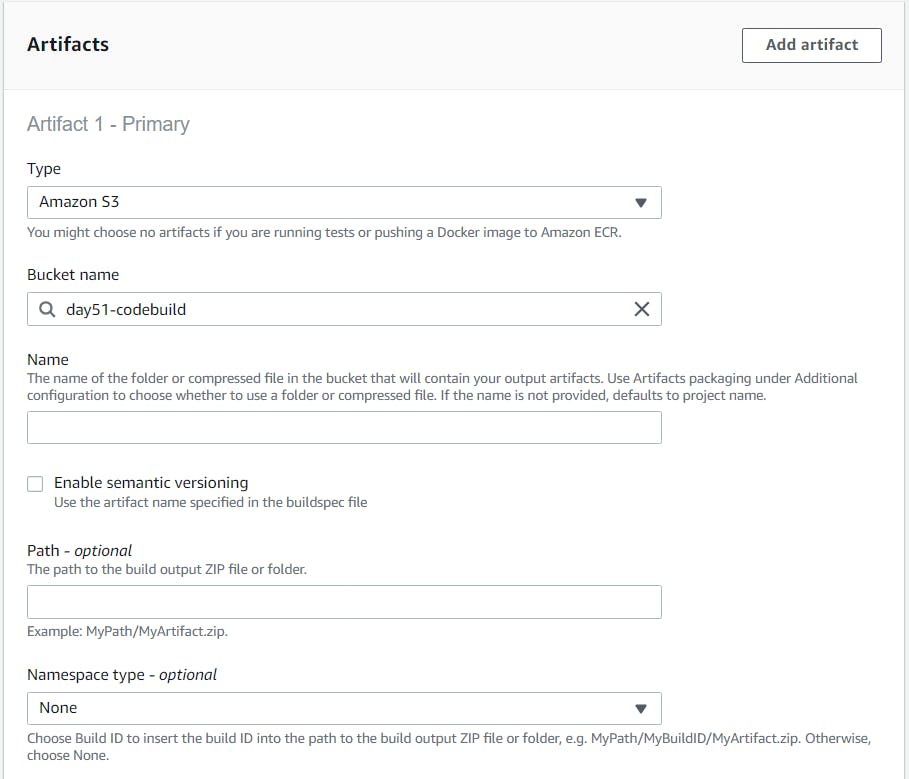

Click on 'Update artifacts'.
After updating artifacts, click the "Start build" button again to start a new build.
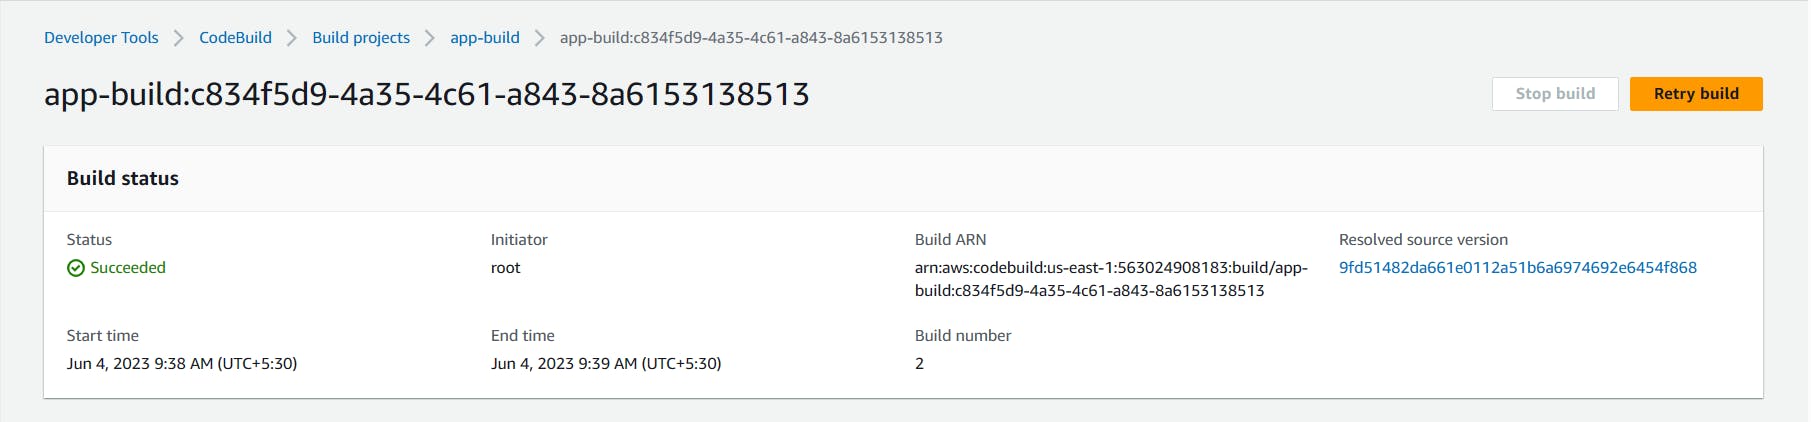
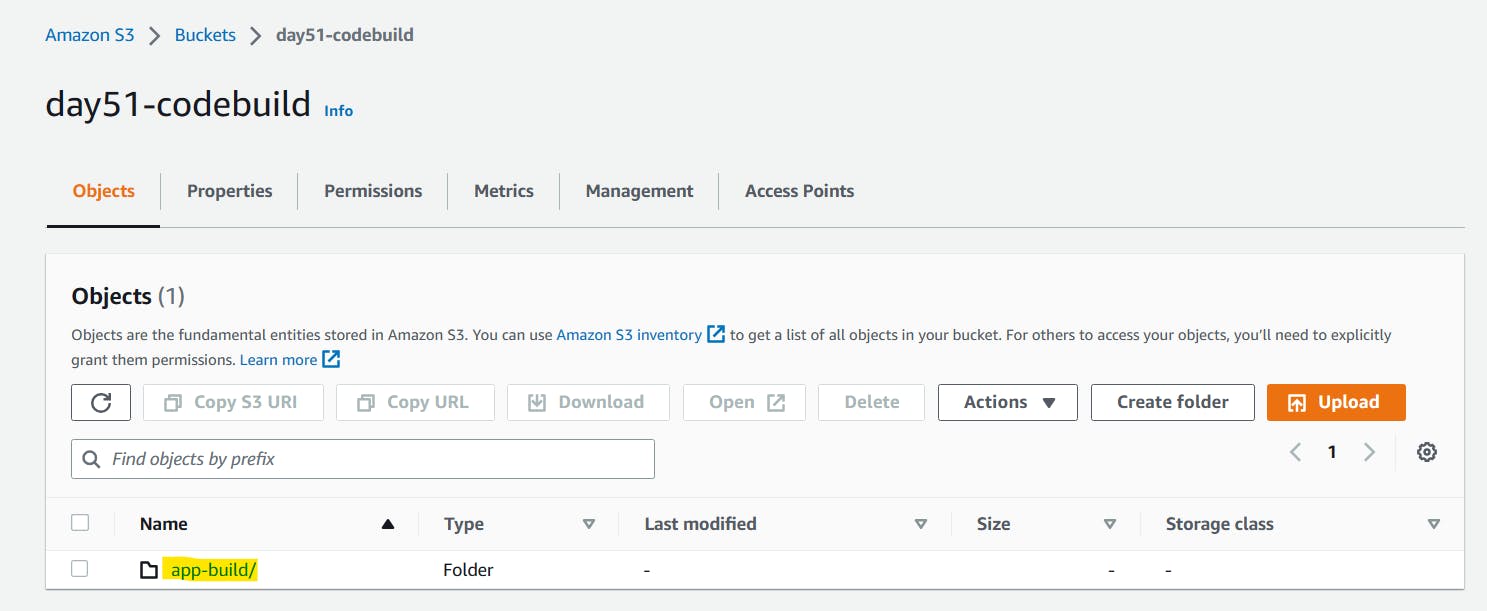
After the build process is complete, the artifacts will be uploaded to the specified S3 bucket location.
Inside the bucket, app_build folder is created.
In buildspec.yml file, inside the phase of the artifacts, there is a location of the file which is /var/www/html/index.html. you can check that folder and index.html file inside the s3 bucket.
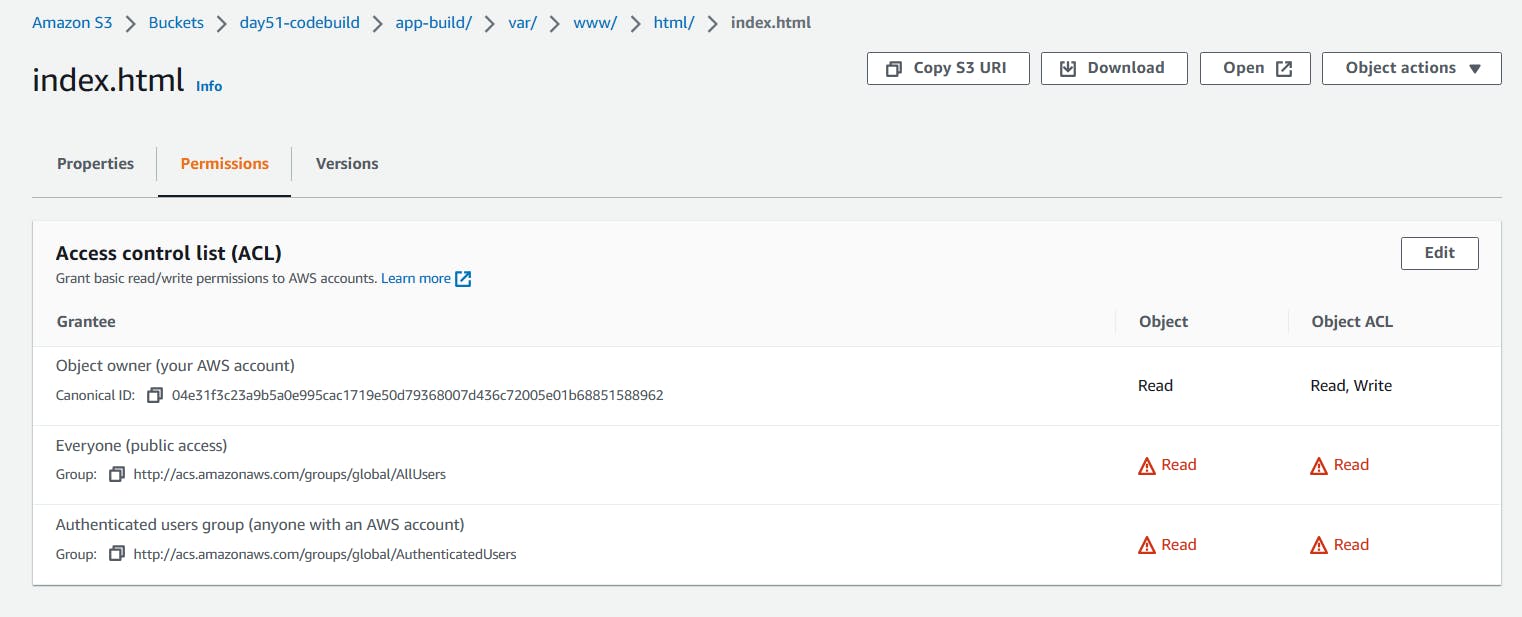
You can see inside /var/www/html there is index.html file.
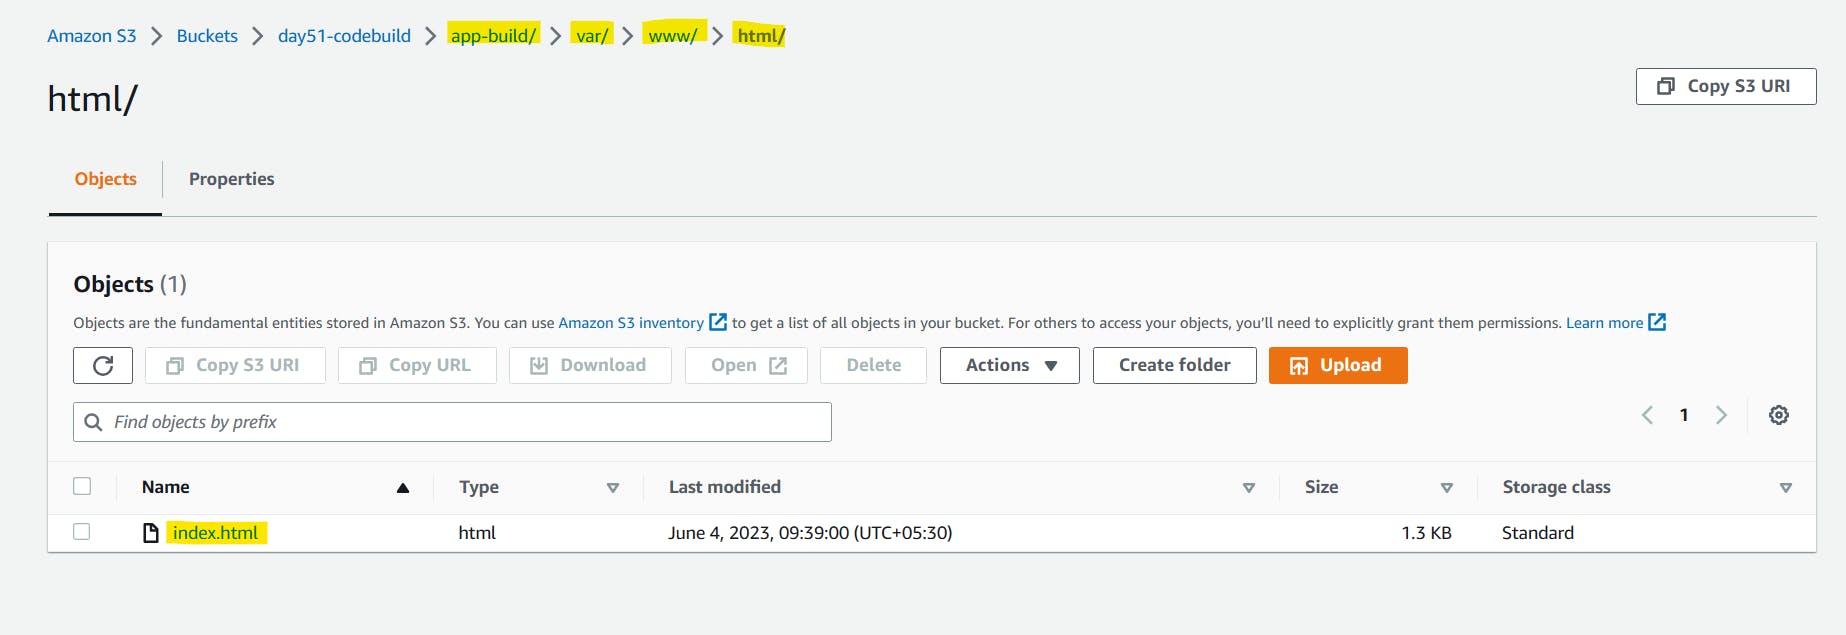
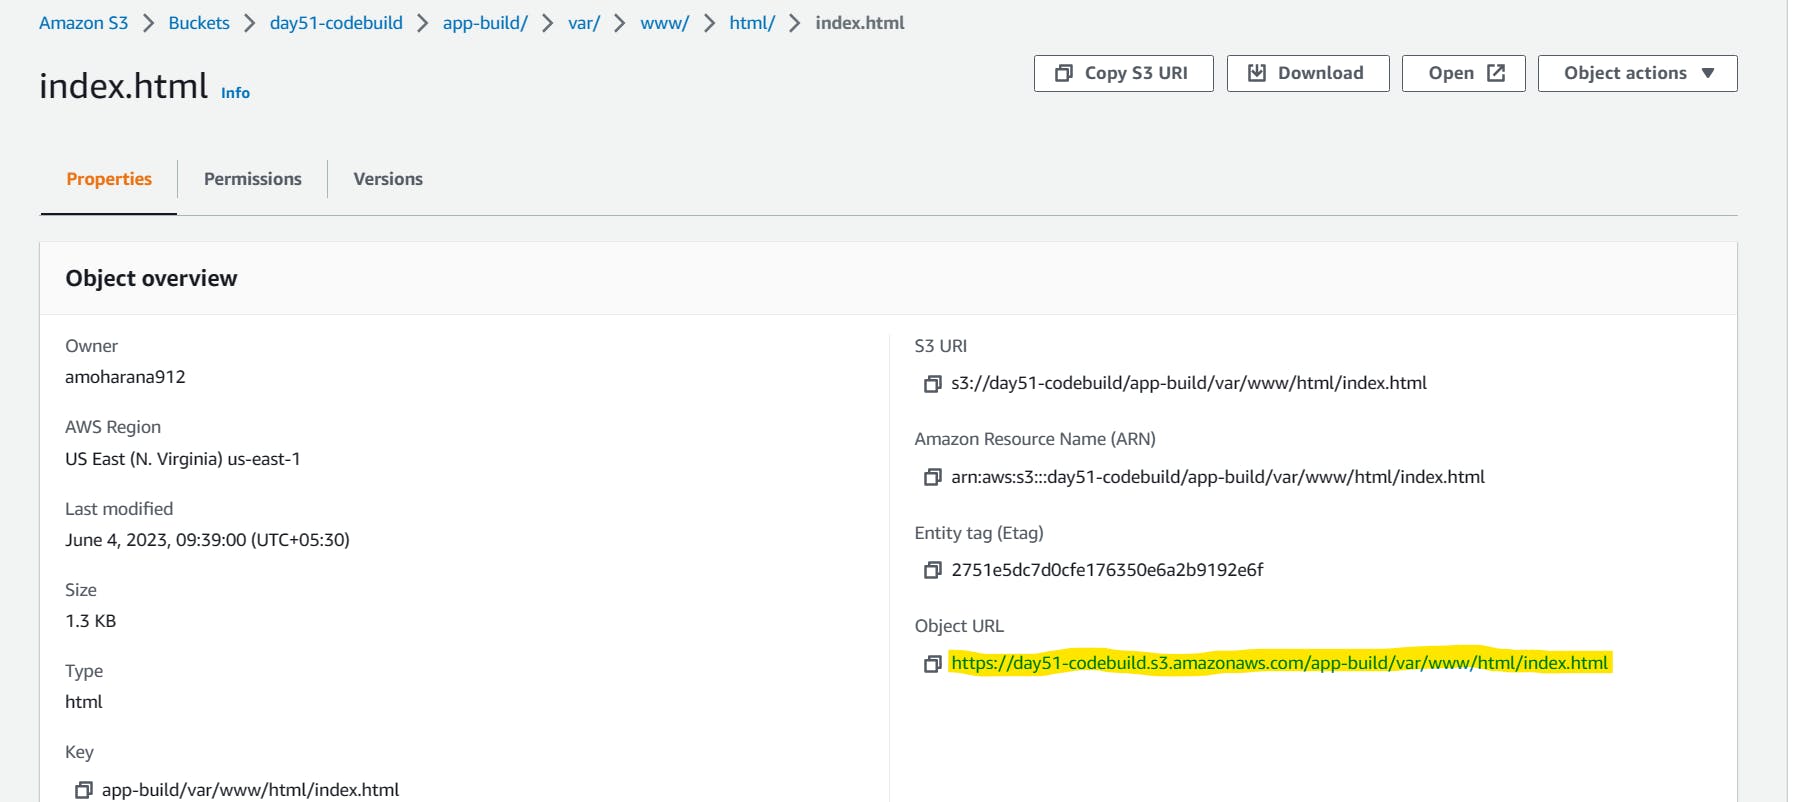
Click on 'index.html' file, below you can see the properties of the file.
Click on 'open' on the right-hand side.
If you are getting access denied, then enable public access of the s3 bucket
Add read permission
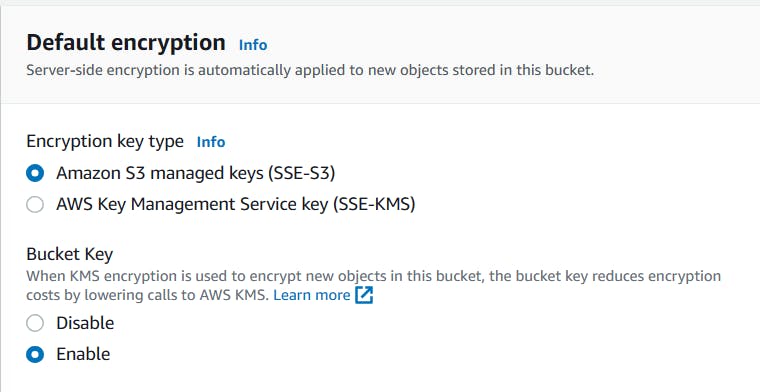
Check the server-side encryption to Amazon S3 Managed

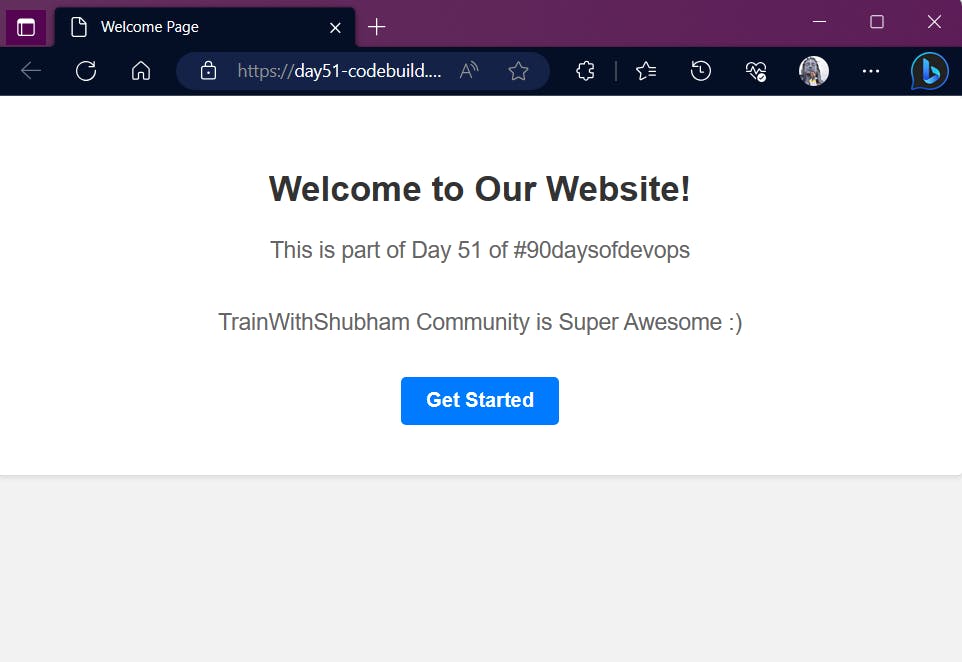
Once all the configuration is correct, we will get the output of index.html file using the Object URL.
Thank You,
I want to express my deepest gratitude to each and every one of you who has taken the time to read, engage, and support my journey.
Feel free to reach out to me if any corrections or add-ons are required on blogs. Your feedback is always welcome & appreciated.
~ Abhisek Moharana 🙂