


Table of contents
Welcome back for creating an Ansible Project using Ansible Playbook. In this blog post, we dive into the world of Ansible projects, exploring how to structure and organize your automation workflows effectively.
Discover best practices for creating Ansible projects that simplify configuration management, application deployment, and system orchestration. Harness the power of Ansible to streamline your infrastructure management and drive efficiency in your IT operations.
Deploy a Website 🌐using Ansible Playbook
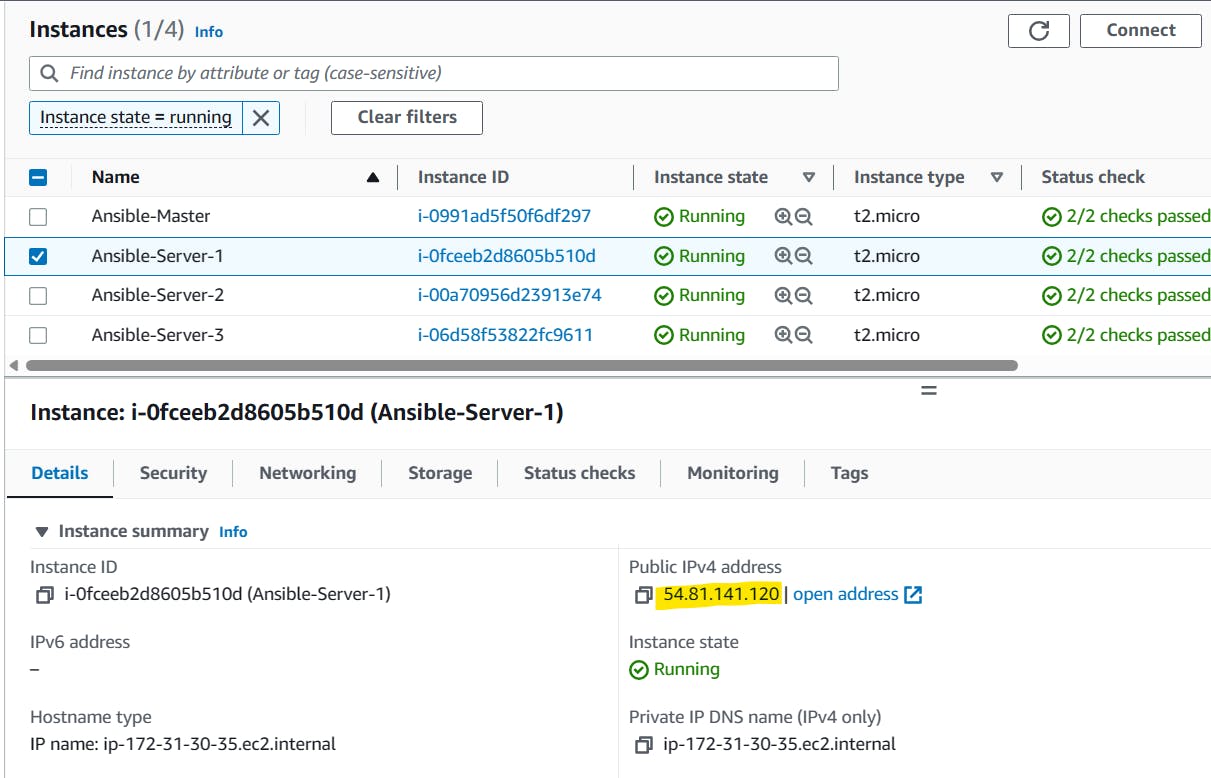
Create 4 EC2 instances. Out of 4, One will be the Ansible Master node and the other 3 are child nodes. Make sure all three child nodes are created with the same key pair as Ansible Master.

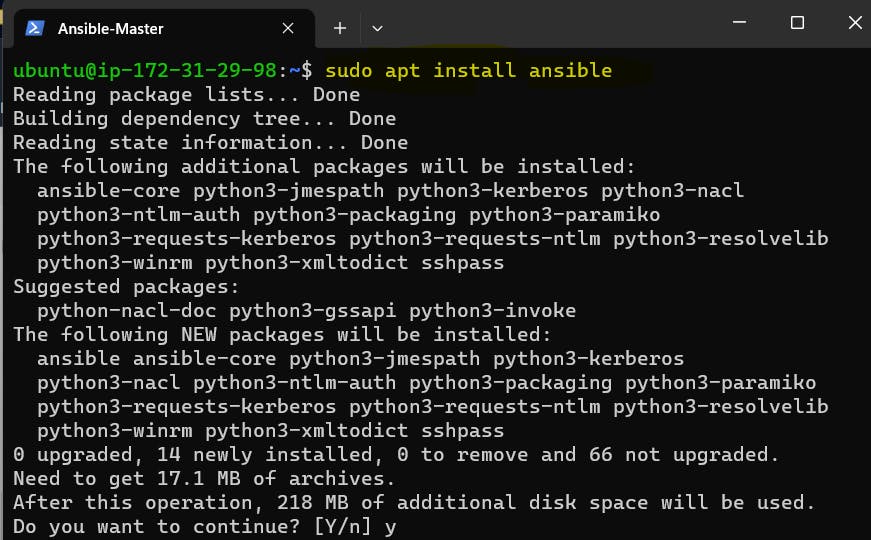
Install Ansible on Ansible Master node only.
  # Add ansible repository to your instance
  sudo apt-add-repository ppa:ansible/ansible

  # Update the package
  sudo apt update

  # Install the Ansible
  sudo apt install ansible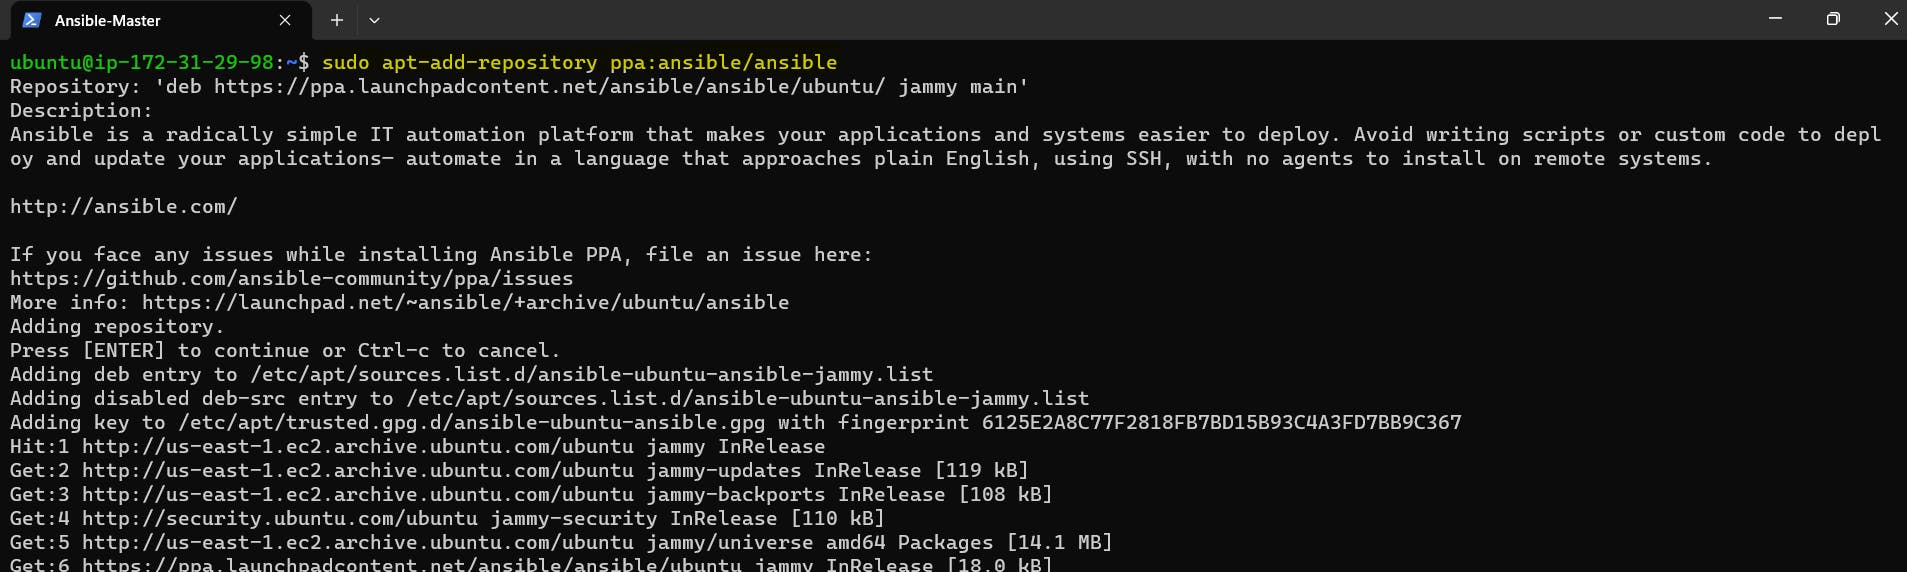

Once the installation is complete, you can check the version of Ansible using the following command:
ansible --version
Copy the private key from local to the Host server (Ansible Master) at the /home/ubuntu/.ssh folder location.
sudo scp -i "<pem_key>" <pem_key> <ubuntu@ec2.amazonecom>:/home/ubuntu/.ssh/
Once the file is copied to the .ssh directory, change the private key permission rwx to the user only.
chmod 700 Ansible-key
Access the inventory file using
sudo cat /etc/ansible/hosts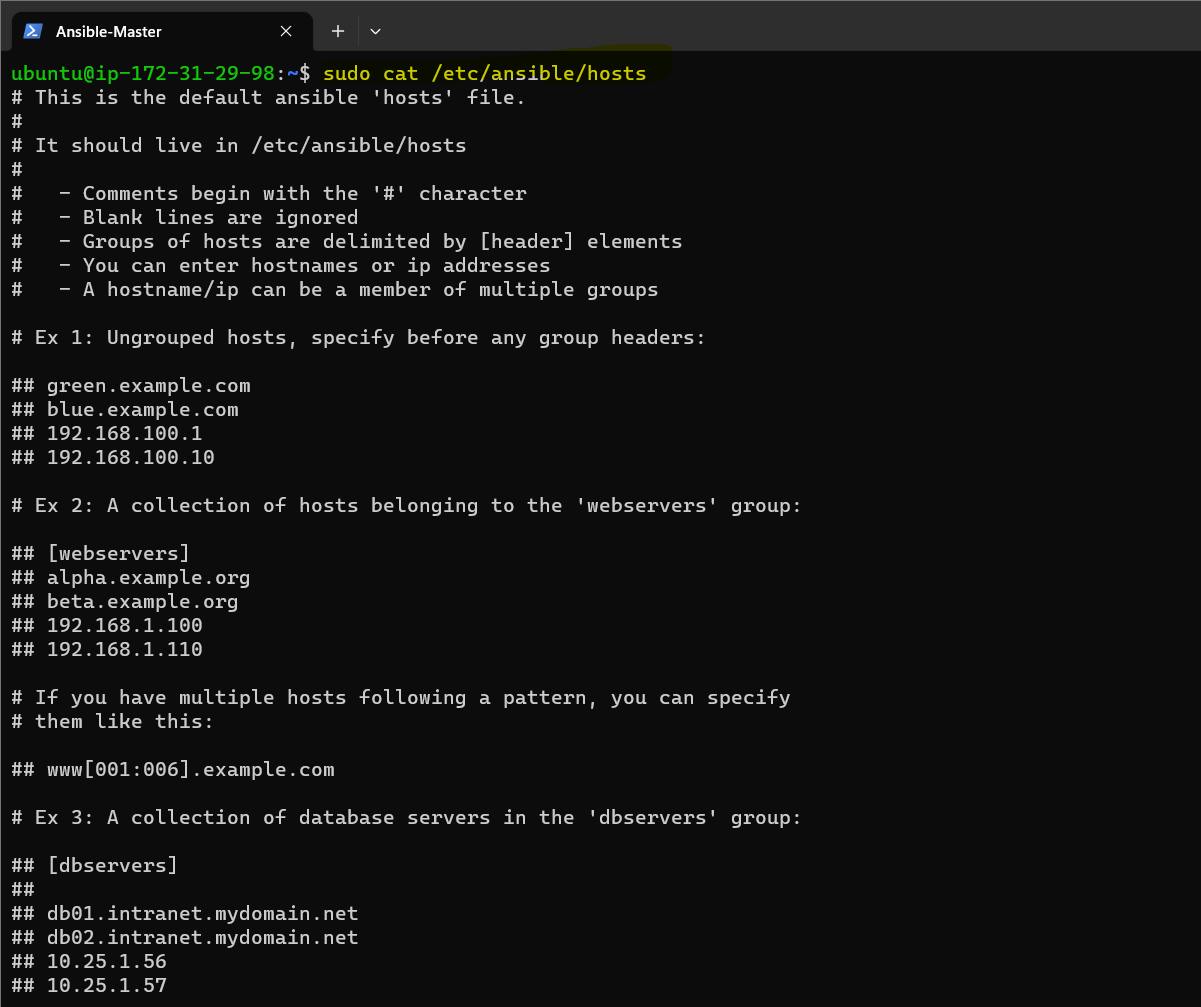
Edit the inventory file and add the list of hosts or servers, add the IP addresses of the servers also add private key file location to use for authentication.
  [my-servers]
  server1 ansible_host=<Server1_IPv4_Addr>
  server2 ansible_host=<Server2_IPv4_Addr>
  server3 ansible_host=<Server3_IPv4_Addr>

  [all:vars]
  ansible_ssh_private_key_file=/home/ubuntu/.ssh/Ansible-Key.pem
  ansible_python_interpreter=/usr/bin/python3
  ansible_user=ubuntu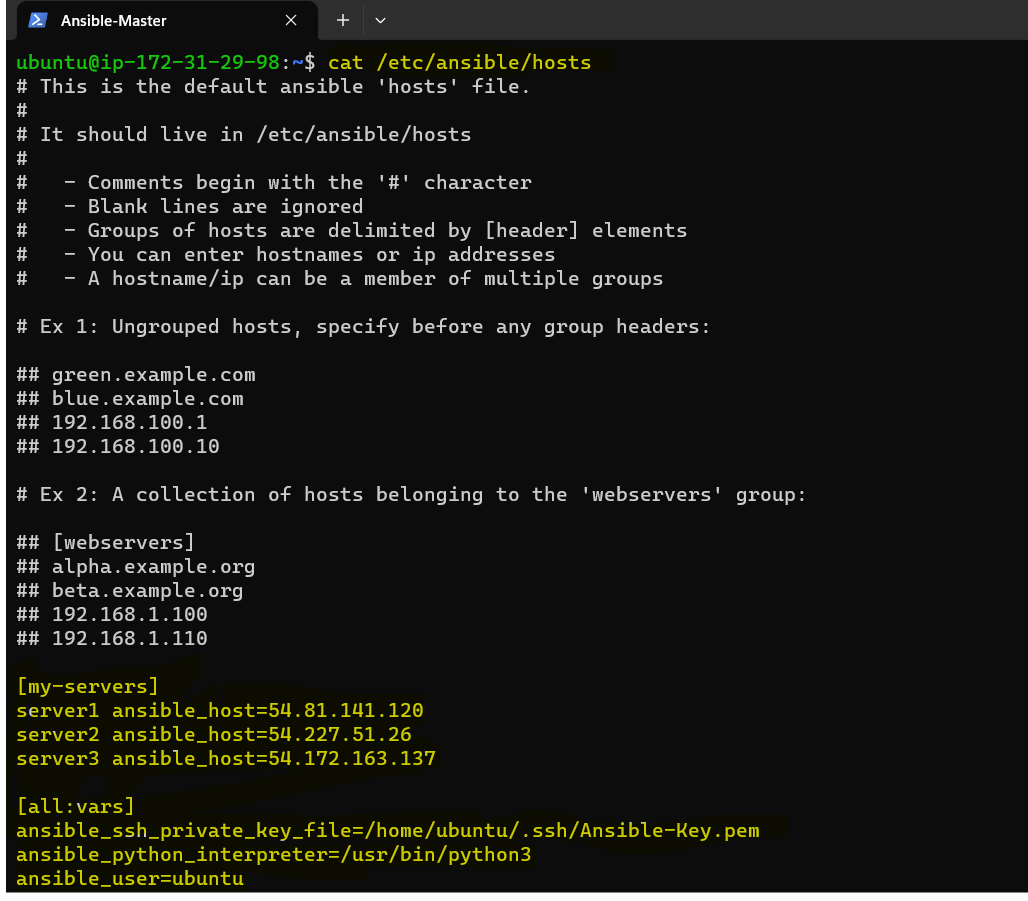
Now create a playbook to install Nginx
  -
    name: Install and Start Nginx
    hosts: my-servers
    become: yes

    tasks:
      - name: Update apt
        apt:
           update_cache: yes
      - name: Install Nginx
        apt:
          name: nginx
          state: latest
      - name: Start Nginx
        service:
           name: nginx
           state: started
           enabled: yes
Run the playbook using the ansible-playbook command
ansible-playbook install_nginx.yml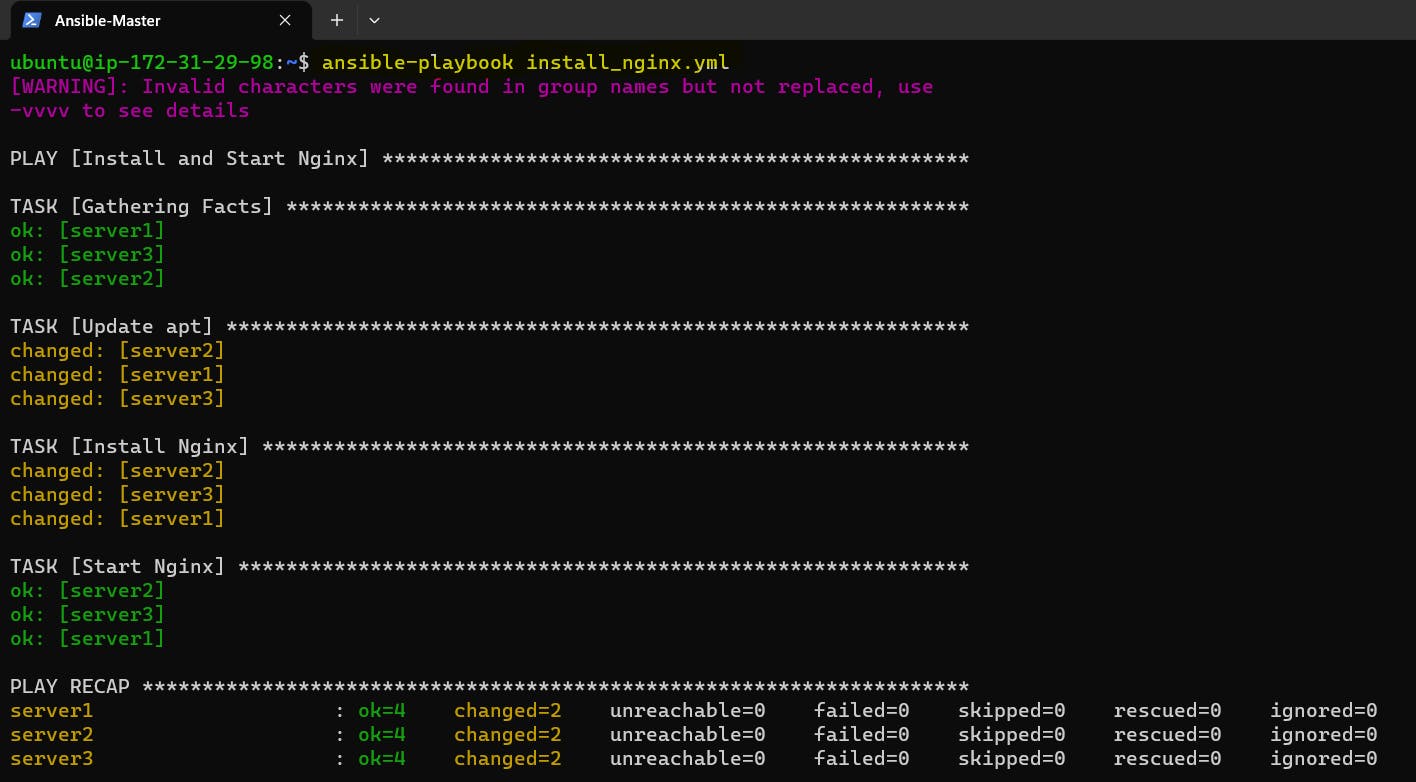
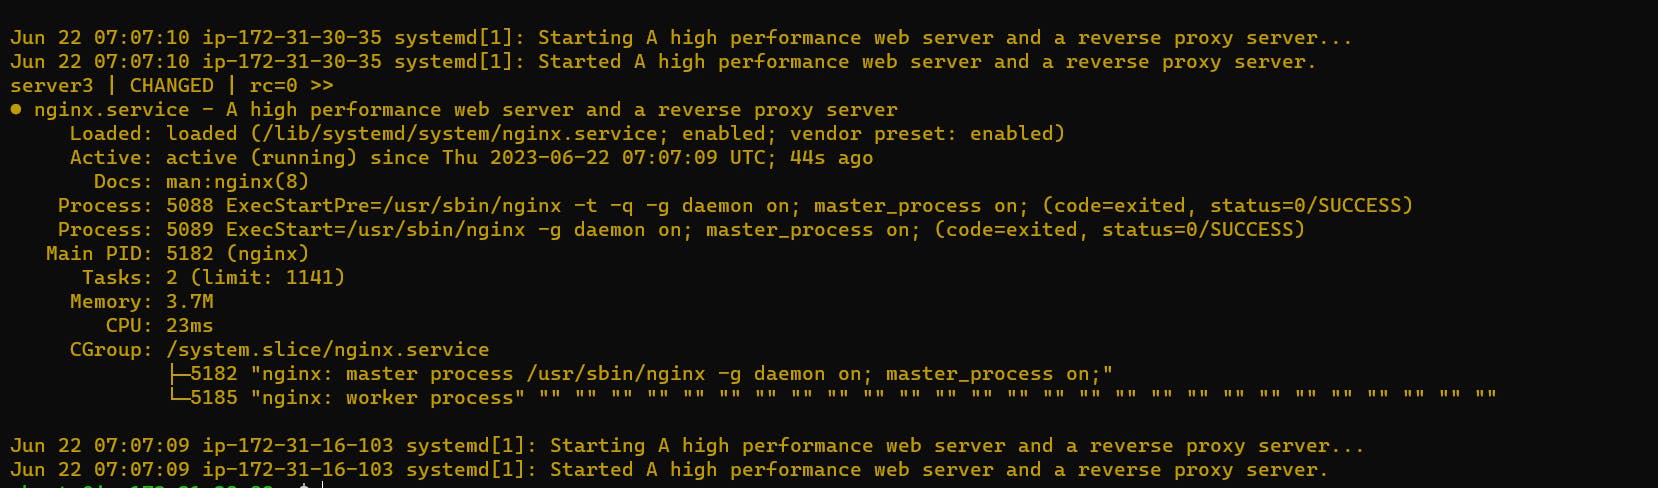
Check the status of Nginx on all the child servers.
ansible all -a "sudo systemctl status nginx"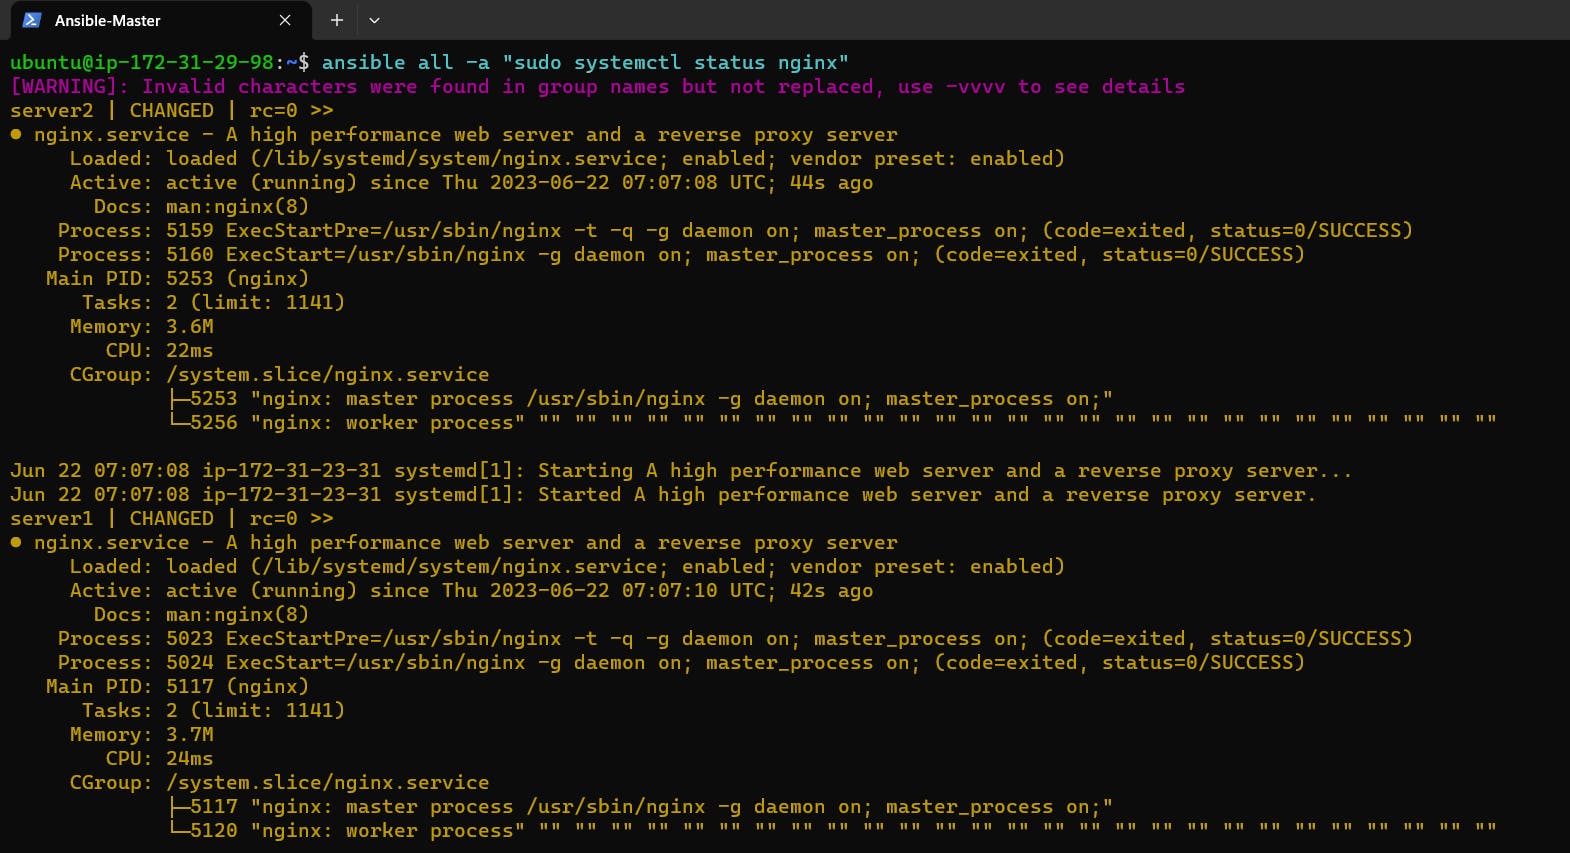
For deploying a static website, Create a new file index.html and add the file path in the playbook directory, and add some sample content in the index file.

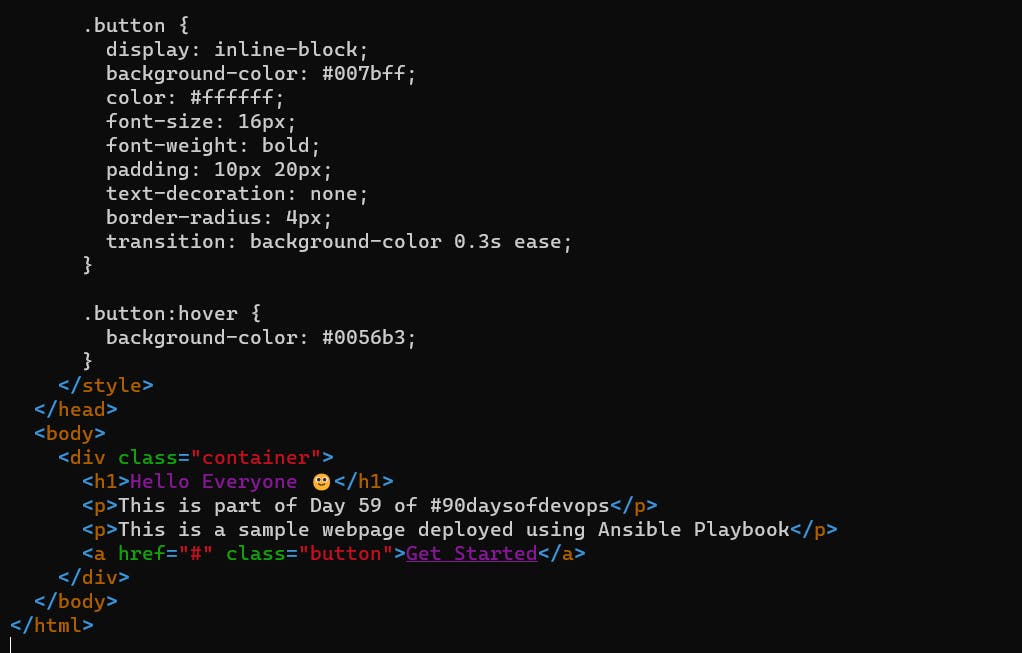
Update the Ansible playbook file by providing the index.html file path and destination will be the default NGINX web page, install_nginx.yml, in the playbook directory:
  -
     name: Install and Start Nginx
     hosts: my-servers
     become: yes

    tasks:
      - name: Update apt
        apt:
           update_cache: yes
      - name: Install Nginx
        apt:
          name: nginx
          state: latest
      - name: Start Nginx
        service:
           name: nginx
           state: started
           enabled: yes
      - name: Deploy Nginx
        copy:
            src: /home/ubuntu/index.html
            dest: /var/www/html/index.html
        become: true
        become_user: root
        become_method: sudo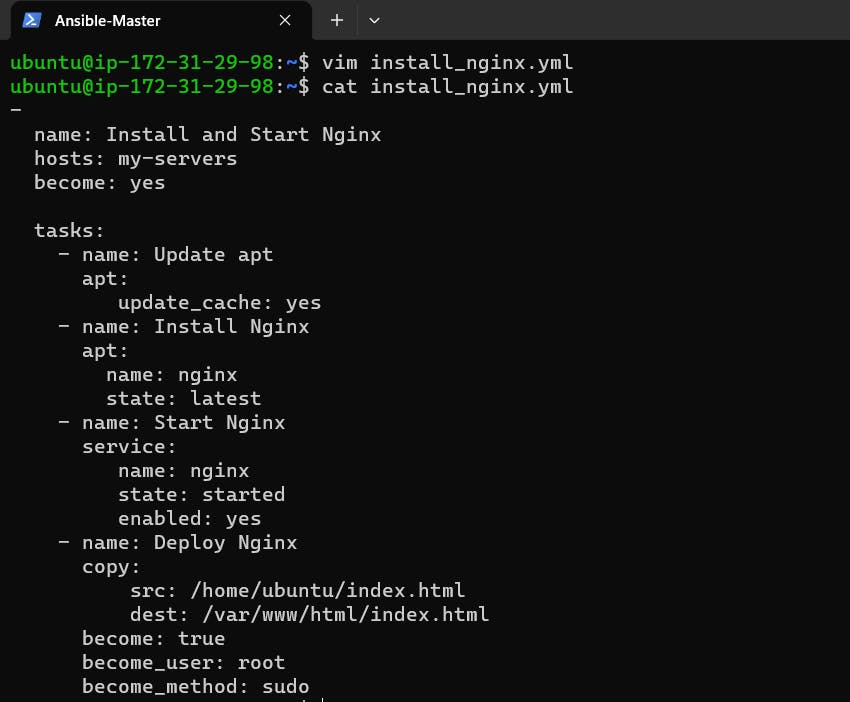
Run the playbook using ansible-playbook command.
ansible-playbook install_nginx.yml
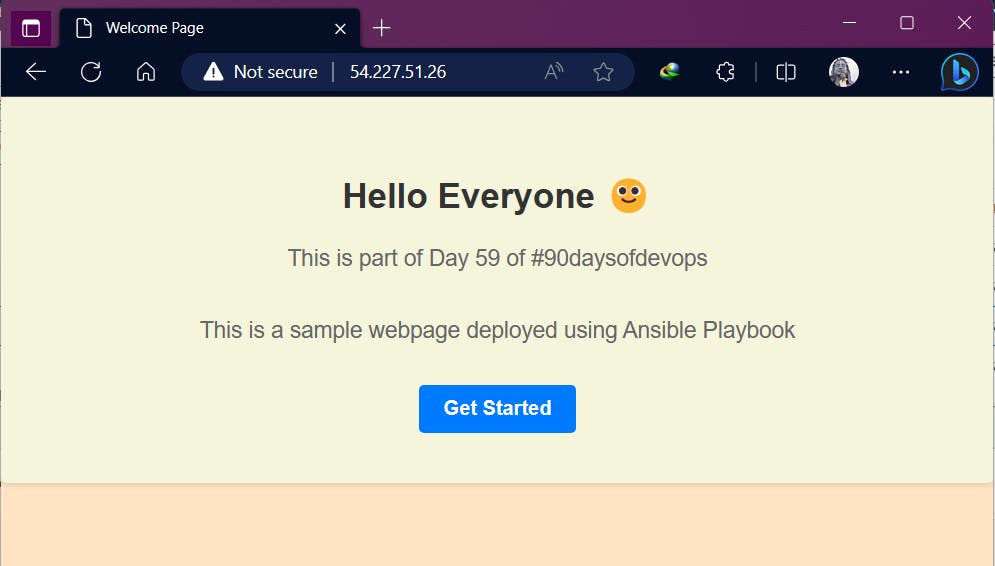
Once the playbook finishes executing, open a web browser and enter the public IP address of one of the EC2 instances running Nginx
Server1

Server 2

Server 3


Thank You,
I want to express my deepest gratitude to each and every one of you who has taken the time to read, engage, and support my journey.
Feel free to reach out to me if any corrections or add-ons are required on blogs. Your feedback is always welcome & appreciated.
~ Abhisek Moharana 🙂